Published - Tue, 21 Jan 2025
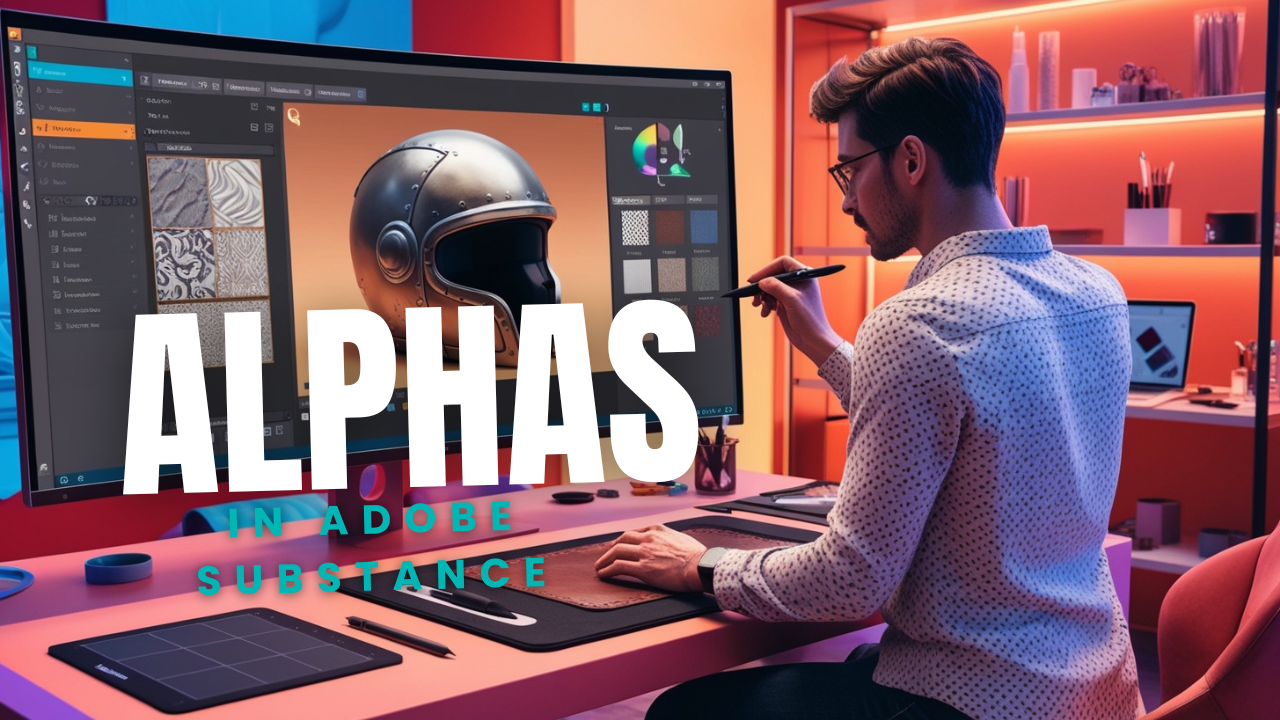
alphas in Adobe Substance
Using alphas in Adobe Substance tools (like Substance Painter) is a powerful way to create intricate details, textures, and effects. Here’s a step-by-step guide on how to use alphas effectively:
What Are Alphas?
Alphas are black-and-white textures or images used as masks or stamps. The white areas represent the highest intensity (or opacity), and the black areas represent zero intensity (or transparency).
Using Alphas in Substance Painter
1. Add an Alpha to a Brush
- Choose a Tool: Select a painting tool (e.g., Paint, Eraser, or Projection).
- Open the Alphas Panel: In the Properties panel, locate the Alpha slot.
- Select an Alpha: Drag an alpha from the Assets panel or import your own (drag and drop or use
File > Import Resources). - Adjust Brush Settings: Customize the brush size, flow, or hardness in the Brush Properties to match the desired effect.
2. Stamping Details
- After selecting the alpha, click or drag on the 3D model to stamp the alpha pattern directly onto the surface.
- Use the projection tool for more precise placement if necessary.
https://www.youtube.com/watch?v=7dFP1wQz-Cw&list=PLIi3DnFfUZQGK6XqOxyiKJt74TBAjepN3
3. Using Alphas with Height Maps
- Add a Layer: Create a new layer and set its material properties to include height.
- Apply the Alpha: Use an alpha to define the shape of the height details.
- Adjust Depth: Modify the height slider to control the intensity of the effect.
https://www.youtube.com/watch?v=SjVV12Z6XmU
4. Masks with Alphas
- Add a mask to a layer by right-clicking it and selecting Add Black/White Mask.
- Select an alpha and paint on the mask to reveal or hide specific areas.
5. Fine-Tuning the Alpha
- Rotate or Scale: Use the alpha-specific sliders in the brush settings to change the rotation, scale, or tiling.
- Blending Modes: Experiment with blending modes in the layer stack to combine alpha effects with other materials.
https://www.youtube.com/watch?v=ARH2U_Al5ZI
Using Custom Alphas
- Create or Download: Make an alpha in Photoshop or download it from online resources.
- Import Alphas:
- Go to
File > Import Resources. - Select Alpha as the resource type and add it to the project or library.
- Go to
- Apply: Use the imported alpha like any other in Substance Painter.
https://www.youtube.com/watch?v=7dFP1wQz-Cw&list=PLIi3DnFfUZQGK6XqOxyiKJt74TBAjepN3
Tips for Best Results
- Resolution: Use high-resolution alphas for sharp details.
- Combine Effects: Mix alphas with other tools like normal maps or roughness for more complex materials.
- Experiment: Try layering multiple alphas on different layers to create unique patterns.
- Brush Dynamics: Enable pressure sensitivity for more natural results (if using a tablet).
Let me know if you need more details or help with a specific alpha-related workflow!
Created by

Anil Chauhan
Welcome to my website! My name is Anil Chauhan, and I am a 3D modeling and animation expert with over 15 years of experience in the field. I have a passion for creating visually stunning 3D models, animations, and graphics, and I'm excited to share my expertise with you. Whether you're a beginner or an experienced artist, I can help you improve your skills in 3D modeling, texturing, lighting, animation, rigging, CG graphics, and VFX. Let's work together to bring your creative ideas to life!
Welcome to my website! My name is Anil Chauhan, and I am a 3D modeling and animation expert with over 15 years of experience in the field. I have always had a passion for creating visually stunning 3D models, animations, and graphics, and my work has been featured in a variety of industries including film, television, advertising, and video games.
Throughout my career, I have had the opportunity to work on a wide range of projects, from small independent films to large-scale productions. This has given me a diverse set of skills and a deep understanding of the 3D animation process from start to finish. I have expertise in complete 3D modeling, texturing, lighting, animation, rigging, CG graphics, and VFX, and I'm always eager to take on new and exciting challenges.
As a tutor, I am dedicated to sharing my knowledge and experience with aspiring artists and professionals alike. I believe that everyone has the potential to create amazing 3D models and animations, and I'm committed to helping my students achieve their goals. Whether you're a beginner looking to get started in the world of 3D animation, or an experienced artist looking to take your skills to the next level, I can provide personalized training and guidance to help you achieve your creative vision.
Comments (0)
Search
Popular categories
Adobe After Effects 2025
27Unreal Engine
14zbrush
10Maya Animation
8zbrush tutorial jewelry
7Maya 2025
5Latest blogs

Introduction to Level Design Through Blocking in Unreal Engine
23 Hours Ago
Nuke, animating parameters
23 Hours Ago
Introduction to Poly Tools and Prop Modeling in Maya
2 Days Ago
Write a public review