

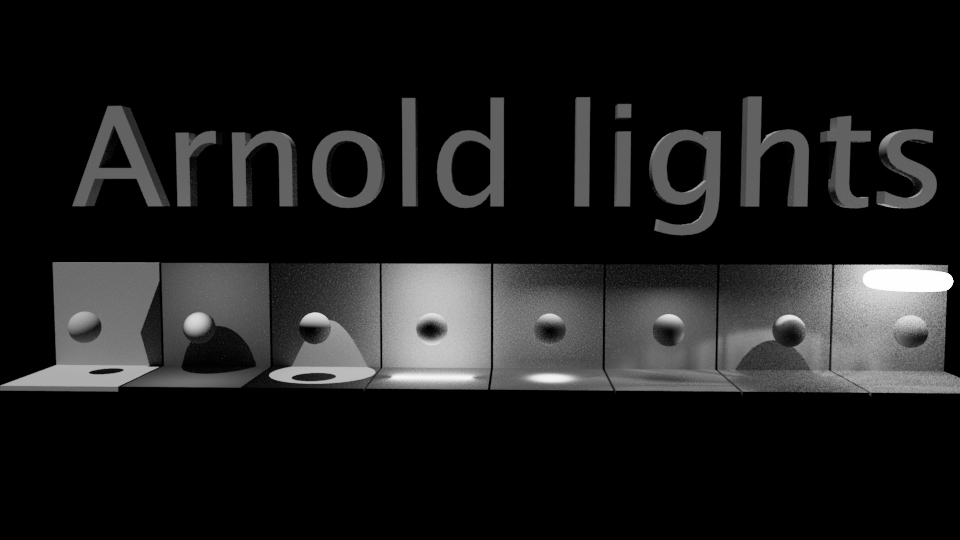
Camera tracking in Nuke
Wed, 26 Jun 2024
Follow the stories of academics and their research expeditions
Total 6 Results
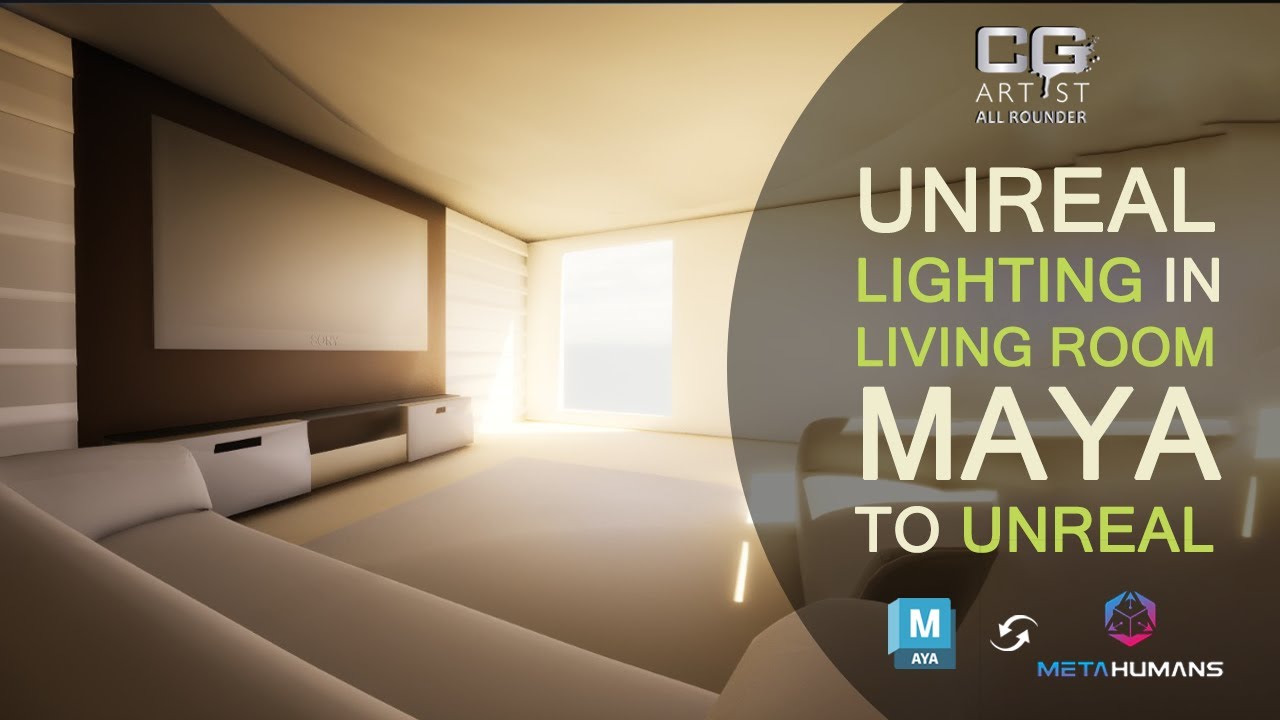
Wed, 26 Jun 2024
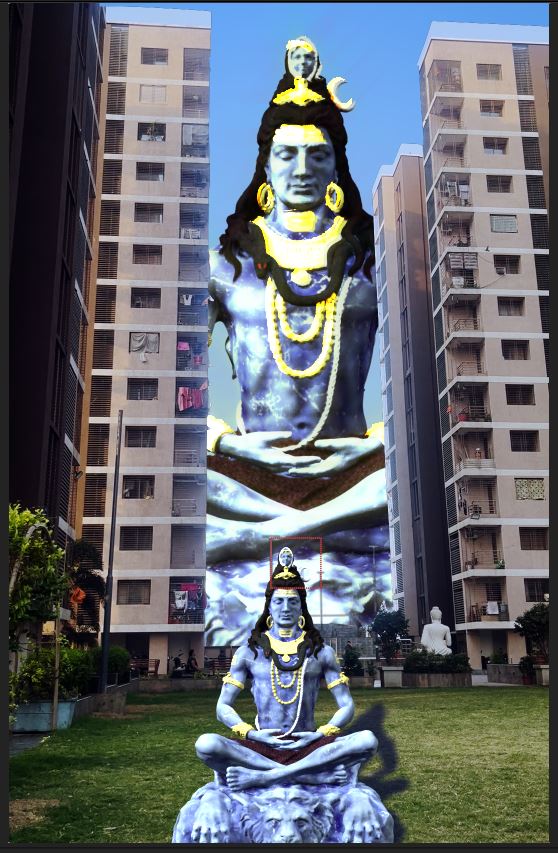
Wed, 29 May 2024
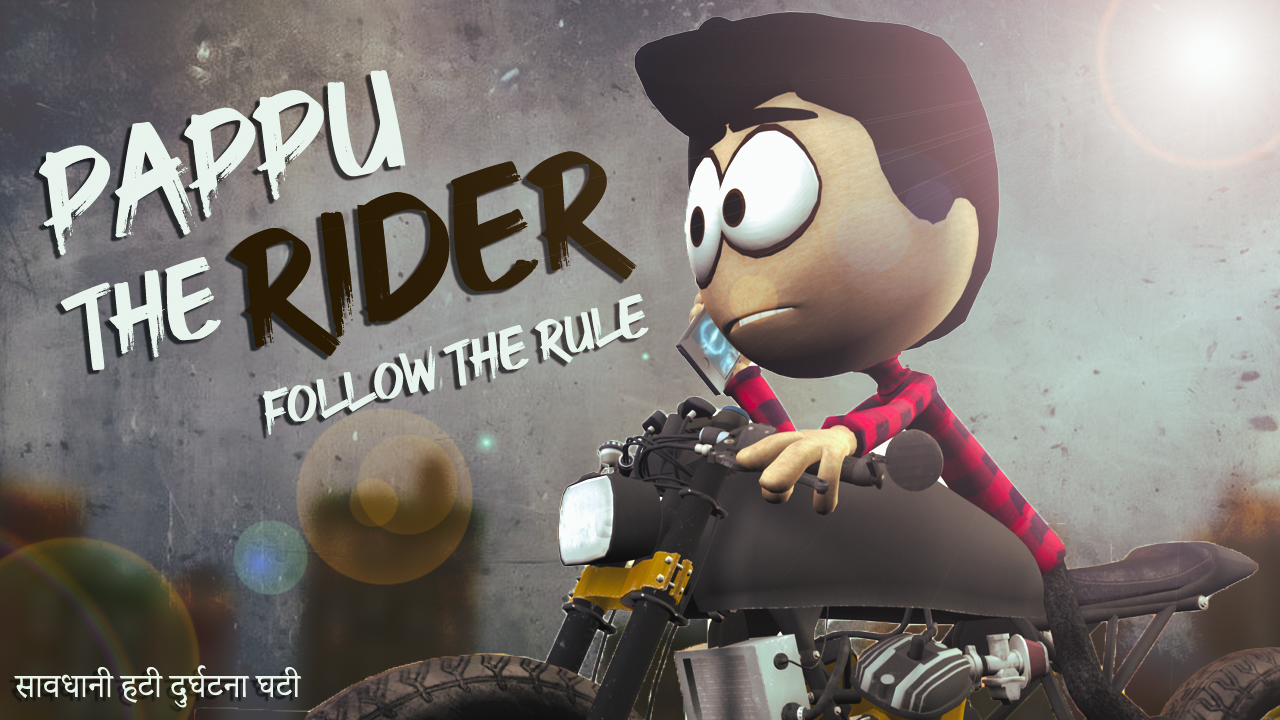
Wed, 29 May 2024

Study any topic, anytime. explore thousands of courses for the lowest price ever! "Unlock Your Creative Potential: Dive into the World of 3D Design and Visual Effects with our Comprehensive Online Courses in Maya, ZBrush, and VFX! Immerse yourself in expert-led tutorials, hands-on projects, and industry insights, tailored for beginners and advanced learners alike. Master the art of 3D modeling, sculpting, and visual effects through cutting-edge software like Maya and ZBrush. Elevate your skills with real-world projects and unleash your creativity in the dynamic realm of digital art. Join a vibrant online community, receive personalized feedback, and embark on a transformative learning journey that empowers you to bring your visions to life in the exciting world of animation and visual effects."