Published - Wed, 08 Jan 2025
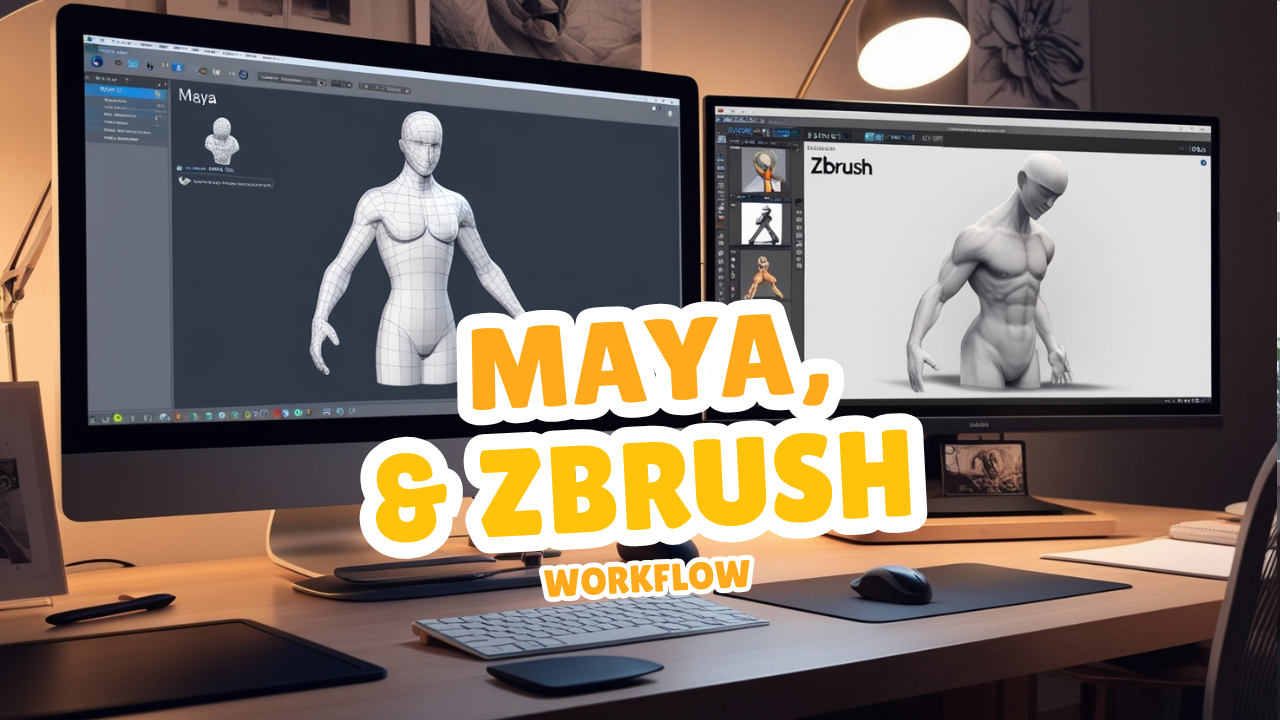
Maya and ZBrush workflow
The Maya and ZBrush workflow is ideal for creating high-quality 3D models, combining Maya’s modeling and animation tools with ZBrush’s powerful sculpting capabilities. Here's a step-by-step guide:
1. Modeling in Maya
- Create a Base Mesh:
- Start with a low-poly base model in Maya.
- Ensure proper topology with quads for smooth subdivision in ZBrush.
- UV Mapping (optional at this stage):
- If you plan to sculpt details directly, UV mapping isn't necessary in Maya before exporting to ZBrush. However, creating a UV layout early can be useful for texturing later.
- Optimize Geometry:
- Clean up the model, remove unnecessary faces, and ensure a good edge flow.
2. Importing to ZBrush
https://www.youtube.com/watch?v=KlpCMrVmQRw&list=PLIi3DnFfUZQHh8DfzkXZkv8SINdpZb7oo
- Export Base Mesh from Maya:
- Export the low-poly base model as an OBJ or FBX.
- Import to ZBrush:
- Open ZBrush and import the base mesh.
- Subdivide the Mesh:
- Increase the subdivision levels to add more geometry for detailed sculpting.
- Sculpting High-Poly Details:
- Use ZBrush tools like brushes, masking, and alphas to sculpt fine details (e.g., wrinkles, pores, or patterns).
- Symmetry:
- Use symmetry tools for uniform sculpting on both sides of the model.
https://www.youtube.com/watch?v=--F-0uYchqE
https://www.youtube.com/watch?v=NzPGT_9DF1E
https://www.youtube.com/watch?v=3_2B533RC1c
https://www.youtube.com/watch?v=JNvrASuuxwI
https://www.youtube.com/watch?v=-Lsay7Ais-w&list=PLIi3DnFfUZQHflrvxxjEzDKCQH-NMNR9p
https://www.youtube.com/watch?v=f6KGosgFg8E
3. Retopology and UV Mapping
- Retopologize in ZBrush:
- Use ZRemesher to create a clean, optimized low-poly mesh suitable for animation or export back to Maya.
- UV Mapping in ZBrush or Maya:
- Create UV maps in ZBrush using UV Master or export the retopologized mesh back to Maya for detailed UV unwrapping.
https://www.youtube.com/watch?v=AsANHrxHLlg
https://www.youtube.com/watch?v=M4k3pHs-uqg
https://www.youtube.com/watch?v=kZL_InsGpfM
https://www.youtube.com/watch?v=W7J3a8pkFOE
https://www.youtube.com/watch?v=8ejYoxjrgTQ
4. Baking Maps
- Generate Normal and Displacement Maps:
- In ZBrush, bake Normal and Displacement maps using the high-poly and low-poly meshes.
- These maps capture fine details from the high-poly sculpt and apply them to the low-poly model.
- Export Maps:
- Export the baked maps (e.g., Normal, Displacement) for use in Maya or other software.
5. Importing Back to Maya
- Load the Low-Poly Model:
- Import the retopologized, low-poly mesh back into Maya.
- Apply Maps:
- Use Hypershade to connect Normal and Displacement maps to the material (e.g., aiStandardSurface for Arnold).
- Normal Map → Bump Mapping (set to Tangent Space Normals).
- Displacement Map → Displacement Shader.
- Adjust Settings:
- Fine-tune displacement values for optimal rendering.
https://www.youtube.com/watch?v=sqXdSUMq-4Y
https://www.youtube.com/watch?v=TaE9-gId93Q
https://www.youtube.com/watch?v=sLzcXtoJgAc
https://www.youtube.com/watch?v=Zj99wW9eDK0
6. Lighting and Rendering
- Set Up Lights:
- Use HDRI or physical lights in Maya for realistic illumination.
- Render with Arnold or Other Engines:
- Use Maya's Arnold renderer or another engine to render the model with all the sculpted details applied.
Optional: Texturing Workflow
- If needed, export the low-poly model with maps to Substance Painter or another texturing tool for painting and creating PBR textures.
Tips for a Smooth Workflow
- Maintain consistent scaling between Maya and ZBrush.
- Save incremental versions of your files.
- Use ZBrush’s GoZ feature for a seamless connection between ZBrush and Maya.
- Optimize the mesh for animation or game-ready assets by keeping polygon count manageable.
Let me know if you'd like to explore a specific step in more detail!
Created by

Anil Chauhan
Welcome to my website! My name is Anil Chauhan, and I am a 3D modeling and animation expert with over 15 years of experience in the field. I have a passion for creating visually stunning 3D models, animations, and graphics, and I'm excited to share my expertise with you. Whether you're a beginner or an experienced artist, I can help you improve your skills in 3D modeling, texturing, lighting, animation, rigging, CG graphics, and VFX. Let's work together to bring your creative ideas to life!
Welcome to my website! My name is Anil Chauhan, and I am a 3D modeling and animation expert with over 15 years of experience in the field. I have always had a passion for creating visually stunning 3D models, animations, and graphics, and my work has been featured in a variety of industries including film, television, advertising, and video games.
Throughout my career, I have had the opportunity to work on a wide range of projects, from small independent films to large-scale productions. This has given me a diverse set of skills and a deep understanding of the 3D animation process from start to finish. I have expertise in complete 3D modeling, texturing, lighting, animation, rigging, CG graphics, and VFX, and I'm always eager to take on new and exciting challenges.
As a tutor, I am dedicated to sharing my knowledge and experience with aspiring artists and professionals alike. I believe that everyone has the potential to create amazing 3D models and animations, and I'm committed to helping my students achieve their goals. Whether you're a beginner looking to get started in the world of 3D animation, or an experienced artist looking to take your skills to the next level, I can provide personalized training and guidance to help you achieve your creative vision.
Comments (0)
Search
Popular categories
Adobe After Effects 2025
27Unreal Engine
14zbrush
10Maya Animation
8zbrush tutorial jewelry
7Maya 2025
5Latest blogs

Introduction to Level Design Through Blocking in Unreal Engine
1 Day Ago
Nuke, animating parameters
1 Day Ago
Introduction to Poly Tools and Prop Modeling in Maya
2 Days Ago
Write a public review