Published - Wed, 05 Feb 2025
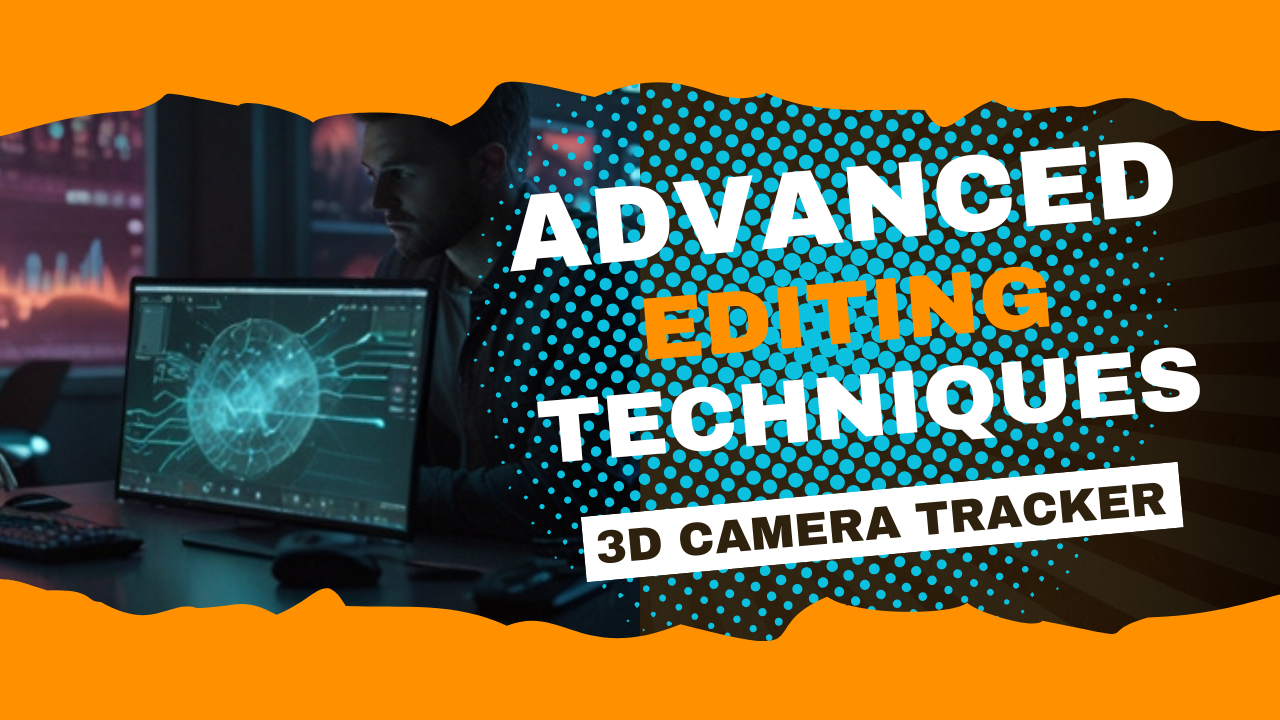
Advanced Editing Techniques
After Effects offers a wide range of advanced editing techniques that can take your motion graphics, visual effects, and compositing skills to the next level. Here are some key techniques to explore:
1. Advanced Masking & Rotoscoping
- Rotobrush 2.0: Quickly separate subjects from backgrounds.
- Refine Edge Tool: Helps with hair and fine details.
- Track Mattes & Alpha Mattes: Use shapes or text to mask specific areas.
- Content-Aware Fill: Removes objects and fills gaps intelligently.
2. Expressions & Scripting
- Wiggle Expression:
wiggle(3,50)creates random motion. - Time Expression:
time*100generates continuous movement. - Looping Animation:
loopOut("cycle")for seamless loops. - Master Properties & Essential Graphics: Customize elements easily in Premiere Pro.
3. Advanced Motion Tracking
- Point Tracking: Attach elements to moving objects.
- Planar Tracking (Mocha AE): Used for screen replacements.
- 3D Camera Tracking: Integrate text/effects into real-world footage.
- Parallax Effects: Create depth using multiple layers.
4. 3D & Depth Techniques
- 3D Layer Controls: Rotate, scale, and position objects in a 3D space.
- Cameras & Depth of Field: Simulate cinematic depth.
- Parallax 3D Effect: Convert 2D images into depth-rich motion.
- Element 3D Plugin: Create and animate 3D objects.
5. Advanced Keying & Compositing
- Keylight Plugin: High-quality green screen removal.
- Spill Suppression: Reduce green/blue light reflections.
- Light Wrap Technique: Blend keyed elements with backgrounds.
- Shadow & Reflection Compositing: Enhance realism.
6. Time Manipulation
- Time Remapping: Speed ramping and slow-motion effects.
- Echo & Pixel Motion Blur: Create fluid, trailing effects.
- Frame Blending & Optical Flow: Smooth out speed changes.
7. Particle Effects & Simulations
- Particular Plugin (Trapcode Suite): Advanced particle systems.
- CC Particle World: Built-in alternative for particle effects.
- Newton Plugin: Adds real-world physics to animations.
- Liquify & Displacement Maps: Create organic distortions.
8. Color Grading & Visual Enhancements
- Lumetri Color Panel: Fine-tune exposure and color.
- Lookup Tables (LUTs): Apply professional color grades.
- Glow & Bloom Effects: Enhance light sources for realism.
- Chromatic Aberration: Mimic lens imperfections.
9. Procedural Animation & Effects
- Fractal Noise & Turbulent Displace: Generate natural textures.
- Audio Reactivity: Use audio amplitude to drive animations.
- Shape Layer Animations: Create complex motion graphics.
10. Advanced Transitions & Effects
- Shatter Effect: Simulate object breakage.
- Morphing Transitions: Seamless morphing between images.
- Camera Shake & Motion Blur: Add cinematic realism.
- Glitch & Distortion Effects: Create digital interference effects.
Motion stabilization in After Effects is essential for fixing shaky footage and making it look smooth and professional. Here are different techniques to achieve motion stabilization:
1. Warp Stabilizer (Easiest & Most Common)
Steps:
-
Import your shaky footage into After Effects.
-
Select the clip in the timeline.
-
Go to Effect > Distort > Warp Stabilizer.
-
After the analysis is complete, adjust the settings:
- Result: "Smooth Motion" (retains some movement) or "No Motion" (completely stabilized).
- Smoothness: Increase for stronger stabilization (default is 50%).
- Method:
- Subspace Warp (Best for complex movement)
- Perspective (For slight perspective changes)
- Position, Scale, Rotation (For minimal correction)
- Position Only (Least invasive)
-
If you see warping, switch Method to "Position, Scale, Rotation."
-
Adjust Crop Less - Smooth More for better results.
Pro Tip:
- If the footage becomes too zoomed-in, use "Stabilize Only" mode, then manually scale and reposition.
2. Manual Stabilization Using Motion Tracking
For more control, you can manually stabilize using the built-in motion tracking.
Steps:
- Import your footage and open it in the Layer Panel.
- Go to Window > Tracker to open the tracker panel.
- Select your clip and click Track Motion.
- Choose Position Only (or add Rotation/Scale if needed).
- Place the tracking point on a high-contrast area that remains visible throughout the clip.
- Click Analyze Forward ▶ (let it process the movement).
- Once tracking is complete, create a Null Object (Layer > New > Null Object).
- Click Edit Target in the Tracker panel and select the Null Object.
- Click Apply (X and Y axis).
- Parent your footage to the Null Object (using the pick whip) to stabilize.
Pro Tip:
- If needed, manually adjust keyframes to fine-tune stabilization.
3. Smoother Motion with Expressions
For subtle stabilization, you can use expressions to reduce jitter.
Steps:
- Select your shaky footage.
- Press P to open Position properties.
- Hold Alt (Option on Mac) and click the stopwatch.
- Enter this expression:
temp = wiggle(5,2); [temp[0], temp[1]] - Adjust numbers for different levels of smoothness.
4. Using Mocha AE for Advanced Stabilization
For more control over specific areas:
- Open Effects & Presets > Mocha AE and apply it to your clip.
- Inside Mocha, track a stable feature in your scene.
- Export the tracking data and apply it to a Null Object.
- Parent your footage to the Null Object for stabilization.
Which Method Should You Use?
- For quick fixes: Use Warp Stabilizer.
- For more control: Use manual tracking with a Null Object.
- For professional stabilization: Use Mocha AE.
Motion Tracking in After Effects
Motion tracking allows you to track the movement of an object in a video and apply that movement to another element, such as text, graphics, or effects. After Effects provides different tracking methods depending on your needs.
1. Single-Point Tracking (Basic)
Used for tracking simple movement (e.g., a single object like a logo or eye movement).
Steps:
- Import your footage and select it in the timeline.
- Go to Window > Tracker to open the Tracker Panel.
- Click Track Motion (this opens the Layer Panel).
- In the Tracker Controls, enable Position (for simple tracking).
- Place the tracking point on a high-contrast feature.
- Click Analyze Forward ▶ to track motion frame-by-frame.
- Create a Null Object (Layer > New > Null Object).
- Click Edit Target, select the Null Object, and press Apply (X and Y).
- Parent other elements (text, images) to the Null Object using the pick whip.
???? Best For: Attaching elements to moving objects (e.g., text following a moving car).
2. Multi-Point Tracking (Position, Rotation, Scale)
Used when an object rotates or changes size.
Steps:
- Follow the steps from Single-Point Tracking, but enable Rotation and Scale in the Tracker Controls.
- Set two tracking points on opposite edges of the moving object.
- Apply tracking to a Null Object and attach elements to it.
???? Best For: Attaching graphics or effects to moving objects with depth.
3. Planar Tracking (Mocha AE)
Used for tracking flat surfaces (e.g., screens, signs, walls).
Steps:
- Apply Mocha AE (Effect > BorisFX Mocha AE) to your footage.
- Open Mocha AE, select a planar surface, and draw a tracking shape.
- Click Track Forward ▶ to analyze movement.
- Export tracking data and apply it to a solid or adjustment layer.
???? Best For: Screen replacements, logo tracking on walls, object removal.
4. 3D Camera Tracking (Advanced)
Used for tracking objects in 3D space (e.g., placing 3D text in a scene).
Steps:
- Select your footage and go to Effect > 3D Camera Tracker.
- After analysis, hover over the footage to see tracking points.
- Right-click a group of points and choose Create Null & Camera.
- Attach elements (text, graphics) to the Null Object.
???? Best For: Integrating text and objects into a real-world 3D scene.
5. Motion Tracking with Expressions (Smooth Movement)
You can use expressions to smooth out motion tracking.
- After tracking, go to the Position property of the target object.
- Alt+Click the stopwatch and enter:
temp = wiggle(2,5); [temp[0], temp[1]] - Adjust numbers for more/less movement.
???? Best For: Creating natural-looking movement in tracked elements.
Which Tracking Method Should You Use?
- ✅ Basic Object Tracking → Single-Point Tracking
- ✅ Scaling & Rotating Objects → Multi-Point Tracking
- ✅ Screen/Logo Replacements → Mocha AE
- ✅ Adding 3D Text in a Scene → 3D Camera Tracker
Face Tracking in After Effects
Face tracking in After Effects allows you to track facial features for effects like motion graphics, retouching, or facial replacements. There are two primary methods for face tracking:
1️⃣ Face Tracking with After Effects (Built-in Face Tracker)
2️⃣ Face Tracking with Mocha AE (For More Advanced Control)
1. Face Tracking with After Effects (Easy & Built-in)
This method allows you to track facial features like eyes, nose, and mouth without plugins.
Steps:
- Import Footage: Drag your video into the timeline.
- Open the Layer Panel: Double-click the footage to open it in the Layer Panel.
- Enable Face Tracking:
- Go to Window > Tracker to open the Tracker Panel.
- Select Face Tracking (Detailed Features) or Face Tracking (Outline Only).
- Start Tracking: Click Analyze Forward ▶ to begin tracking.
- After Tracking Completes:
- Right-click on the footage and choose Convert to Keyframes.
- This creates keyframes for facial movements.
- Attach Effects or Graphics:
- Create a Null Object and copy the keyframes to it.
- Parent other elements (e.g., glasses, effects) to the Null Object.
???? Best For: Applying face effects, color correction on specific areas, or motion-tracking masks.
2. Face Tracking with Mocha AE (For Advanced Tracking & Face Replacement)
Mocha AE provides more control and is ideal for advanced face tracking.
Steps:
- Apply Mocha AE:
- Select your footage.
- Go to Effects & Presets > BorisFX Mocha AE and apply it.
- Open Mocha AE:
- Click "Track in Mocha" to open the Mocha interface.
- Create a Tracking Mask:
- Use the X-Spline or Bezier tool to draw around the face.
- Enable Shear & Perspective Tracking for accurate results.
- Track Forward ▶: Let Mocha track the face.
- Export Tracking Data:
- In Mocha, go to Export Tracking Data > After Effects Transform Data.
- Paste the data into a Null Object in After Effects.
- Attach Effects or Elements:
- Parent face effects, text, or graphics to the Null Object.
???? Best For: High-precision face tracking, face replacements, advanced VFX.
3. Applying Effects to a Tracked Face
Once you have a face tracked, you can:
✅ Add Motion Graphics (e.g., attach animated sunglasses, hats).
✅ Apply Retouching (e.g., smooth skin, lighten eyes).
✅ Face Replacement (e.g., swap a face with another actor).
✅ Blend Effects with the Face (e.g., fire effects, cyberpunk overlays).
3D Camera Tracker in After Effects
The 3D Camera Tracker in After Effects analyzes video footage and creates a virtual 3D camera that matches the movement of the real-world camera. This allows you to place objects, text, and effects into a scene as if they were part of the original footage.
Steps to Use the 3D Camera Tracker
1. Prepare Your Footage
- Import your video and place it in the timeline.
- Ensure the clip has enough parallax movement (depth changes) for accurate tracking.
2. Apply the 3D Camera Tracker
- Select your footage in the timeline.
- Go to Effect > Track Camera.
- After Effects will analyze the footage (this may take time, depending on the resolution and length).
- Once completed, a series of colored tracking points will appear over the footage.
3. Create a 3D Null, Text, or Solid
- Hover over the tracking points. When they form a triangle, right-click and choose:
- Create Text and Camera (for adding 3D text)
- Create Solid and Camera (for placing a solid layer)
- Create Null and Camera (for attaching objects)
- A 3D Camera is automatically created in the timeline.
- Attach any graphics, 3D elements, or effects to the Null Object to match the camera movement.
4. Adjust the Scene
- Scale, rotate, or move the elements to fit naturally into the tracked scene.
- Use motion blur or depth of field for added realism.
Tips for Better 3D Camera Tracking
✅ Use High-Quality Footage – Avoid too much motion blur.
✅ Ensure Parallax Motion – The tracker needs foreground and background depth changes.
✅ Adjust Solve Method – If tracking fails, go to Advanced and change the Solve Method (e.g., "Tripod Pan" for static shots).
✅ Refine Tracking Points – Manually delete bad tracking points for better accuracy.
Best Uses of the 3D Camera Tracker
???? Adding 3D Text in a Scene
???? Attaching Objects to Moving Elements (e.g., labels on buildings)
???? Creating VFX Effects (e.g., explosions that match camera movement)
???? Replacing Billboards or Screens in Videos
Would you like a step-by-step guide for a specific effect? ????
Created by
Shavikant Chauhan
Welcome to my website! My name is Anil Chauhan, and I am a 3D modeling and animation expert with over 15 years of experience in the field. I have a passion for creating visually stunning 3D models, animations, and graphics, and I'm excited to share my expertise with you. Whether you're a beginner or an experienced artist, I can help you improve your skills in 3D modeling, texturing, lighting, animation, rigging, CG graphics, and VFX. Let's work together to bring your creative ideas to life!
Welcome to my website! My name is Shavikant Chauhan, and I am a 3D modeling and animation expert with over 15 years of experience in the field. I have always had a passion for creating visually stunning 3D models, animations, and graphics, and my work has been featured in a variety of industries including film, television, advertising, and video games.
Throughout my career, I have had the opportunity to work on a wide range of projects, from small independent films to large-scale productions. This has given me a diverse set of skills and a deep understanding of the 3D animation process from start to finish. I have expertise in complete 3D modeling, texturing, lighting, animation, rigging, CG graphics, and VFX, and I'm always eager to take on new and exciting challenges.
As a tutor, I am dedicated to sharing my knowledge and experience with aspiring artists and professionals alike. I believe that everyone has the potential to create amazing 3D models and animations, and I'm committed to helping my students achieve their goals. Whether you're a beginner looking to get started in the world of 3D animation, or an experienced artist looking to take your skills to the next level, I can provide personalized training and guidance to help you achieve your creative vision.
Comments (0)
Search
Popular categories
Adobe After Effects 2025
30Unreal Engine
15zbrush
10Light
10Maya Animation
8zbrush tutorial jewelry
7Latest blogs
Introduction to Arnold in Maya
Mon, 24 Feb 2025
Substance to Maya Workflow
Sat, 22 Feb 2025
ZBrush User Interface Overview
Fri, 21 Feb 2025
Write a public review