Published - Wed, 19 Feb 2025
Introduction to Rendering in Maya
Maya Rendering introduction,
1.Rendering a scene
### Introduction to Rendering in Maya
Rendering is the process of generating a 2D image or animation from a 3D scene. In Autodesk Maya, rendering involves calculating the lighting, shading, textures, and other visual elements to produce the final output. Maya offers several rendering options, including the built-in **Arnold** renderer, as well as support for third-party renderers like **V-Ray**, **Redshift**, and **RenderMan**.
---
### 1. Rendering a Scene in Maya
Here’s a step-by-step guide to rendering a scene in Maya:
---
#### **Step 1: Set Up Your Scene**
- Ensure your 3D scene is complete with models, textures, lighting, and cameras.
- Position the camera to frame the shot you want to render.
- Adjust lighting to achieve the desired mood and shadows.
---
#### **Step 2: Choose a Renderer**
- Maya’s default renderer is **Arnold** (since Maya 2017).
- To select a renderer:
1. Go to the **Render Settings** window (`Window > Rendering Editors > Render Settings`).
2. Under the **Render Using** dropdown, choose your preferred renderer (e.g., Arnold, Maya Software, etc.).
---
#### **Step 3: Configure Render Settings**
- Open the **Render Settings** window.
- Set the following parameters:
- **Image Size**: Define the resolution (e.g., 1920x1080 for HD).
- **File Output**: Specify the file format (e.g., .png, .jpg, .exr) and output directory.
- **Frame Range**: Set the start and end frames for animations.
- **Quality**: Adjust sampling and ray depth for better quality (Arnold: AASamples, Camera AA).
---
#### **Step 4: Add Materials and Textures**
- Assign materials to your objects using the **Hypershade** editor (`Window > Rendering Editors > Hypershade`).
- Use Arnold materials like **aiStandardSurface** for realistic shading.
- Apply textures to the material attributes (e.g., color, roughness, bump maps).
---
#### **Step 5: Set Up Lighting**
- Add lights to your scene (`Create > Lights`).
- Use Arnold lights (e.g., `aiAreaLight`, `aiSkyDomeLight`) for compatibility with Arnold rendering.
- Adjust light intensity, color, and shadows to enhance the scene.
---
#### **Step 6: Test Render**
- Perform a test render to check the scene:
1. Open the **Render View** window (`Window > Rendering Editors > Render View`).
2. Click the **Render** button (or use `IPR` for interactive rendering in Arnold).
- Make adjustments to lighting, materials, or camera angles as needed.
---
#### **Step 7: Render the Final Image or Animation**
- Once satisfied with the test render, render the final output:
1. In the **Render Settings**, ensure all parameters are correct.
2. Go to `Render > Render Sequence` (for animations) or `Render > Render Image` (for single frames).
3. Maya will render the scene and save the output to the specified directory.
---
#### **Step 8: Post-Processing (Optional)**
- Use compositing software like **Adobe After Effects** or **Nuke** to enhance the rendered images or animations.
- Adjust color grading, add effects, or composite multiple layers.
---
### Tips for Efficient Rendering
- **Optimize Geometry**: Reduce polygon count where possible.
- **Use Render Layers**: Separate objects into layers for better control.
- **Enable GPU Rendering**: If using a renderer like Arnold or Redshift, enable GPU rendering for faster results.
- **Batch Render**: For animations, use batch rendering to process multiple frames simultaneously.
---
By following these steps, you can successfully render a scene in Maya and achieve high-quality results. Experiment with different renderers and settings to find the best workflow for your project!
Created by
Shavikant Chauhan
Welcome to my website! My name is Anil Chauhan, and I am a 3D modeling and animation expert with over 15 years of experience in the field. I have a passion for creating visually stunning 3D models, animations, and graphics, and I'm excited to share my expertise with you. Whether you're a beginner or an experienced artist, I can help you improve your skills in 3D modeling, texturing, lighting, animation, rigging, CG graphics, and VFX. Let's work together to bring your creative ideas to life!
Welcome to my website! My name is Shavikant Chauhan, and I am a 3D modeling and animation expert with over 15 years of experience in the field. I have always had a passion for creating visually stunning 3D models, animations, and graphics, and my work has been featured in a variety of industries including film, television, advertising, and video games.
Throughout my career, I have had the opportunity to work on a wide range of projects, from small independent films to large-scale productions. This has given me a diverse set of skills and a deep understanding of the 3D animation process from start to finish. I have expertise in complete 3D modeling, texturing, lighting, animation, rigging, CG graphics, and VFX, and I'm always eager to take on new and exciting challenges.
As a tutor, I am dedicated to sharing my knowledge and experience with aspiring artists and professionals alike. I believe that everyone has the potential to create amazing 3D models and animations, and I'm committed to helping my students achieve their goals. Whether you're a beginner looking to get started in the world of 3D animation, or an experienced artist looking to take your skills to the next level, I can provide personalized training and guidance to help you achieve your creative vision.
Comments (0)
Search
Popular categories
Adobe After Effects 2025
30Unreal Engine
15zbrush
10Light
10Maya Animation
8zbrush tutorial jewelry
7Latest blogs
Introduction to Arnold in Maya
Mon, 24 Feb 2025
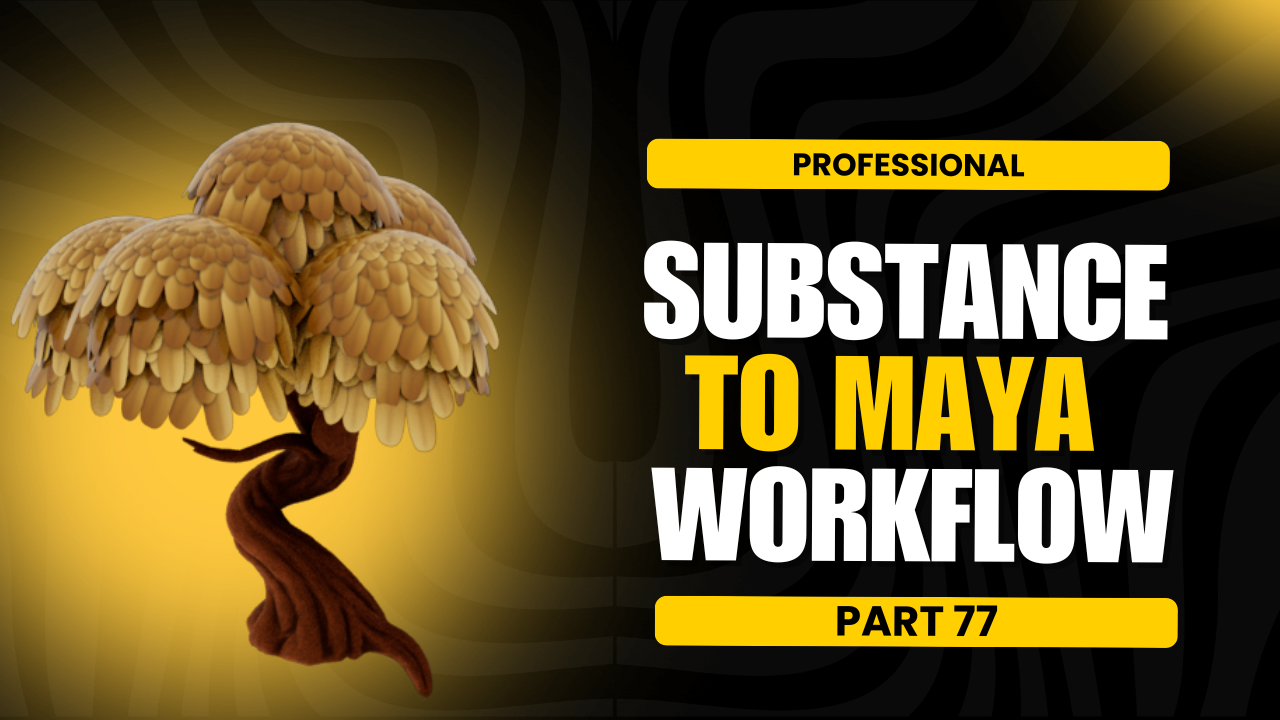
Substance to Maya Workflow
Sat, 22 Feb 2025
ZBrush User Interface Overview
Fri, 21 Feb 2025
Write a public review