Published - Fri, 10 Jan 2025
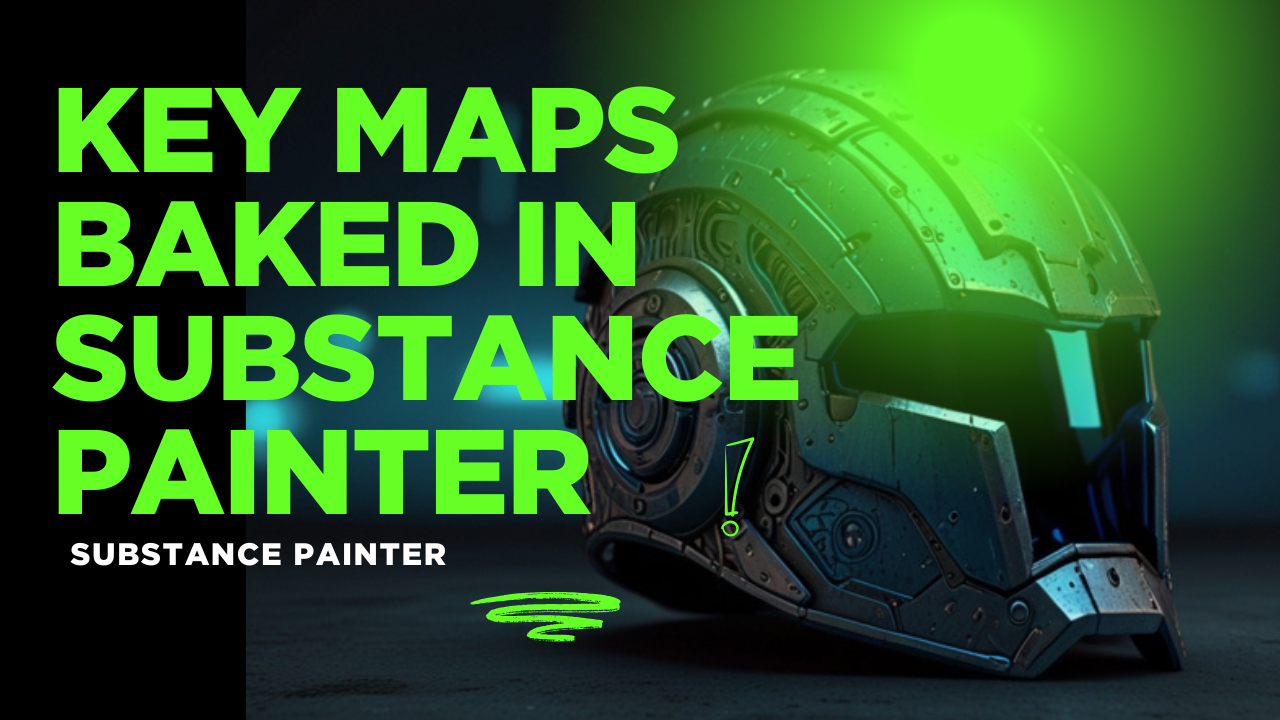
Key Maps Baked in Substance Painter
In Substance Painter, "map baking" refers to the process of transferring information from a high-resolution 3D model (high poly) to a lower-resolution 3D model (low poly) in the form of texture maps. This technique is crucial for creating highly detailed textures and visual fidelity while keeping the model's geometry efficient for performance.
Key Maps Baked in Substance Painter
-
Normal Map:
- Represents surface details such as bumps, grooves, and scratches from the high poly to the low poly model without adding geometry.
- Essential for creating the illusion of complexity and depth.
-
Ambient Occlusion (AO) Map:
- Captures shadows in crevices or areas where light is occluded.
- Adds realism by emphasizing depth and grounding the model in its environment.
-
Curvature Map:
- Highlights edges and concave/convex areas.
- Useful for procedural texturing, such as adding wear and tear effects.
-
Position Map:
- Encodes the object's position in 3D space.
- Facilitates gradient-based effects and advanced procedural workflows.
-
Thickness Map:
- Shows the thickness of the model at each point.
- Used for subsurface scattering or translucency effects.
-
World Space Normal Map:
- Captures the orientation of the model's surface in 3D space.
- Often used for directional effects, like dirt accumulation or weathering.
-
ID Map:
- Encodes different parts of the model with unique colors based on material assignments or polygroups.
- Speeds up the texturing process by enabling quick mask creation for specific regions.
-
Height Map:
- Stores height information, often derived from the high poly model.
- Useful for displacement or as part of creating a detailed normal map.
9.Opacity Map:
- Purpose: Controls the transparency of a material.
- How It Works: Grayscale values determine transparency:
- White: Fully opaque.
- Black: Fully transparent.
- Applications:
- Used for transparent or semi-transparent materials like glass, cloth, or decals.
- Essential for effects like frosted glass, lace patterns, or ghosted elements.
10.Bent Normals map
- Purpose: A specialized map that encodes the average direction of light occlusion for each surface point.
- How It Works:
- Derived from the Ambient Occlusion map during baking.
- Bent normals point toward the areas most exposed to ambient light, differing from standard normals, which point perpendicularly to the surface.
- Applications:
- Improves lighting realism in global illumination and ambient light simulations.
- Used in advanced texturing workflows, especially for environment assets.
- Enhances effects like subtle dirt or light diffusion based on surface exposure.
- Example Use Case: Adding subtle light variations on a surface in shadow-heavy environments, such as underneath a roof or within dense foliage.
How to Bake and Use Bent Normals in Substance Painter
Bake Bent Normals:
- Open Texture Set Settings and select Bake Mesh Maps.
- Enable Bent Normals in the baking options.
- Adjust the rays and sampling settings for high-quality results.
Use Bent Normals:
- Apply the Bent Normals Map as a mask or generator input.
- Combine with AO or Curvature maps for advanced procedural texturing.
- Useful for subtle effects like soft dirt or lighting gradients.
The Map Baking Process in Substance Painter
-
Preparation:
- Ensure both the high poly and low poly models are properly aligned.
- Export the high poly model with sufficient detail and the low poly model optimized for performance.
-
Setup in Substance Painter:
- Import the low poly model into Substance Painter.
- Assign the high poly model as the source for baking.
-
Baking Process:
- Open the Baking Panel (Texture Set Settings > Bake Mesh Maps).
- Adjust parameters like output resolution, anti-aliasing, and cage distance to refine the bake.
- Bake each desired map (or all maps at once) and review the results.
-
Post-Bake Refinements:
- Fix artifacts or errors by adjusting bake settings or tweaking the geometry.
- Combine baked maps into your texturing process, using them for base materials, masks, or procedural effects.
Benefits of Map Baking
- Allows high detail without impacting performance.
- Enables realistic texturing by capturing subtle surface details.
- Provides essential inputs for procedural texturing workflows.
Would you like more details on troubleshooting, best practices, or specific settings for baking in Substance Painter?
Created by

Anil Chauhan
Welcome to my website! My name is Anil Chauhan, and I am a 3D modeling and animation expert with over 15 years of experience in the field. I have a passion for creating visually stunning 3D models, animations, and graphics, and I'm excited to share my expertise with you. Whether you're a beginner or an experienced artist, I can help you improve your skills in 3D modeling, texturing, lighting, animation, rigging, CG graphics, and VFX. Let's work together to bring your creative ideas to life!
Welcome to my website! My name is Anil Chauhan, and I am a 3D modeling and animation expert with over 15 years of experience in the field. I have always had a passion for creating visually stunning 3D models, animations, and graphics, and my work has been featured in a variety of industries including film, television, advertising, and video games.
Throughout my career, I have had the opportunity to work on a wide range of projects, from small independent films to large-scale productions. This has given me a diverse set of skills and a deep understanding of the 3D animation process from start to finish. I have expertise in complete 3D modeling, texturing, lighting, animation, rigging, CG graphics, and VFX, and I'm always eager to take on new and exciting challenges.
As a tutor, I am dedicated to sharing my knowledge and experience with aspiring artists and professionals alike. I believe that everyone has the potential to create amazing 3D models and animations, and I'm committed to helping my students achieve their goals. Whether you're a beginner looking to get started in the world of 3D animation, or an experienced artist looking to take your skills to the next level, I can provide personalized training and guidance to help you achieve your creative vision.
Comments (0)
Search
Popular categories
Adobe After Effects 2025
28Unreal Engine
14zbrush
10Maya Animation
8zbrush tutorial jewelry
7Maya 2025
5Latest blogs

Advanced Editing Techniques
3 Hours Ago

Introduction to Level Design Through Blocking in Unreal Engine
1 Day Ago
Nuke, animating parameters
1 Day Ago
Write a public review