Published - Wed, 20 Dec 2023
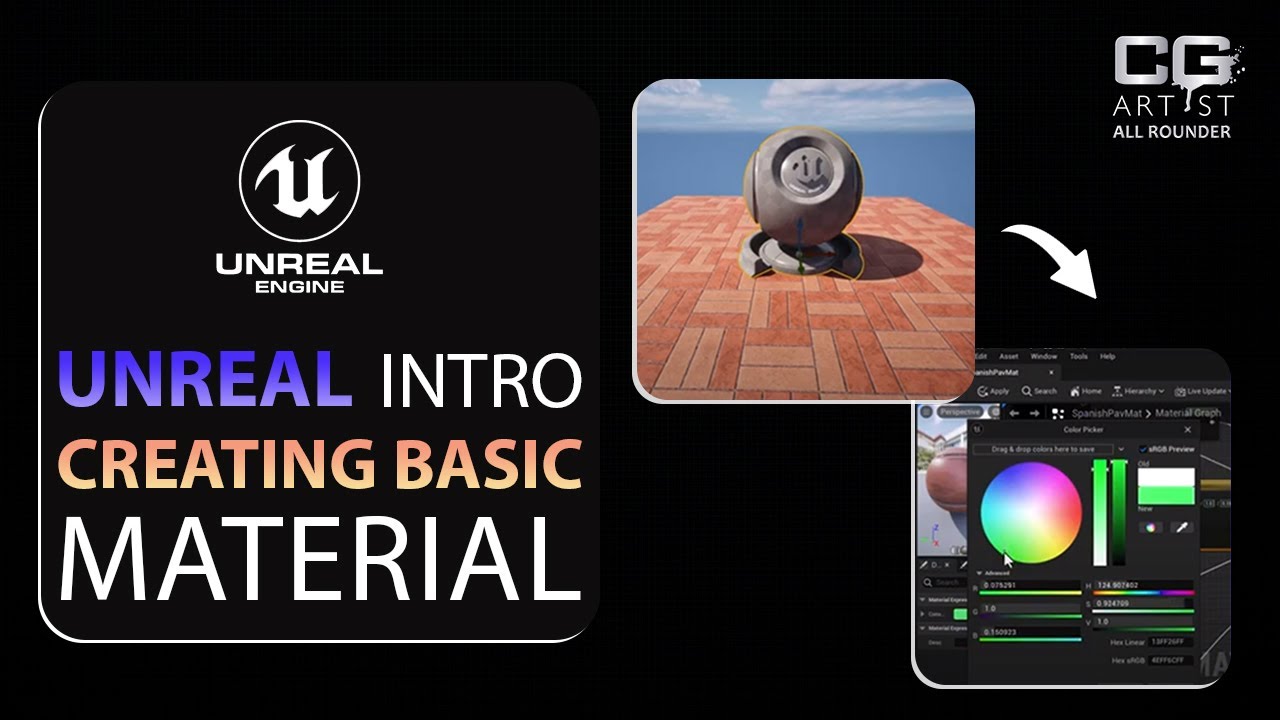
Materials in Unreal Engine
Certainly! Materials in Unreal Engine play a crucial role in defining the appearance of surfaces and objects in a virtual environment. They are a combination of textures, shaders, and other settings that determine how light interacts with a surface. Here's an overview of Unreal Engine materials:
1. **Material Editor:**
- Unreal Engine provides a node-based Material Editor that allows artists and developers to create complex materials visually. It uses a graph-based system where nodes represent different operations and functions.
2. **Basic Components of a Material:**
- **Textures:** These are 2D images that are applied to surfaces to simulate different properties like color, roughness, metallic, normal maps, and more.
- **Scalars and Vectors:** Values used to control various properties of the material, such as color, roughness, metallicness, etc.
- **Mathematical Operations:** Nodes for performing operations like addition, subtraction, multiplication, and more on scalar or vector values.
- **Functions and Shaders:** Specialized nodes for controlling complex visual effects, such as fresnel effects, displacement, and custom shaders.
3. **Physically Based Rendering (PBR):**
- Unreal Engine uses a PBR approach to materials, which means that materials are designed to simulate real-world lighting and shading conditions. This includes properties like albedo (base color), metalness, roughness, and normal maps.
4. **Material Instances:**
- Material Instances allow for the creation of variations of a base material without duplicating the entire material. They can be adjusted in real-time to achieve different looks or respond to dynamic changes in the game.
5. **Material Functions:**
- Material Functions are reusable, self-contained graphs that can be embedded within other materials. They are useful for creating modular and easily maintainable material setups.
6. **Dynamic Material Instances:**
- Unreal Engine allows for the creation of Dynamic Material Instances that can be modified at runtime. This enables dynamic changes to materials during gameplay, such as color changes, emissive effects, or texture swapping.
7. **Material Expressions:**
- Material Expressions are nodes within the Material Editor that perform specific functions, such as texture sampling, normal map operations, or mathematical computations.
8. **Material Parameters:**
- Parameters in materials are exposed properties that can be adjusted externally, allowing for easy customization of materials in different instances or variations.
9. **Material Layers and Blend Modes:**
- Unreal Engine supports material layering, allowing the stacking of multiple materials with different blend modes to achieve complex visual effects. This is particularly useful for creating realistic surfaces with multiple layers, such as dirt on top of a base material.
Understanding how to create and manipulate materials is essential for achieving realistic and visually appealing graphics in Unreal Engine projects. Artists and developers often spend significant time refining materials to achieve the desired look and feel for their virtual environments.
Created by

Anil Chauhan
Welcome to my website! My name is Anil Chauhan, and I am a 3D modeling and animation expert with over 15 years of experience in the field. I have a passion for creating visually stunning 3D models, animations, and graphics, and I'm excited to share my expertise with you. Whether you're a beginner or an experienced artist, I can help you improve your skills in 3D modeling, texturing, lighting, animation, rigging, CG graphics, and VFX. Let's work together to bring your creative ideas to life!
Welcome to my website! My name is Anil Chauhan, and I am a 3D modeling and animation expert with over 15 years of experience in the field. I have always had a passion for creating visually stunning 3D models, animations, and graphics, and my work has been featured in a variety of industries including film, television, advertising, and video games.
Throughout my career, I have had the opportunity to work on a wide range of projects, from small independent films to large-scale productions. This has given me a diverse set of skills and a deep understanding of the 3D animation process from start to finish. I have expertise in complete 3D modeling, texturing, lighting, animation, rigging, CG graphics, and VFX, and I'm always eager to take on new and exciting challenges.
As a tutor, I am dedicated to sharing my knowledge and experience with aspiring artists and professionals alike. I believe that everyone has the potential to create amazing 3D models and animations, and I'm committed to helping my students achieve their goals. Whether you're a beginner looking to get started in the world of 3D animation, or an experienced artist looking to take your skills to the next level, I can provide personalized training and guidance to help you achieve your creative vision.
Comments (0)
Search
Popular categories
Adobe After Effects 2025
28Unreal Engine
14zbrush
10Maya Animation
8zbrush tutorial jewelry
7Maya 2025
6Latest blogs
Mesh |Edit Mesh|Mesh Tools
2 Hours Ago

Advanced Editing Techniques
11 Hours Ago

Introduction to Level Design Through Blocking in Unreal Engine
1 Day Ago
Write a public review