Published - Thu, 12 Oct 2023
unreal engine tutorial : how to create house
Creating a house in Unreal Engine involves several steps, including modeling the house in a 3D modeling software (like Blender or 3ds Max), importing it into Unreal Engine, and then adding materials, lighting, and interactivity. Here's a simplified step-by-step guide to create a basic house in Unreal Engine:
Step 1: Model the House in a 3D Modeling Software:
- Use a 3D modeling software like Blender or 3ds Max to create the 3D model of the house.
- Include details such as walls, roof, doors, windows, and any other architectural features you want.
- Make sure to properly UV map your model for textures if needed.
Step 2: Export the House Model:
- Export the house model in a compatible 3D file format such as FBX or OBJ.
- Be sure to include any associated texture maps (diffuse, normal, specular, etc.) when exporting.
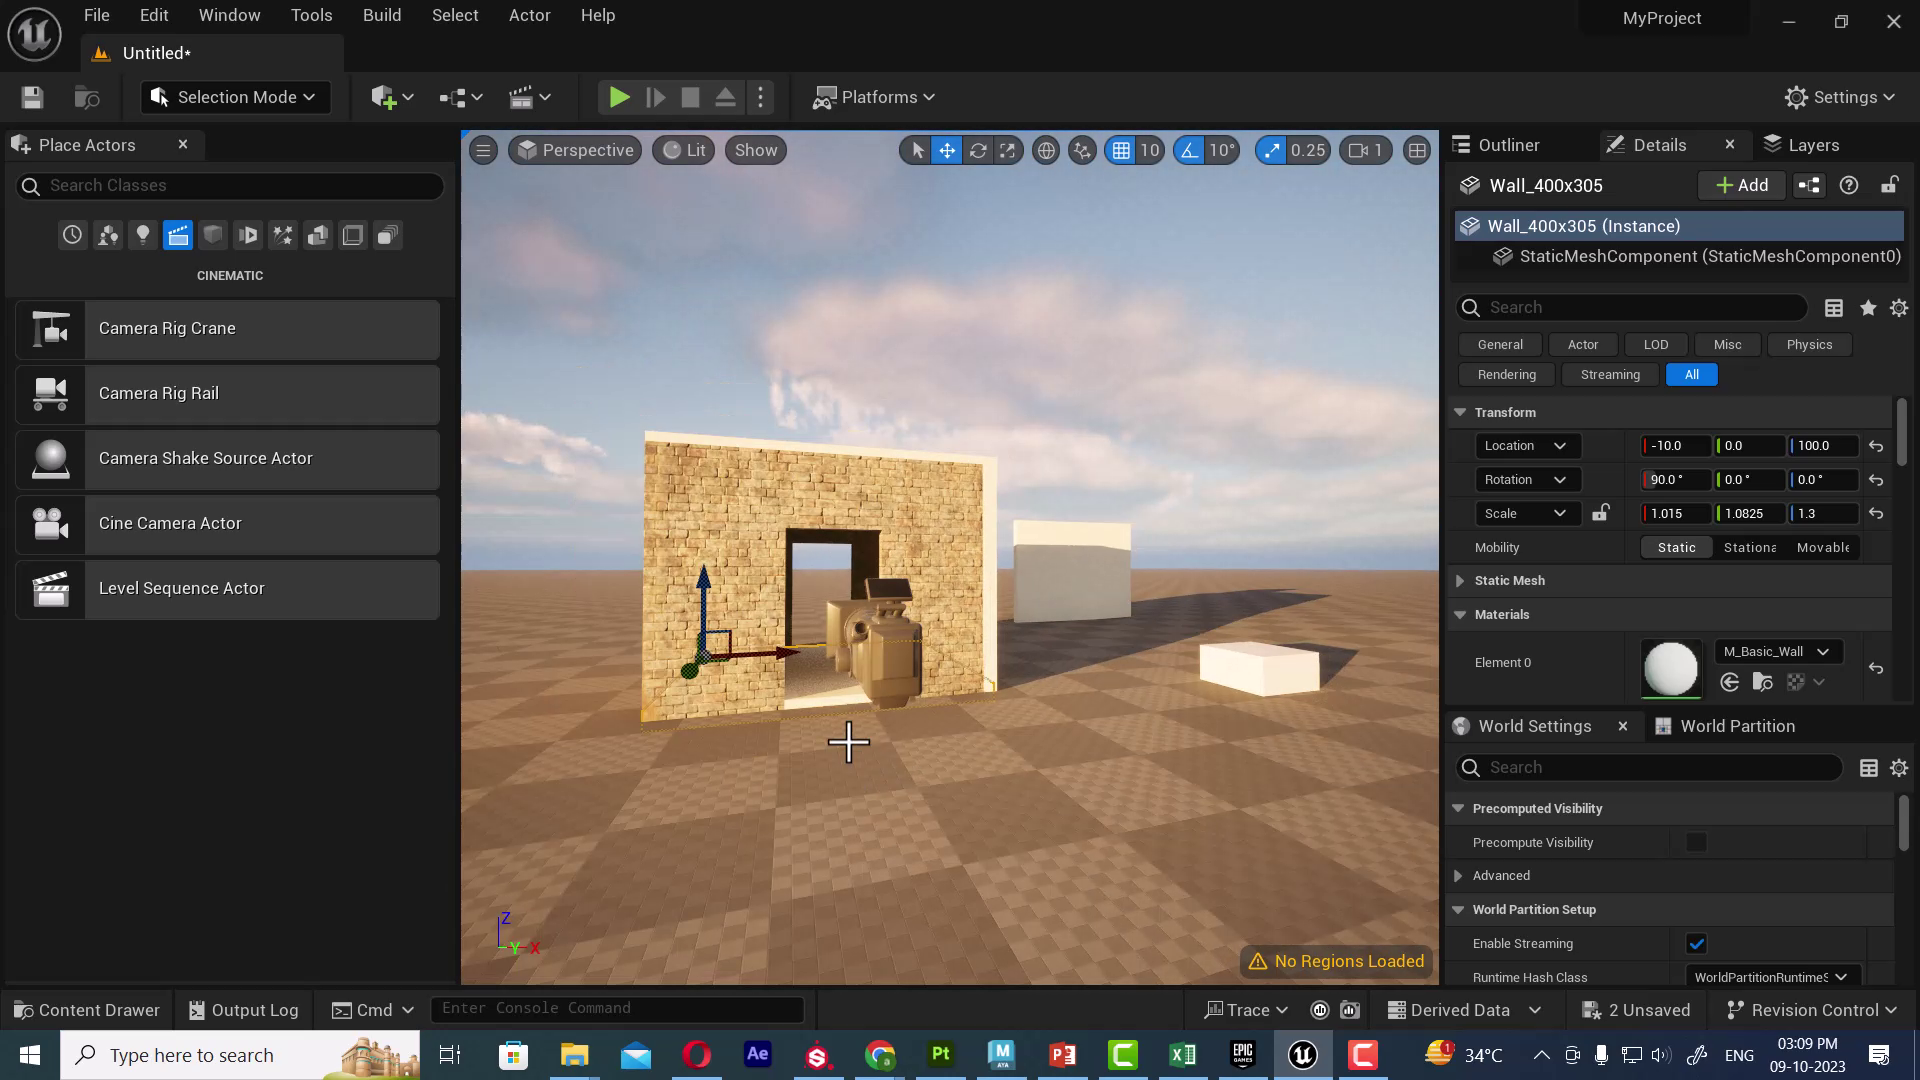
Step 3: Import the House Model into Unreal Engine:
- Open Unreal Engine and your project.
- In the Content Browser, navigate to the location where you want to import the house model.
- Right-click and choose "Import."
- Select your house model file (e.g., FBX) and any texture files.
- Adjust import settings as needed and click "Import."
Step 4: Add Materials:
- In the Content Browser, create materials for your house.
- Apply the materials to the corresponding parts of your house model.
- You can use the Material Editor to create and fine-tune materials.
Step 5: Place the House in the Level:
- Open your level or create a new one.
- Drag and drop the house model from the Content Browser into the level's viewport.
Step 6: Add Lighting:
- Place light sources in your scene to illuminate the house. You can use Directional Lights for sunlight, Point Lights for indoor lighting, and Spotlights for focused lighting.
- Adjust the properties of these lights to achieve the desired lighting effect.
Step 7: Set Up the Landscape and Surroundings:
- Create a landscape or terrain around the house if your scene requires it.
- Add foliage, trees, and other environmental elements.
Step 8: Add Interactivity:
- If you want to create an interactive experience, you can use Blueprints to add functionality like opening doors, turning on lights, or other interactive elements.
Step 9: Test and Refine:
- Playtest your scene to ensure everything works as expected.
- Make adjustments and refinements to improve the overall look and feel.
Step 10: Packaging and Distribution:
- Once your house and scene are ready, package the project for your target platform (e.g., Windows) and distribute it if needed.
Please note that this is a simplified guide, and creating a detailed, realistic house in Unreal Engine can be quite complex, especially if you're looking for a highly detailed, architectural visualization. It may involve additional considerations like real-world scale, accurate materials, and realistic lighting setups. Consider exploring Unreal Engine's documentation and taking more in-depth tutorials for a comprehensive understanding of the process.
Created by

Anil Chauhan
Welcome to my website! My name is Anil Chauhan, and I am a 3D modeling and animation expert with over 15 years of experience in the field. I have a passion for creating visually stunning 3D models, animations, and graphics, and I'm excited to share my expertise with you. Whether you're a beginner or an experienced artist, I can help you improve your skills in 3D modeling, texturing, lighting, animation, rigging, CG graphics, and VFX. Let's work together to bring your creative ideas to life!
Welcome to my website! My name is Anil Chauhan, and I am a 3D modeling and animation expert with over 15 years of experience in the field. I have always had a passion for creating visually stunning 3D models, animations, and graphics, and my work has been featured in a variety of industries including film, television, advertising, and video games.
Throughout my career, I have had the opportunity to work on a wide range of projects, from small independent films to large-scale productions. This has given me a diverse set of skills and a deep understanding of the 3D animation process from start to finish. I have expertise in complete 3D modeling, texturing, lighting, animation, rigging, CG graphics, and VFX, and I'm always eager to take on new and exciting challenges.
As a tutor, I am dedicated to sharing my knowledge and experience with aspiring artists and professionals alike. I believe that everyone has the potential to create amazing 3D models and animations, and I'm committed to helping my students achieve their goals. Whether you're a beginner looking to get started in the world of 3D animation, or an experienced artist looking to take your skills to the next level, I can provide personalized training and guidance to help you achieve your creative vision.
Comments (0)
Search
Popular categories
Adobe After Effects 2025
28Unreal Engine
14zbrush
10Maya Animation
8zbrush tutorial jewelry
7Maya 2025
5Latest blogs

Advanced Editing Techniques
8 Hours Ago

Introduction to Level Design Through Blocking in Unreal Engine
1 Day Ago
Nuke, animating parameters
1 Day Ago
Write a public review