Published - Fri, 03 Jan 2025
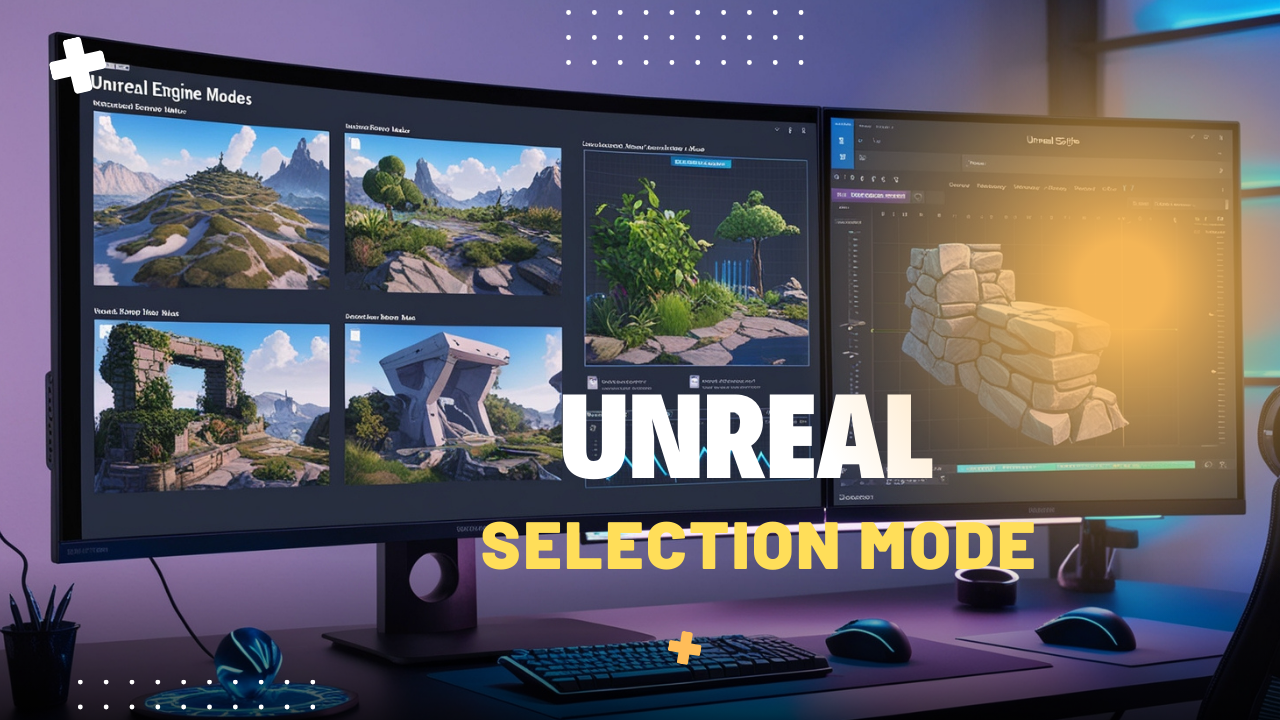
Unreal Selection Mode
Here’s a detailed breakdown of the key modes in Unreal Engine that you mentioned:
1. Selection Mode
- Purpose: The default mode for selecting and interacting with objects in the scene.
- Features:
- Select actors in the viewport for editing or manipulation.
- Move, rotate, or scale objects using the Transform Gizmo.
- Access actor properties in the Details Panel.
- Use Case: General scene setup, arranging objects, and making adjustments.
2. Landscape Mode
- Purpose: Focused on creating and editing landscapes for outdoor environments.
- Features:
- Sculpt terrain with tools like Raise/Lower, Smooth, and Flatten.
- Paint textures (e.g., grass, sand) using layers.
- Add foliage and procedural vegetation using foliage spawners.
- Use Case: Building large terrains for games like open-world or RPGs.
3. Foliage Mode
- Purpose: Allows you to paint and manage vegetation on surfaces.
- Features:
- Paint foliage assets like trees, grass, and rocks onto landscapes or meshes.
- Adjust settings for density, scale variation, and randomization.
- Use Cluster Placement to optimize performance.
- Use Case: Adding natural elements to outdoor environments.
4. Mesh Paint Mode
- Purpose: Paints textures or vertex colors directly onto meshes.
- Features:
- Paint vertex colors to blend materials or create effects (e.g., rust, damage).
- Modify texture UVs or material parameters interactively.
- Support for static and skeletal meshes.
- Use Case: Detailed texture customization or material blending.
5. Modeling Mode
- Purpose: Provides tools for creating and editing 3D geometry directly in Unreal.
- Features:
- Tools for sculpting, extruding, and cutting geometry.
- Create procedural shapes or refine imported meshes.
- Supports high-poly modeling with Nanite for efficient rendering.
- Use Case: Prototyping level geometry or creating custom assets.
6. Fracture Mode
- Purpose: Enables simulation of destructible objects using Chaos Physics.
- Features:
- Fracture meshes into pieces for destruction effects.
- Configure physics properties like debris and collision behavior.
- Bake or simulate destruction in real-time.
- Use Case: Realistic destruction for objects like walls, vehicles, or props.
7. Brush Editing Mode
- Purpose: Edit BSP brushes (basic geometry shapes) for level blockouts.
- Features:
- Modify vertices, edges, and faces of BSP shapes.
- Create basic structures like walls, floors, or platforms.
- Tools for scaling, slicing, and extruding.
- Use Case: Quick prototyping or building simple level layouts.
8. Animation Mode
- Purpose: Used for previewing and editing skeletal animations in the viewport.
- Features:
- Visualize animations on skeletal meshes.
- Modify or adjust animation sequences.
- Add animation blueprints to simulate character movement.
- Use Case: Character rigging, animation fine-tuning, or gameplay testing.
Summary of Use Cases
- Selection Mode: General object interaction.
- Landscape Mode: Building terrains.
- Foliage Mode: Adding vegetation.
- Mesh Paint Mode: Texture blending and vertex painting.
- Modeling Mode: 3D geometry creation.
- Fracture Mode: Destruction and physics effects.
- Brush Editing Mode: Level blockouts and basic structures.
- Animation Mode: Skeletal animation preview and editing.
Each mode is designed for a specific stage of the game or scene creation process, ensuring versatility and efficiency in Unreal Engine projects. Let me know if you'd like detailed instructions on any specific mode! ????
Created by

Anil Chauhan
Welcome to my website! My name is Anil Chauhan, and I am a 3D modeling and animation expert with over 15 years of experience in the field. I have a passion for creating visually stunning 3D models, animations, and graphics, and I'm excited to share my expertise with you. Whether you're a beginner or an experienced artist, I can help you improve your skills in 3D modeling, texturing, lighting, animation, rigging, CG graphics, and VFX. Let's work together to bring your creative ideas to life!
Welcome to my website! My name is Anil Chauhan, and I am a 3D modeling and animation expert with over 15 years of experience in the field. I have always had a passion for creating visually stunning 3D models, animations, and graphics, and my work has been featured in a variety of industries including film, television, advertising, and video games.
Throughout my career, I have had the opportunity to work on a wide range of projects, from small independent films to large-scale productions. This has given me a diverse set of skills and a deep understanding of the 3D animation process from start to finish. I have expertise in complete 3D modeling, texturing, lighting, animation, rigging, CG graphics, and VFX, and I'm always eager to take on new and exciting challenges.
As a tutor, I am dedicated to sharing my knowledge and experience with aspiring artists and professionals alike. I believe that everyone has the potential to create amazing 3D models and animations, and I'm committed to helping my students achieve their goals. Whether you're a beginner looking to get started in the world of 3D animation, or an experienced artist looking to take your skills to the next level, I can provide personalized training and guidance to help you achieve your creative vision.
Comments (0)
Search
Popular categories
Adobe After Effects 2025
28Unreal Engine
14zbrush
10Maya Animation
8zbrush tutorial jewelry
7Maya 2025
6Latest blogs
Mesh |Edit Mesh|Mesh Tools
3 Hours Ago

Advanced Editing Techniques
12 Hours Ago

Introduction to Level Design Through Blocking in Unreal Engine
2 Days Ago
Write a public review