Created by - Anil Chauhan
Dynamic Links in Adobe After Effects
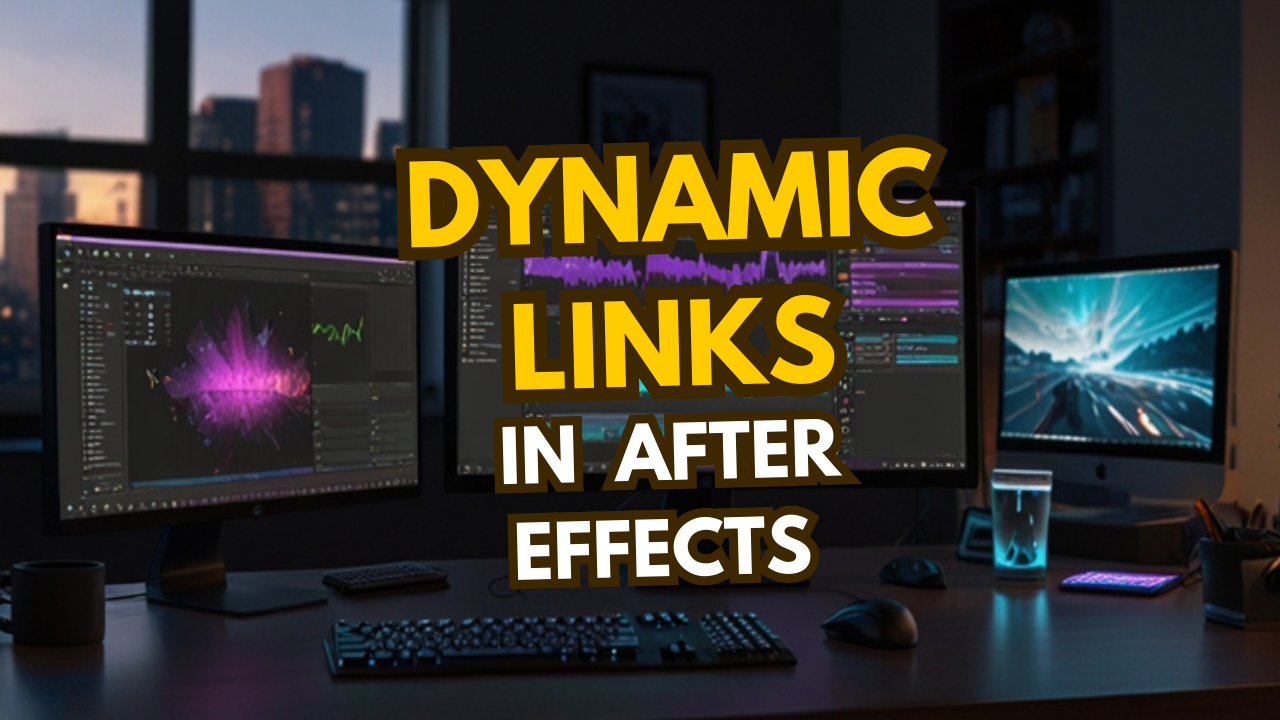
Dynamic Links in Adobe After Effects refer to the seamless integration between After Effects and other Adobe applications, primarily Premiere Pro, without the need for intermediate rendering. This allows you to update projects across software in real-time, maintaining a non-destructive workflow.Key Features of Dynamic Links: Non-Destructive Workflow: Edits in After Effects automatically update in Premiere Pro (or vice versa) without rendering. Efficiency: Saves time by avoiding the need to export files repeatedly. Keeps file sizes smaller by avoiding intermediate video exports. Flexibility: Allows you to fine-tune animations, effects, or edits dynamically across projects. Setting Up a Dynamic LinkFrom After Effects to Premiere Pro: Create a Composition in After Effects: Open After Effects and create a new composition or use an existing one. Import into Premiere Pro: In Premiere Pro, go to File > Adobe Dynamic Link > Import After Effects Composition. Navigate to the After Effects project file (.aep) and select the desired composition. Use the Composition: The After Effects composition appears in your Premiere Pro project panel and can be dragged onto the timeline. From Premiere Pro to After Effects: Select Clips in Premiere Pro: Highlight the clips or sequences you want to work on. Replace with After Effects Composition: Right-click and choose Replace with After Effects Composition. After Effects opens, creating a linked composition. Save the .aep file. Edit in After Effects: Any changes in After Effects automatically reflect in Premiere Pro. Managing Dynamic Links: Updating: Changes save and reflect instantly. Reconnecting: If the link breaks, relink by pointing Premiere Pro to the updated After Effects project. Rendering: When performance is slow, you can temporarily render and replace the dynamic link in Premiere Pro. Best Practices: Organize Files: Keep your .aep and Premiere Pro projects in the same directory. Optimize Performance: Use proxies if the dynamic link slows down playback. Version Compatibility: Ensure both After Effects and Premiere Pro are of the same version to avoid compatibility issues. Would you like assistance with a specific part of the Dynamic Link workflow?
More detailsPublished - Fri, 10 Jan 2025
Created by - Anil Chauhan
Working with Other Applications in After Effects
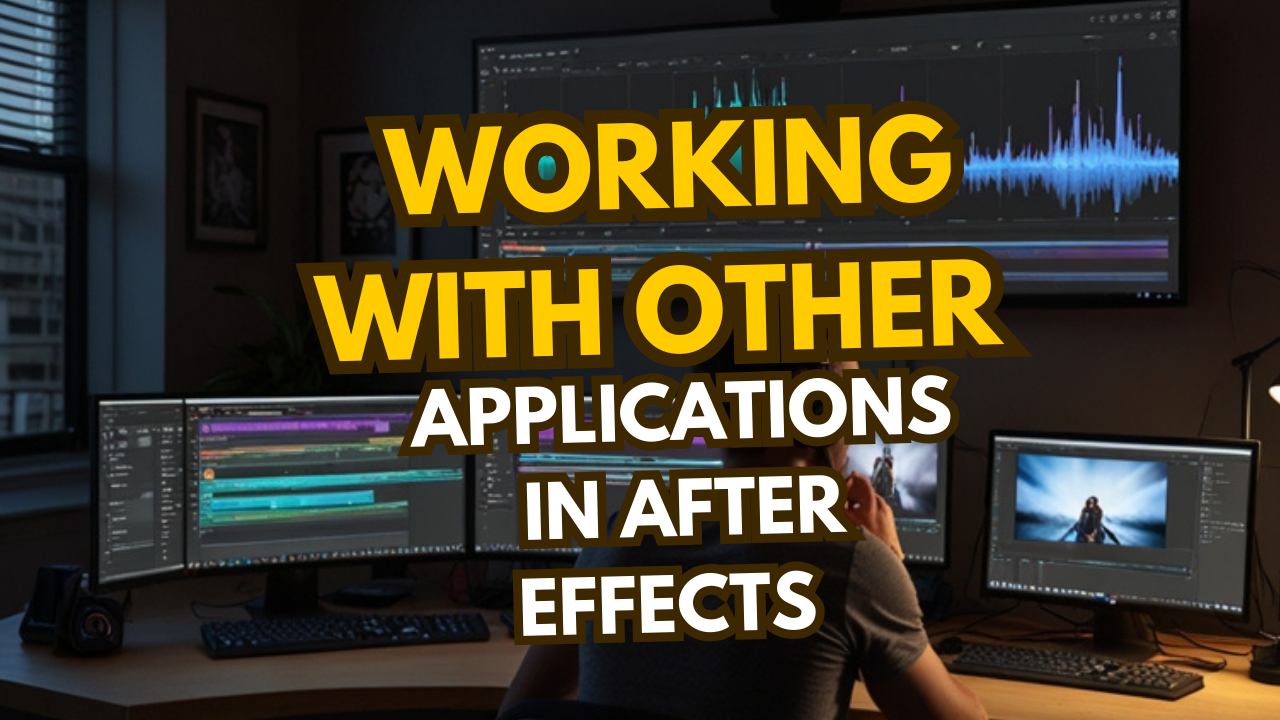
Working with Other Applications in After Effects is a powerful way to streamline your workflow, enhance creativity, and improve efficiency. After Effects integrates seamlessly with various Adobe applications and supports external plugins and software to expand its capabilities.Adobe Applications Integration Premiere Pro: Use Dynamic Link to seamlessly edit and update projects between Premiere Pro and After Effects without rendering. Export After Effects compositions directly into Premiere Pro timelines. Replace Premiere Pro clips with After Effects compositions for advanced effects or animations. Photoshop: Import PSD files with layers intact for animation or effects. Edit the original Photoshop file, and changes automatically update in After Effects. Use Photoshop to create custom textures, masks, or graphic elements for After Effects. Illustrator: Import AI files as individual layers or compositions to retain vector quality. Scale vector graphics without quality loss for animations or effects. Create detailed vector shapes in Illustrator for motion graphics in After Effects. Audition: Export After Effects projects to Adobe Audition for advanced audio editing and sound design. Sync audio effects and soundtracks to animations or visual elements. Media Encoder: Use Adobe Media Encoder to render After Effects compositions in multiple formats without interrupting your workflow. Batch render multiple compositions for efficient output. Other Applications and Tools 3D Software (e.g., Cinema 4D): After Effects includes Cinema 4D Lite, allowing you to create and edit 3D objects directly. Import 3D objects into After Effects for integration with 2D compositions. Export camera and lighting data between Cinema 4D and After Effects. Plugins and Extensions: Use third-party plugins like Red Giant, Video Copilot, and Trapcode for enhanced effects and tools. Explore scripts and extensions for automation and improved productivity. External Audio Software: Import soundtracks and effects created in tools like Audacity or Pro Tools for synchronization with animations. Stock Media Libraries: Access Adobe Stock or third-party libraries (like Envato Elements) for templates, images, and motion graphic assets. Best Practices for Cross-Application Workflow Organize Assets: Keep your project files well-structured for easy navigation between applications. Use Compatible Formats: Ensure that file formats are supported and optimized for After Effects (e.g., PNG, PSD, AI). Leverage Dynamic Updates: Modify assets in their native applications (e.g., Photoshop or Illustrator) to see real-time changes in After Effects. Optimize Performance: Use proxies and pre-rendering when working with heavy files across applications. Would you like guidance on a specific integration or workflow?
More detailsPublished - Fri, 10 Jan 2025
Created by - Anil Chauhan
Importing Digital Assets into After Effects
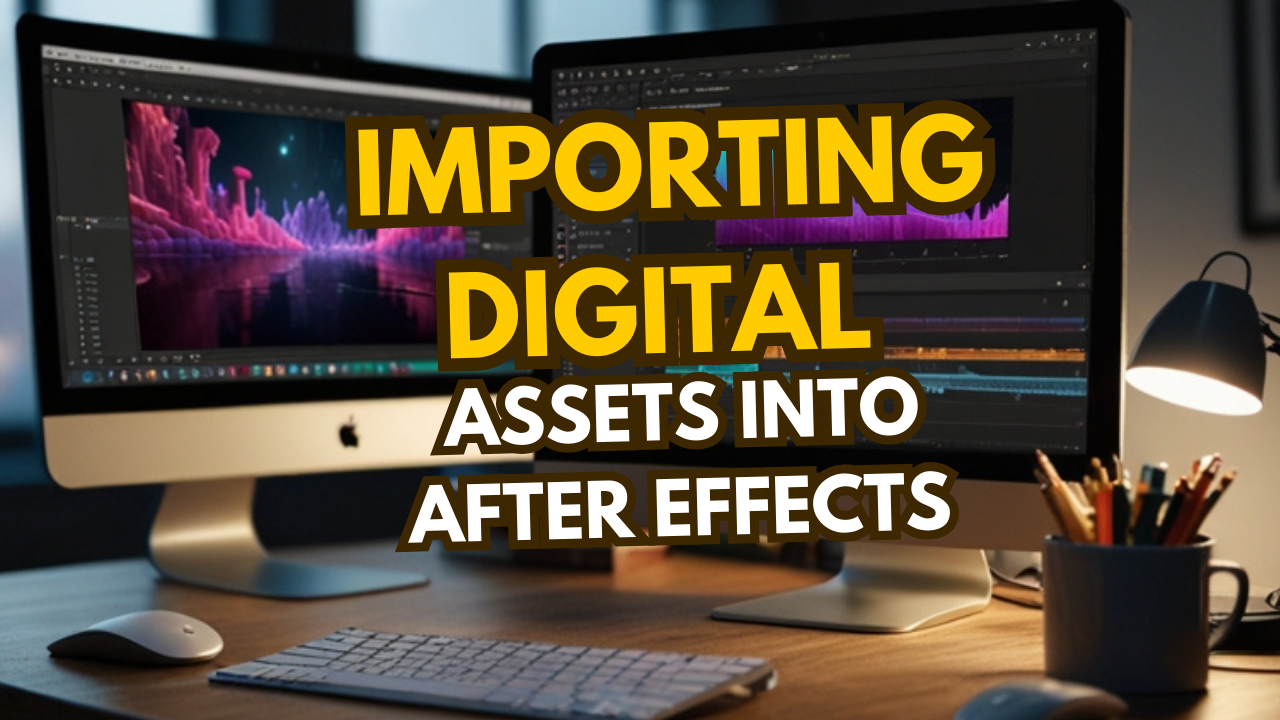
Importing Digital Assets into After Effects is a critical step in creating motion graphics, animations, or visual effects. After Effects supports a wide range of digital assets, including video, audio, images, 3D models, and even files from other Adobe software like Photoshop and Illustrator.Methods for Importing Digital Assets into After Effects Importing Video and Audio Files: Step 1: Go to File > Import > File or use the shortcut Ctrl + I (Windows) / Cmd + I (Mac). Step 2: Select the video or audio file (e.g., MP4, MOV, WAV, MP3) from your system. Step 3: Click Open to import. Video files are automatically interpreted as footage, and audio files will appear in the project panel. Importing Image Files: Supported formats: JPEG, PNG, TIFF, PSD (Photoshop), AI (Illustrator), and other formats. Step 1: Import using File > Import > File or drag the image directly into the project panel. Step 2: When importing Photoshop or Illustrator files, choose whether to import as Footage, Composition, or Composition - Retain Layer Sizes (for multi-layered files). Step 3: The image is added to the timeline, and you can adjust its properties. Importing Photoshop (PSD) Files: Step 1: Choose File > Import > File and select a PSD file. Step 2: After importing, After Effects offers options to preserve layers, layer sizes, and other settings. Step 3: If importing as a composition, After Effects will create a new composition with all the layers intact for animation. Importing Illustrator (AI) Files: Step 1: Use File > Import > File to select an AI file. Step 2: Choose between importing as Footage (flattened) or Composition (with layers). Step 3: After importing, the vector artwork can be scaled indefinitely without losing quality. Importing 3D Models (e.g., OBJ, FBX): Step 1: For 3D models, After Effects can integrate with Cinema 4D (included with After Effects). Step 2: Use File > Import > File to bring in 3D models and convert them into 3D layers within After Effects. Step 3: You can also use the Cineware plugin to work directly with 3D models within After Effects. Importing Fonts: Step 1: Use the Text Tool to type out your desired text. Step 2: Choose from the fonts installed on your system. Step 3: You can animate text layers using various built-in text animation presets or keyframes. Importing Motion Graphics Templates (MOGRT): Step 1: Go to Essential Graphics Panel and click on Import Motion Graphics Template. Step 2: Choose the MOGRT file from your system or Adobe Stock. Step 3: The template is imported into After Effects, allowing you to modify the content and animation. Using Adobe Stock Assets: Step 1: Open the Libraries Panel (Window > Libraries). Step 2: Browse or search for Adobe Stock assets directly from the panel. Step 3: Drag and drop assets (videos, images, music) directly into your project. Best Practices for Importing Digital Assets: Organize Assets: Create folders in the Project Panel to keep imported files organized by type (e.g., Video, Audio, Images). Maintain File Paths: Keep files organized in your file system so they remain linked when moving projects between machines. Pre-compose Layers: When working with many assets, pre-compose them for easier management and animation. File Formats: Choose the appropriate file format for your needs. For instance, use lossless formats (e.g., PNG, TIFF) for images or uncompressed audio for high-quality sound. Would you like help with a specific type of asset import, or have more questions about working with digital assets in After Effects?
More detailsPublished - Fri, 10 Jan 2025

Created by - Anil Chauhan
projects and compositions
In Adobe After Effects, projects and compositions are core elements of the workflow, but they serve distinct purposes. Here's an explanation:1. Project in After Effects Definition: A project is the main file where all your work in After Effects is saved. It contains your imported assets, settings, compositions, and everything related to your work. File Format: Saved with the .aep (After Effects Project) extension. Purpose: It acts as a container for organizing and storing: Compositions Footage and media assets (images, videos, audio, etc.) Effects, keyframes, and animations Links to external files (footage remains linked, not embedded) Example: A single After Effects project might contain multiple compositions for different scenes in a video. 2. Composition in After Effects Definition: A composition is like a "canvas" or "timeline" where you create and assemble your animations, visual effects, and designs. Elements in a Composition: Layers: Each asset (video, image, text, etc.) is placed on a separate layer. Keyframes: Used for animating properties like position, scale, and opacity. Effects and Presets: Add visual flair or adjust elements. Timeline: Displays the duration of the composition and its layers. Purpose: It defines: The resolution (e.g., 1920x1080 for Full HD) The frame rate (e.g., 24fps, 30fps, or custom rates) The duration (e.g., 10 seconds, 1 minute) Example: A composition could be a single scene, a title animation, or a visual effect for your project. Relationship Between Projects and Compositions A project can contain multiple compositions. Compositions within a project can be nested (a composition used as a layer in another composition). The project links to external assets used in the compositions, so if you move or delete the source files, After Effects might lose the link. Practical Workflow Example Start a New Project: File → New → New Project Create a Composition: Composition → New Composition → Set resolution, duration, and frame rate. Add Assets to the Composition: Drag and drop files (videos, images, audio) into the composition timeline. Animate and Edit: Use keyframes, effects, and layers within the composition. Save Your Project: File → Save As → Choose a location and save with the .aep extension. Would you like help setting up a project or creating compositions?
More detailsPublished - Mon, 20 Jan 2025
Created by - Anil Chauhan
Importing Digital Assets into Adobe After Effects
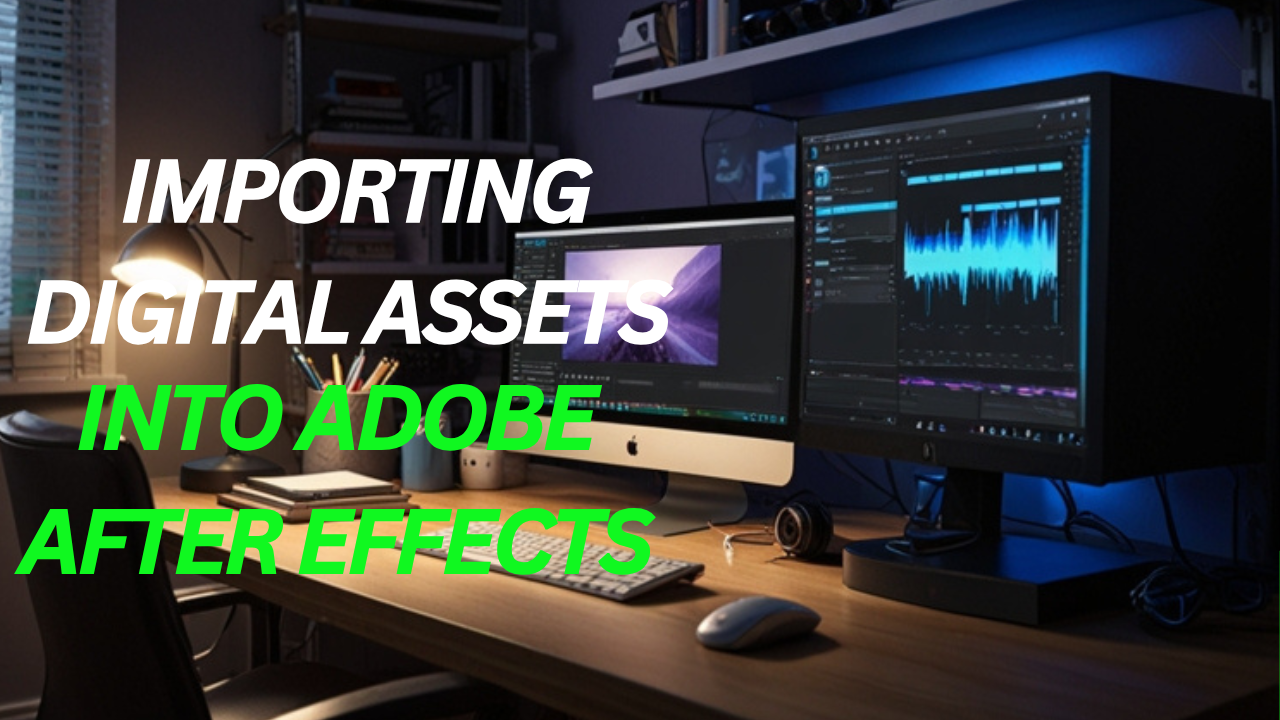
Importing Digital Assets into Adobe After Effects is a crucial step in creating motion graphics and visual effects. Here's an overview:How to Import Digital Assets into After Effects Supported File Types: Video: MP4, MOV, AVI, etc. Images: JPEG, PNG, PSD, TIFF, GIF. Audio: MP3, WAV, AIFF. Other Formats: Illustrator files (AI), camera RAW, 3D files (via plugins), and more. Import Methods: Drag and Drop: Drag files directly from your computer into the Project Panel in After Effects. File Menu: Go to File → Import → File or Multiple Files. Shortcut: Use Ctrl+I (Windows) or Cmd+I (Mac) to open the import dialog box. Organizing Imported Assets: After importing, organize your assets into folders in the Project Panel for better workflow management (e.g., separate folders for videos, images, and audio). Working with Special File Types Photoshop Files (PSD): Import as: Composition: Retains layers for individual animation and editing. Merged Layers: Combines all layers into a single image. Choose Editable Layer Styles to maintain Photoshop effects. Illustrator Files (AI): Ensure "Create Outlines" is enabled in After Effects for scaling without losing quality. Import as footage or a composition to work with individual layers. Image Sequences: Select the first file in a sequence and check Image Sequence in the import dialog. Ideal for frame-by-frame animations. Video Files: Supported formats include MP4, MOV, and AVI. Use high-quality files to avoid compression artifacts. Audio Files: Add sound effects, music, or voiceovers. Use the Audio Waveform option in the timeline to visualize audio levels. Tips for Efficient Importing Link vs. Embed: After Effects links to the original files on your computer. Don’t move or delete source files to avoid "missing file" errors. File Organization: Keep your project files and assets in a dedicated folder to prevent broken links. Optimize File Sizes: Use high-quality assets but avoid unnecessarily large file sizes to maintain performance. Tags for This Topic:After Effects, importing digital assets, project workflow, PSD files, AI files, image sequences, video editing, motion graphics, animation, video assets, audio files, Adobe Creative Cloud, video production, file organization, timeline editing, After Effects tips, project setup, media management. Would you like a step-by-step guide for a specific type of asset?
More detailsPublished - Mon, 20 Jan 2025
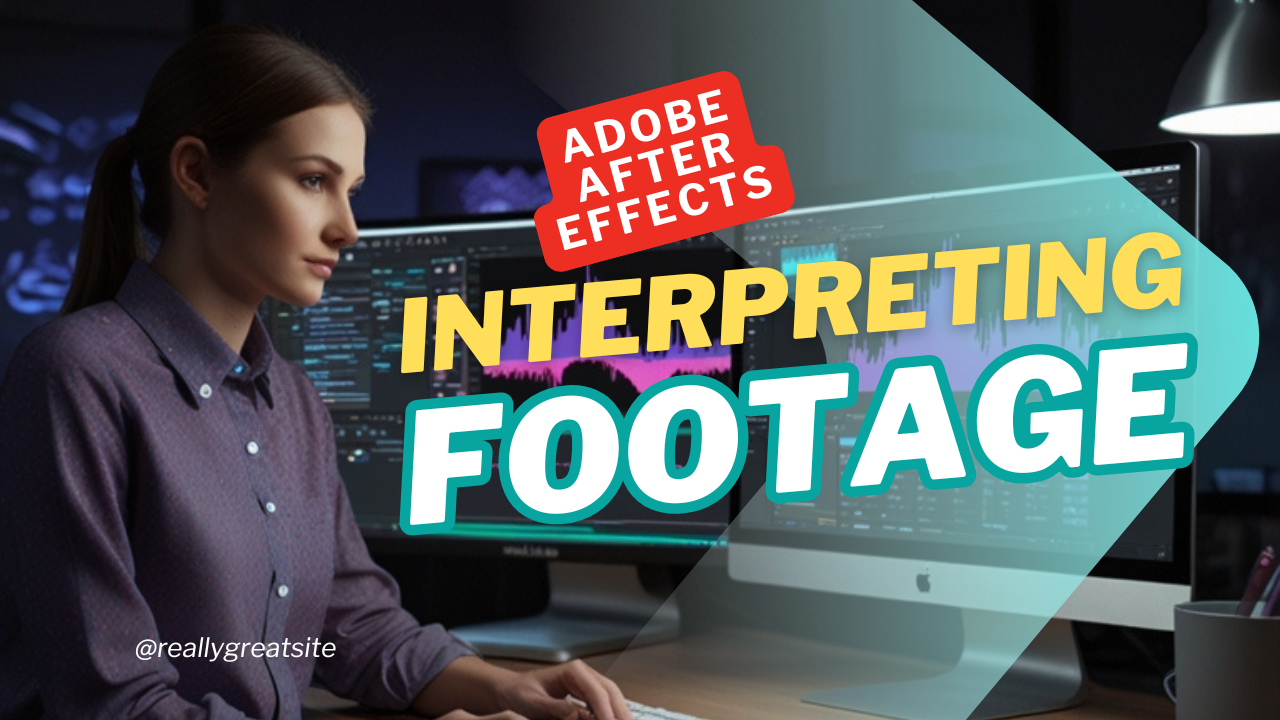
Created by - Anil Chauhan
Interpreting Footage in Adobe After Effects
Interpreting Footage in Adobe After Effects involves adjusting how After Effects processes imported files to match your project requirements. This step ensures that video, image sequences, and other assets behave correctly within your compositions. Here’s a comprehensive guide:What Is Interpreting Footage? Interpreting footage allows you to modify: Frame rate: Adjust how After Effects reads the frames per second (fps) of a file. Alpha channel: Define how transparency is handled. Color settings: Set color profiles for accurate rendering. Pixel aspect ratio: Fix distorted footage caused by mismatched aspect ratios. How to Interpret Footage Access the Interpret Footage Settings: Select the footage in the Project Panel. Right-click and choose Interpret Footage → Main, or press Ctrl+Alt+G (Windows) / Cmd+Option+G (Mac). Adjust Key Settings: Frame Rate: Set a custom frame rate if the default value doesn’t match your project settings. Useful for footage like slow-motion clips or image sequences. Alpha Channel: Choose how After Effects interprets transparency: Straight (Unmatted): Retains the original alpha channel without modifications. Premultiplied (Matted): Blends transparency with a background color. Fields and Pulldown: Deinterlace footage or remove pulldown patterns for smoother playback. Pixel Aspect Ratio: Correct aspect ratio issues (e.g., square vs. rectangular pixels). Color Profile: Assign a color profile to ensure the footage displays accurately in your composition. Apply Changes: Once you adjust the settings, click OK. The footage will now behave according to the new interpretation. When to Interpret Footage When the imported footage doesn’t match your project’s frame rate or resolution. To fix issues with alpha channels or color profiles in assets like logos or animations. When using image sequences, slow-motion footage, or archival videos with non-standard formats. Tips for Effective Interpretation Batch Interpretation: Select multiple assets in the Project Panel and interpret them simultaneously for efficiency. Match Project Settings: Ensure interpreted settings align with your composition's frame rate, color space, and resolution. Use Default Settings: If you frequently work with similar assets, set default interpretations in After Effects preferences. Tags for This TopicAfter Effects, interpreting footage, frame rate, alpha channel, pixel aspect ratio, color profile, deinterlacing, video editing, motion graphics, visual effects, image sequences, slow motion, Adobe Creative Cloud, asset management, footage settings, video production, After Effects workflow, transparency settings, pulldown removal. Would you like a step-by-step example for a specific footage type?
More detailsPublished - Mon, 20 Jan 2025
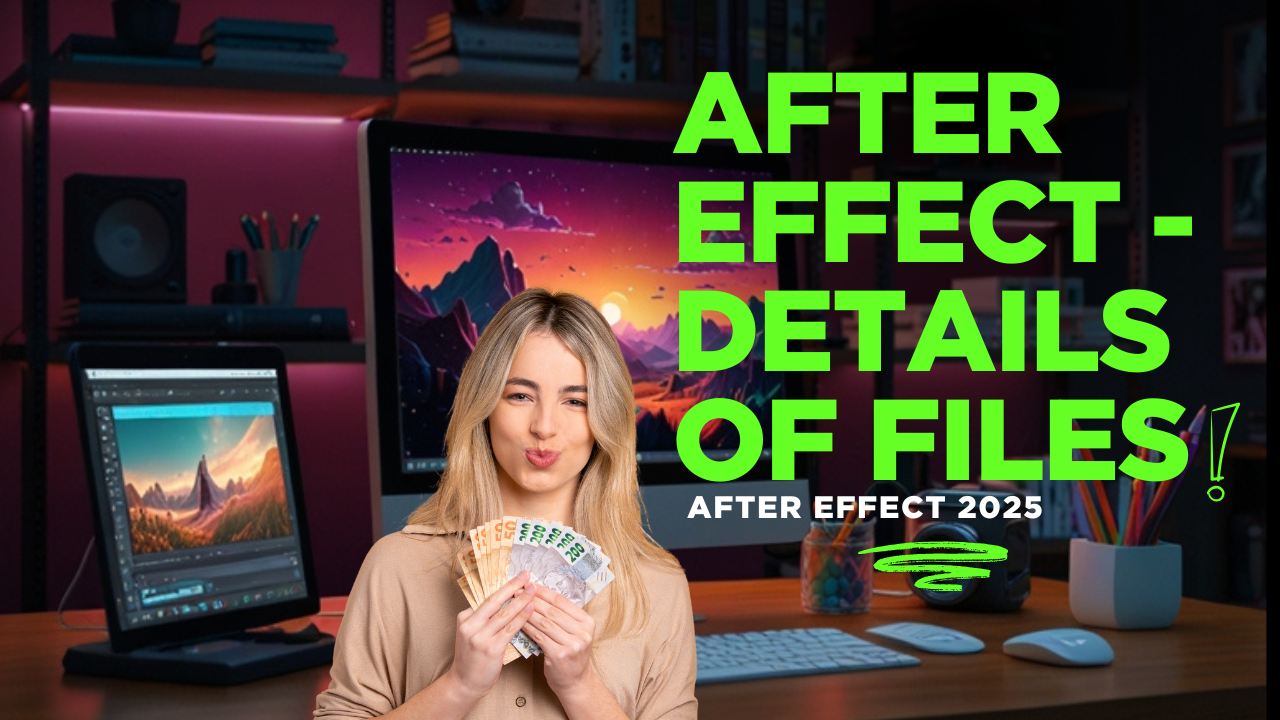
Created by - Anil Chauhan
after effect - Details of files
Adobe After Effects supports various file types and organizes them for different purposes, such as importing, exporting, and working within compositions. Below is an overview of the main file categories and their details:1. Project Files (.aep, .aet) File Types: .aep (project file), .aet (template file) Purpose: Stores the entire After Effects project, including compositions, layers, settings, and references to imported assets. Characteristics: Does not store imported media (only links to them). Cross-platform compatibility (Mac and Windows). 2. Composition Files A composition is a container where you combine and animate various layers. Key Components: Timeline: Where you manage layers and keyframes. Layers: Imported files (videos, images, text, etc.) or created elements. Effects: Applied to layers for animation, transitions, and visual effects. 3. Imported Files Supported File Types: Video: .mp4, .mov, .avi, .wmv, .mkv, etc. Audio: .mp3, .wav, .aac, .aiff. Image: .jpeg, .png, .gif, .tiff, .psd (Photoshop), .ai (Illustrator). 3D Files: .obj, .c4d (Cinema 4D integration). Behaviors: Files are linked to the project; moving or deleting the original files will break links. Can be imported as individual assets or as image sequences. 4. Exported Files Video: Usually exported through the Render Queue or Adobe Media Encoder. File Formats: .mp4 (H.264), .mov (QuickTime), .avi, etc. Codecs: H.264, ProRes, DNxHR, etc. Image Sequences: Exported as .png, .jpeg, .tiff, etc. Other Formats: .gif, .json (for Lottie animations). 5. Cache and Temporary Files Purpose: Speeds up playback and rendering by storing previews and processed frames. File Locations: Disk Cache: Located in preferences; files are stored on a specified drive. Memory Cache: Stored in RAM during active sessions. 6. Script and Plugin Files Scripts: .jsx, .jsxbin (ExtendScript files to automate tasks). Plugins: .aex or third-party plugins for advanced effects and utilities. 7. Settings and Templates Preferences Files: Custom settings for the workspace, shortcuts, and configurations. Templates: Custom compositions or animations saved as .aet. Would you like details on a specific type of file or workflow in After Effects?
More detailsPublished - Wed, 22 Jan 2025
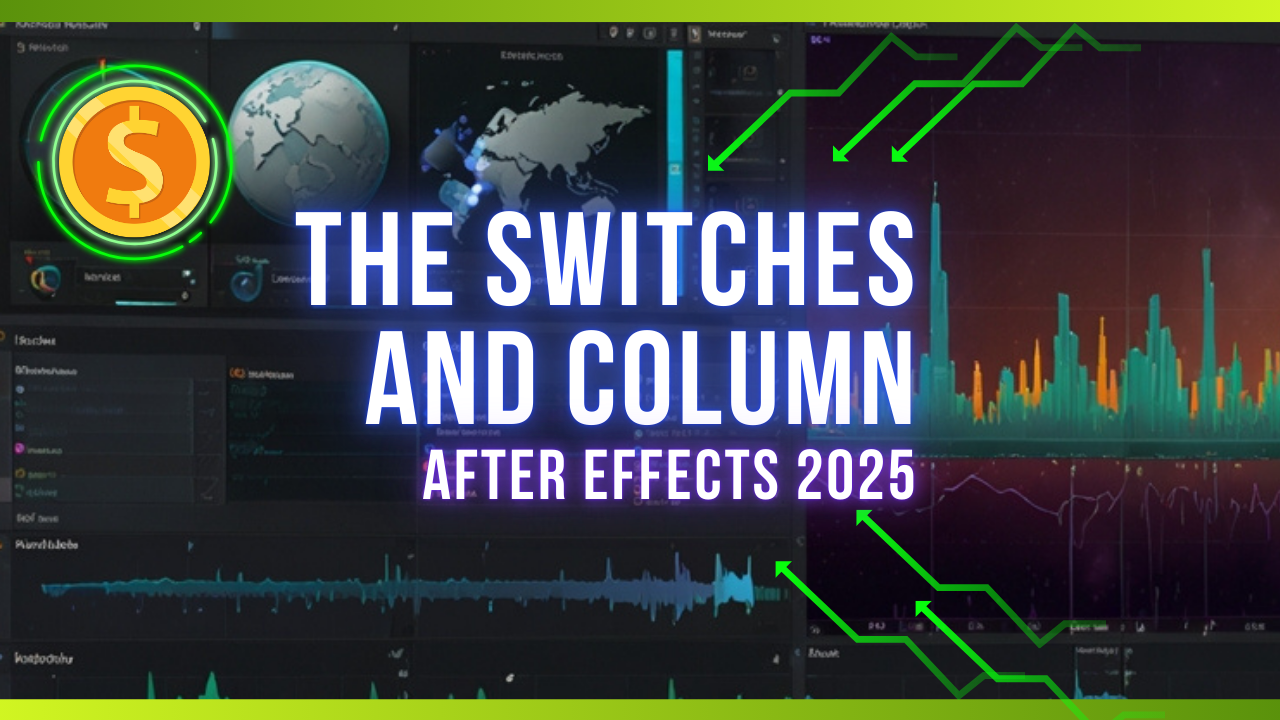
Created by - Anil Chauhan
The Switches and Column
In Adobe After Effects, the Switches and Columns section of the Timeline Panel provides controls and options for layers within a composition. Here's a detailed breakdown:Key Switches in After EffectsThese are located in the Switches column of the Timeline Panel. Visibility (Eye Icon) Toggles the visibility of the layer in the composition. Shortcut: Ctrl + Shift + H (Windows) or Cmd + Shift + H (Mac) to toggle all. Audio (Speaker Icon) Toggles the audio for the layer. If audio is present in a layer, it enables or disables playback. Solo (Dot Icon) Ensures only the selected layer(s) are visible and audible. Useful for focusing on specific elements. Lock (Padlock Icon) Prevents the layer from being moved, edited, or modified accidentally. Shy (Face Icon) Hides the layer from the timeline when the "Shy Layers" switch is enabled (near the top of the Timeline Panel). Collapse Transformations / Continuously Rasterize (Sun Icon) For vector layers (e.g., .AI files): Maintains sharp edges when scaling. For pre-compositions: Enables transformations from nested compositions to be applied in the parent composition. Adjustment Layer Turns the layer into an adjustment layer, where effects applied will impact all layers beneath it in the stack. Motion Blur (Shutter Icon) Enables motion blur for the layer. Requires the "Enable Motion Blur" switch at the top of the Timeline Panel to be toggled. Frame Blending Smoothens playback by blending frames when changing frame rates or time remapping. 3D Layer (Cube Icon) Converts the layer into a 3D layer, enabling 3D transformations like rotation, depth, and perspective. Environment Layer Makes the layer act as an environment map for 3D layers. Timeline ColumnsColumns can be customized to show various information and options. Common ones include: Layer Name Displays the name of the layer (e.g., imported file names or custom names). Source Name Shows the original source file's name for imported assets. Parent & Link Allows layers to be parented to other layers, linking their transformations. In/Out Points Shows the start (In) and end (Out) points of the layer in the timeline. Stretch Displays and allows the adjustment of layer duration and speed. Blend Modes Shows and modifies the blending mode (e.g., Multiply, Screen, Overlay). Track Matte Assigns a layer to be used as a matte (e.g., Alpha Matte, Luma Matte). Labels Color labels for easier organization and grouping. Customizing Columns Add/Remove Columns: Right-click on any column header and choose which columns to display. Rearrange Columns: Drag column headers to rearrange their order.
More detailsPublished - Wed, 22 Jan 2025

Created by - Anil Chauhan
Working on Digital Assets
Adobe After Effects is widely used for creating animations, visual effects, and compositing digital assets. Here's an overview of how After Effects works with digital assets:Types of Digital Assets in After Effects Video Files: Formats: .mp4, .mov, .avi, .mkv, etc. Purpose: Base footage for editing, adding effects, or compositing. Image Files: Formats: .jpeg, .png, .gif, .tiff. Purpose: Backgrounds, overlays, or elements in compositions. Supports transparency (e.g., .png files). Vector Files: Formats: .ai (Adobe Illustrator), .svg. Purpose: Scalable graphics without quality loss. Use "Continuously Rasterize" for crisp scaling. Audio Files: Formats: .mp3, .wav, .aac. Purpose: Background music, sound effects, or voiceovers. 3D Assets: Formats: .obj, .c4d (Cinema 4D files). Purpose: Incorporate 3D models or environments into a project. Text and Shape Layers: Created directly in After Effects for custom titles, typography animations, or graphic elements. Workflow for Using Digital Assets Importing Assets: Drag-and-drop files into the Project Panel or use File > Import. Organize assets into folders for better management. Adding Assets to Composition: Drag assets from the Project Panel into the Timeline Panel or directly into the Composition Viewer. Layer-Based Editing: Each asset becomes a layer in the timeline. Layers can be reordered, resized, or animated independently. Applying Effects: Use the Effects & Presets panel to add visual or audio effects to assets. Keyframing & Animation: Add keyframes to properties like position, scale, opacity, or rotation for animation. Compositing: Combine multiple assets into a seamless composition using tools like masks, track mattes, and blend modes. Exporting: Export the final composition through the Render Queue or Adobe Media Encoder. Best Practices When Working with Digital Assets Organize Files: Use descriptive names and folders in both your system and the After Effects project. Use Linked Files: After Effects references assets from their original location; avoid moving or renaming files after importing. Optimize Performance: Pre-compose layers and use proxies for heavy assets. Clear the cache to maintain smooth performance. Work Non-Destructively: Use adjustment layers and effects that can be modified without altering the original asset.
More detailsPublished - Wed, 22 Jan 2025
Search
Popular categories
Adobe After Effects 2025
28Unreal Engine
14zbrush
10Maya Animation
8zbrush tutorial jewelry
7Maya 2025
6Latest blogs
Mesh |Edit Mesh|Mesh Tools
1 Hour Ago

Advanced Editing Techniques
10 Hours Ago

Introduction to Level Design Through Blocking in Unreal Engine
1 Day Ago
Write a public review