Created by - Anil Chauhan
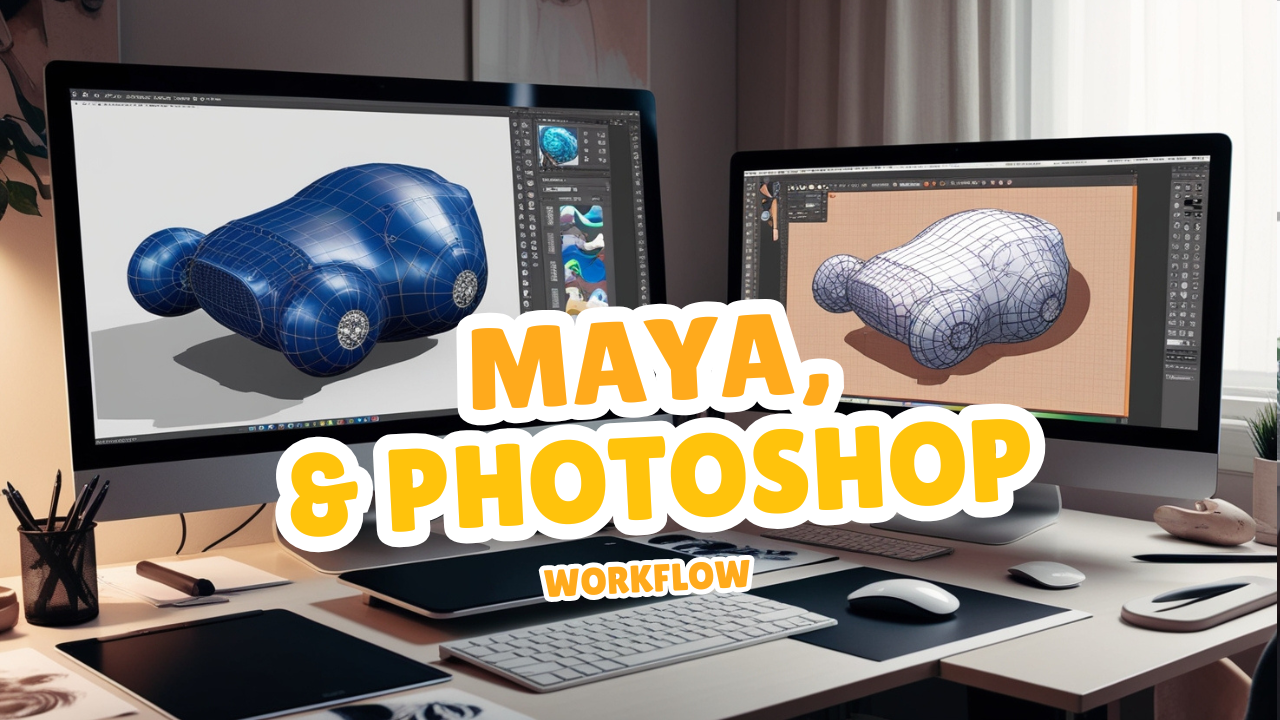
Maya and Photoshop workflow
The Maya and Photoshop workflow is a powerful combination for 3D modeling, UV mapping, and texture creation or editing. This workflow allows you to create models in Maya and then use Photoshop for painting or refining textures. Here's a detailed guide:1. Modeling in Maya Create a 3D Model: Build a low-poly or high-poly model in Maya, ensuring clean topology. UV Mapping: Unwrap the model's UVs in Maya's UV Editor. Organize UV shells for efficiency and ensure no overlapping areas. Export the UV layout as an image for use in Photoshop: In the UV Editor, go to Image > UV Snapshot, choose the resolution and format, and save the UV map. 2. Texture Creation in Photoshop Import the UV Map: Open the exported UV snapshot in Photoshop. Use it as a guide on a separate layer for painting textures. Create Layers: Use multiple layers for Base Color, Shadows, Highlights, and Details. Apply brushes, gradients, and textures to enhance the appearance. Add Detail: Use blending modes and filters for realistic effects (e.g., fabric patterns, metallic scratches). Save Textures: Save the file in PSD format for future editing and export a flattened version in formats like PNG or JPG. 3. Importing Textures Back into Maya Apply Textures: Open the Hypershade in Maya and create a material (e.g., aiStandardSurface for Arnold). Connect the texture created in Photoshop to the material’s Base Color or other properties (e.g., Roughness or Bump Map). Assign Material: Apply the material to your 3D model in the viewport. Adjustments: Preview the texture on the model and return to Photoshop to tweak the texture if necessary.https://www.youtube.com/watch?v=1Utlg0Skeuo&list=PLIi3DnFfUZQEScQ-euXGEtGk_rhg_694X 4. Lighting and Rendering Set Up Lighting: Add lights in Maya (e.g., directional light, area light, or HDRI). Test Renders: Render the model using Arnold or another renderer to evaluate texture appearance. Refine: If the texture looks off, go back to Photoshop, make adjustments, and re-export.https://www.youtube.com/watch?v=jDACsLGdyus&list=PLIi3DnFfUZQHDt3b4L6NIvloLk5i44Z11https://www.youtube.com/watch?v=xPKjlMR2ByA 5. Optional: Texture Baking If working with Normal Maps, Ambient Occlusion, or Displacement Maps, bake them in Maya or another software and refine them in Photoshop. Load baked maps into Photoshop for retouching, adding details, or enhancing realism.https://www.youtube.com/watch?v=5hwlcmSoVdohttps://www.youtube.com/watch?v=lQ9cpiNx9j4https://www.youtube.com/watch?v=a6WzEyJHhPYhttps://www.youtube.com/watch?v=DynXhzx6YwMhttps://www.youtube.com/watch?v=1r_aIwGRpQ8 Tips for a Smooth Workflow Use non-destructive workflows in Photoshop (e.g., Adjustment Layers). Keep your UV layout visible but separate from texture layers to avoid overwriting it. Organize layers in Photoshop for clarity (e.g., group Base Colors, Highlights, etc.). Save iterative versions of your files for backups. Let me know if you'd like more specific steps or examples for this workflow!
More detailsPublished - Wed, 08 Jan 2025
Search
Popular categories
Adobe After Effects 2025
28Unreal Engine
14zbrush
10Maya Animation
8zbrush tutorial jewelry
7Maya 2025
5Latest blogs

Advanced Editing Techniques
4 Minutes Ago

Introduction to Level Design Through Blocking in Unreal Engine
1 Day Ago
Nuke, animating parameters
1 Day Ago
Write a public review