Created by - Anil Chauhan
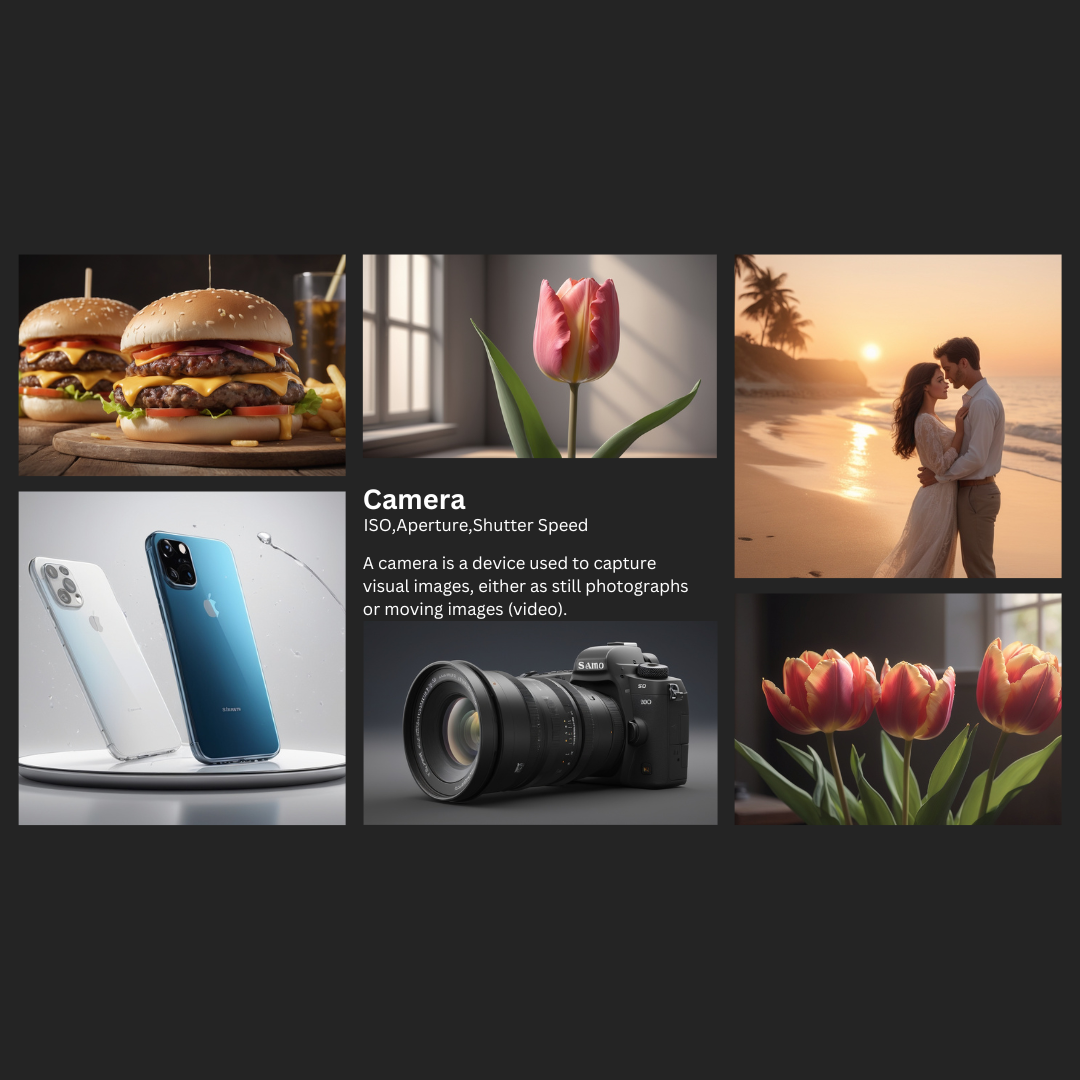
Camera, ISO, Aperture, Shutter Speed, White Balance, Focal Length, Depth of Field,
Key Camera Properties: ISO (International Organization for Standardization): ISO refers to the sensitivity of the camera's sensor to light. A higher ISO value (e.g., 1600, 3200) makes the sensor more sensitive, allowing you to capture images in low light conditions, but can also introduce more digital noise (graininess). A lower ISO value (e.g., 100, 200) provides less sensitivity to light, which results in cleaner, sharper images but requires more light for proper exposure.Scene: A single tulip or rose in a soft, dimly lit room, with a small window letting in ambient light.ISO: 800-1600Reason: Since the lighting is low, you'll need a higher ISO to ensure the image is properly exposed. A setting of ISO 800-1600 will help gather enough light without introducing too much noise.Effect: This will help capture the soft, dreamy feel of the flower without underexposing. The higher ISO will make the image brighter without needing long exposures, which could introduce motion blur. The slight increase in noise can add a subtle "grainy" texture that can work well with the soft light.Additional Settings:Aperture: f/2.8 for a shallow depth of field, creating a soft background (bokeh) to emphasize the flower.Shutter Speed: 1/60s to 1/125s, depending on how steady you can hold the camera or if you're using a tripod. Aperture: The aperture is the opening in the lens through which light passes to reach the camera's sensor or film. The size of the aperture is controlled by a mechanism of blades that form an opening, often referred to as an f-stop. The f-stop is written as a number (e.g., f/2.8, f/5.6, f/16). A lower f-number (e.g., f/1.8, f/2.8) indicates a wider aperture, letting in more light, which is good for low-light conditions and creating a shallow depth of field (blurred background). A higher f-number (e.g., f/16, f/22) indicates a smaller aperture, allowing less light in, and is typically used for situations where you want a deep depth of field, keeping both the foreground and background in focus.Bright Midday Beach (Strong Sunlight)Scene: A couple walking hand-in-hand on the beach during midday, when the sun is at its brightest.Aperture: f/8 to f/11Reason: In bright sunlight, you'll need a smaller aperture (higher f-stop) to avoid overexposing the image. A smaller aperture also ensures more of the scene is in focus, which is ideal for capturing the couple and the surrounding beach environment (sand, waves, sky).Effect: The aperture range of f/8 to f/11 will give you a deep depth of field, keeping both the couple and the background (waves, distant horizon) sharp. The bright light from midday also helps with fast shutter speeds, so you can avoid any motion blur while maintaining sharp focus.Sunset / Golden Hour (Soft, Warm Light)Scene: The couple on the beach during sunset or the golden hour, with soft, warm light and a long, dramatic shadow.Aperture: f/2.8 to f/4Reason: During sunset or golden hour, there's softer, warmer light. A wider aperture (lower f-stop) like f/2.8 or f/4 will help you take advantage of this low-light situation while keeping the couple in focus. A wide aperture also creates beautiful background blur (bokeh), making the couple stand out against the soft, glowing background.Effect: The shallow depth of field created by f/2.8 or f/4 will isolate the couple from the background, allowing the warm hues of the sunset to softly blur behind them. This creates a dreamy, romantic atmosphere, with a focus on the couple's connection.Additional Settings:ISO: 400 to 800 (to compensate for lower light levels without introducing too much noise).Shutter Speed: 1/250s to 1/500s (since the light is softer but still strong enough to prevent too much motion blur). Aperture Size Exposure Depth of Field f/1.4 Very large Lets in a lot of light Very thin f/2.0 Large Half as much light as f/1.4 Thin f/2.8 Large Half as much light as f/2 Thin f/4.0 Moderate Half as much light as f/2.8 Moderately thin f/5.6 Moderate Half as much light as f/4 Moderate f/8.0 Moderate Half as much light as f/5.6 Moderately large f/11.0 Small Half as much light as f/8 Large f/16.0 Small Half as much light as f/11 Large f/22.0 Very small Half as much light as f/16 Very large Shutter Speed: This controls how long the camera's sensor is exposed to light. It is measured in seconds or fractions of a second (e.g., 1/1000s, 1/60s, 1s). Fast shutter speeds (e.g., 1/1000s) freeze motion, while slow shutter speeds (e.g., 1/30s or slower) can create motion blur, useful for capturing the feeling of movement or light trails.Fast Shutter Speed (Freeze Motion)Scene: A sleek smartphone placed on a clean, simple background, with reflective surface (like a glossy table or a backdrop with lights) to emphasize its design.Shutter Speed: 1/200s to 1/500sReason: Since the phone is a static object, you'll want a fast shutter speed to ensure a sharp, crisp image. A shutter speed in this range is ideal for freezing any slight movement (if you're adjusting the phone, changing props, or if there's any ambient motion in the scene). It ensures that the fine details of the phone (e.g., logo, screen, or texture) are sharp.Effect: This fast shutter speed will allow you to capture the phone with clear, precise details while preventing any blur that could occur from hand movement, slight shifts in the phone, or camera shake.Additional Settings:Aperture: f/8 to f/11 (for a deep depth of field, ensuring the entire phone is in focus).ISO: 100 to 400 (to avoid noise and maintain a clean image with natural light).Lighting: Use diffused light or softboxes to reduce harsh shadows and highlight the phone’s features without reflections that could detract from the product’s details. White Balance: White balance adjusts the colors in your image to ensure that objects which appear white in person are rendered white in the photo, correcting for different types of light sources (e.g., daylight, tungsten, fluorescent). Different settings (like Daylight, Cloudy, or Incandescent) help you get accurate color representation based on the light conditions. Focal Length: This is the distance between the camera's lens and the image sensor when the subject is in focus, typically measured in millimeters (e.g., 35mm, 50mm, 200mm). A shorter focal length (e.g., 18mm or 35mm) provides a wider field of view (ideal for landscapes or group photos), while a longer focal length (e.g., 85mm or 200mm) allows you to zoom in on distant subjects and create a more narrow field of view (great for portraits or wildlife). Depth of Field: Depth of field refers to how much of the image is in focus, from the foreground to the background. Shallow depth of field (created by a wide aperture like f/1.8) results in a blurred background (bokeh effect), often used in portraits. Deep depth of field (created by a small aperture like f/16) keeps the entire scene in focus, ideal for landscapes. These properties work together in a camera's exposure triangle—ISO, aperture, and shutter speed—to determine the overall exposure and aesthetic of an image. By adjusting one or more of these elements, you can control how the final image looks in terms of brightness, sharpness, depth, and motion. Aperture in Photography: Aperture refers to the size of the opening in the lens that allows light to pass through to the camera's sensor or film. It plays a crucial role in both exposure (how bright or dark an image appears) and depth of field (how much of the scene is in focus). Aperture is measured in f-stops (or f-numbers), such as f/1.4, f/2.8, f/5.6, f/16, etc.. These numbers describe how wide or narrow the aperture opening is. Key Concepts of Aperture: F-stop (f-number): Smaller f-stop numbers (e.g., f/1.4, f/2.8) correspond to wider apertures, which allow more light into the camera. Larger f-stop numbers (e.g., f/8, f/16) correspond to narrower apertures, which allow less light into the camera. A change in the f-stop by one full number (e.g., from f/2.8 to f/4) either halves or doubles the amount of light entering the lens. Light and Exposure: Aperture has a direct effect on the exposure of your image. A wider aperture (lower f-stop) allows more light to hit the sensor, which is beneficial in low-light conditions. A narrower aperture (higher f-stop) reduces the amount of light and is often used in bright conditions or to achieve specific creative effects. Depth of Field (DOF): Shallow depth of field means that only a small portion of the image is in focus, with the background and foreground blurred. This is typically achieved with wide apertures (like f/1.4 or f/2.8). It's often used in portraits to isolate the subject from the background. Deep depth of field means that much of the scene (from foreground to background) is in focus. This is achieved with small apertures (like f/8 or f/16). It's commonly used in landscape photography to ensure that everything from the front of the scene to the horizon is sharp. What is Aperture? How Aperture Affects Your Photos: Aperture and Exposure: Aperture affects the brightness of your photo. In low-light situations, you may need to open the aperture wide (use a lower f-stop like f/1.8) to let in more light. In bright conditions, you may want to use a higher f-stop (like f/11 or f/16) to avoid overexposure. Aperture and Depth of Field: Wide Apertures (e.g., f/1.4, f/2.8): Shallow depth of field. Blurry background (bokeh effect) that isolates the subject. Great for portraits or macro shots. Narrow Apertures (e.g., f/8, f/16): Deeper depth of field. More of the scene in focus, from foreground to background. Ideal for landscape photography where you want the entire scene sharp. Visual Examples: Wide Aperture (f/1.8 or f/2.8): Shallow depth of field with a blurry background. Ideal for portraits where you want the subject to stand out. Example: A portrait where the person's face is sharp, but the background is soft and out of focus. Narrow Aperture (f/16 or f/22): Deep depth of field, with much more of the scene in focus. Perfect for landscapes where you want both the foreground and background in sharp focus. Example: A landscape photo where both the flowers in the foreground and the distant mountains are equally sharp. How to Choose the Right Aperture: For Portraits: Use a wide aperture (f/1.4 to f/2.8) to get a blurry background (bokeh) and draw focus to the subject. For Landscapes: Use a narrow aperture (f/8 to f/16) to keep most of the scene in focus, from the foreground to the horizon. For Low-Light Conditions: Open the aperture wide (e.g., f/2.8 or lower) to let in more light and avoid using a high ISO or slow shutter speed. Aperture in the Exposure Triangle: Aperture is one of the three main settings in the exposure triangle, along with shutter speed and ISO. These three elements work together to determine the exposure of your photo: Shutter Speed controls how long the sensor is exposed to light. ISO controls the sensor's sensitivity to light. Aperture controls the amount of light that enters the camera through the lens. In practice, you'll adjust all three depending on the lighting conditions and the effect you want to achieve in your image. In Summary: Aperture is the opening in your lens that controls how much light enters the camera and influences the depth of field. Wide apertures (lower f-stop values) allow more light in and create a shallow depth of field. Narrow apertures (higher f-stop values) let in less light and provide a greater depth of field. By adjusting your aperture, you can creatively control the exposure and depth of field in your photos!
More detailsPublished - Mon, 16 Dec 2024
Created by - Anil Chauhan
Videography
Videography is the art of capturing moving images, often in the context of events, productions, or artistic projects. It requires both technical skills and creative vision to ensure that the final product communicates the intended message effectively. Here’s a summary of what to do and what to avoid when working in videography:Do's in Videography: Plan Ahead: Pre-production is key. Plan your shots, locations, angles, and lighting before filming. Write a shot list or a storyboard to guide your process. Use the Right Equipment: Choose a camera with appropriate resolution (HD, 4K, etc.) based on the project needs. Ensure you have good quality audio equipment, like microphones, for clear sound. Use stabilization gear (gimbals, tripods) to avoid shaky footage. Lighting: Make sure subjects are well-lit using natural or artificial lighting to enhance the visual quality. Avoid harsh shadows unless they're intended for a specific look or effect. Composition: Use proper framing and rule of thirds for dynamic shots. Ensure there is depth in your shots to add visual interest. Avoid distractions in the background that might detract from the subject. Focus on Audio: Good sound is as important as good visuals. Always check your audio before filming. Use external microphones for better sound quality, especially in noisy environments. Take Multiple Shots: Always capture extra footage for safety. Different angles or variations of a scene can be helpful in editing. Maintain Consistency: Ensure visual and audio elements are consistent across scenes unless there's a specific reason to change. Use similar color grading across the video for a cohesive look. Post-Production: Edit the footage to create a smooth narrative. Pay attention to sound design, adding music, sound effects, and proper transitions. Ensure the video has the right pacing to engage the audience. Don'ts in Videography: Don’t Overuse Zoom: Frequent zooming can be distracting. Use zoom sparingly and focus on smooth transitions. Don’t Ignore Sound Quality: Avoid using built-in microphones on cameras if possible. They often pick up background noise. Don't neglect to check levels before recording; too high or low audio can ruin a shot. Don’t Rely on Auto Settings: Avoid using the camera’s auto focus, auto exposure, or auto white balance unless it's a specific stylistic choice. Manually adjusting these settings can give you much more control over the final result. Don’t Overcomplicate the Story: Keep the narrative clear and focused. Avoid confusing edits or unnecessary shots. Over-editing or adding too many effects can distract from the story. Don’t Use Poor Lighting: Avoid filming in low light situations unless the look requires it. Proper lighting is crucial for clear, professional-looking footage. Avoid backlighting without compensation, as it can cause the subject to appear as a silhouette. Don’t Shoot with Unstable Equipment: Avoid handheld shots unless the effect is deliberate. Use tripods or gimbals for stable footage. Poorly stabilized shots can make your video look unprofessional. Don’t Forget About the Audience: Avoid filming for yourself. Keep the target audience in mind at every step. Consider the context of your video (social media, film festival, etc.) and tailor it for the best possible viewing experience. Don’t Skip Backup Plans: Never assume the equipment will work perfectly. Have backups for your camera, memory cards, and batteries. Always test equipment before shooting to avoid issues during filming. By following these guidelines, you’ll ensure your videography work is both technically proficient and creatively compelling.
More detailsPublished - Fri, 27 Dec 2024
Search
Popular categories
Adobe After Effects 2025
28Unreal Engine
14zbrush
10Maya Animation
8zbrush tutorial jewelry
7Maya 2025
5Latest blogs

Advanced Editing Techniques
47 Minutes Ago

Introduction to Level Design Through Blocking in Unreal Engine
1 Day Ago

Nuke, animating parameters
1 Day Ago
Write a public review