Where possibilities begin

We’re a leading marketplace platform for learning and teaching online. Explore some of our most popular content and learn something new.
Total 2 Results
Graphics and Illustrations part 1

Created by - Shavikant Chauhan

Graphics and Illustrations part 1

Subject : Computer Fundamentals & ConceptsSubject Code :BAFD0101   of Graphics and IllustrationsTime :   90 Minutes                                                       Sem :  1Total Marks : 50Instruction:Attempt any five questions out of seven questions.Make suitable assumptions wherever necessary.Figures to the right indicate full marks.Q.1 (A)  Fill in the blanks (2)The full form of JPEG is ___Joint Photographic Experts Group__________________________________________________GIF, PNG, BMP, TIFF, TGA, and JPEG 2000_______ file format can give us transparent background.(B) Explain about cool colors. Give any 2 color names which are known as cool color.ans. blue, green, and purple (3)(C) Explain 5 differences between raster & vector.ans. Here are five key differences between raster and vector graphics:1. File CompositionRaster: Made up of pixels (tiny squares of color) arranged in a grid.Vector: Comprised of paths defined by mathematical equations (lines, shapes, curves).2. ScalabilityRaster: Loses quality and becomes pixelated when scaled up.Vector: Can be resized infinitely without any loss of quality.3. File SizeRaster: Typically larger due to storing information for every individual pixel.Vector: Usually smaller, as it stores mathematical formulas instead of pixel data.4. Best Use CasesRaster: Ideal for detailed and complex images like photos.Vector: Perfect for logos, icons, and graphics that require scalability.5. File FormatsRaster: Common formats include .jpg, .png, .gif, .bmp.Vector: Common formats include .svg, .ai, .eps, .pdf. (5)Q.2 (A)  Fill in the blanks (2)A ___Point_______ is the smallest and most basic design element.____Line______ represents a single dimension, length.(B) True and false (3)Red color is known as primary color. > true / false (True)The intensity of a color is described as saturation. > true / false (True)The color range of RGB is from 0% to 100%. >  true / false (False)(C) Explain 5 differences between RGB & CMYK color modes.ans. Here are five key differences between RGB and CMYK color modes:1. Color ModelRGB: An additive color model where colors are created by combining red, green, and blue light.CMYK: A subtractive color model where colors are created by combining cyan, magenta, yellow, and black inks.2. Primary UseRGB: Used for digital screens and electronic displays, such as monitors, TVs, and smartphones.CMYK: Used for printing purposes, such as posters, brochures, and books.3. Color RangeRGB: Has a wider color gamut, allowing for more vibrant and bright colors.CMYK: Has a narrower color gamut, which may result in less vibrant colors compared to RGB.4. Color RepresentationRGB: Values range from 0 to 255 for each color (e.g., 255, 0, 0 for pure red).CMYK: Values are represented as percentages (e.g., 100% cyan, 0% magenta, 0% yellow, 0% black for pure cyan).5. OutputRGB: Designed for light-based devices, so it appears brighter on screens.CMYK: Designed for ink-based media, so colors may look duller when printed compared to their digital  (5)Q.3 (A)  Fill in the blanks (2)___Circle_______ is considering as Basic shape.Shapes can be ____organic______ or geometric.(B) What kind of information a Visiting card can hold?ans. A visiting card, also known as a business card, typically contains the following information:Essential InformationName: The individual’s full name.Job Title: The designation or role of the individual.Company Name: The name of the organization or business.Logo: The company logo for branding purposes.Contact Information: Phone number, email address, and website URL.Optional InformationAddress: Office or business address.Social Media Handles: Links to professional profiles (e.g., LinkedIn, Instagram).Tagline/Slogan: A short, catchy phrase representing the business.QR Code: Links to additional information, portfolio, or digital contacts.Fax Number: If applicable, for traditional communication.Design ElementsColor Scheme: Reflecting the company’s branding.Background Design: Patterns, textures, or minimalist designs. (3)(C) What is DPI? Explain the concept of resolution. ans.What is DPI?DPI stands for Dots Per Inch and refers to the number of individual dots of ink or pixels that can fit into a one-inch space. It is commonly used to measure the resolution of printed images or digital screens.Higher DPI: Produces sharper and more detailed images (e.g., 300 DPI for high-quality printing).Lower DPI: Results in lower-quality images that may appear pixelated or blurry when printed or enlarged.Concept of ResolutionResolution defines the level of detail in an image and determines its clarity and sharpness. It is influenced by the number of pixels or dots that make up the image. Resolution is typically measured in:Pixels per Inch (PPI):Used for digital displays and images.Higher PPI means more pixels per inch, resulting in finer details.Dots per Inch (DPI):Used for printed materials.Higher DPI ensures crisp and detailed prints.Relationship Between DPI and ResolutionDigital Media: Resolution refers to the total pixel dimensions (e.g., 1920 x 1080).Printed Media: Resolution is determined by DPI, as it dictates how the digital image translates into physical dots on paper.For example:A 72 DPI image is suitable for web use, where screen resolution is lower.A 300 DPI image is ideal for professional printing to achieve high-quality results.

More details

Published - Wed, 22 Jan 2025

Graphics and Illustrations part 2

Created by - Shavikant Chauhan

Graphics and Illustrations part 2

More details

Published - Wed, 22 Jan 2025

Search
Popular categories
Latest blogs
Introduction to Arnold in Maya
**Introduction to Arnold in Maya**Arnold is a high-quality, advanced Monte Carlo ray tracing renderer used for generating photorealistic images and animations. It is widely used in the film, television, and visual effects industries due to its efficiency, flexibility, and ability to handle complex scenes. Arnold is integrated into Autodesk Maya as **Arnold for Maya** (or **MtoA**), making it a powerful tool for 3D artists and animators.---### **Key Features of Arnold in Maya**1. **Physically-Based Rendering (PBR):**   - Arnold simulates real-world lighting and materials, producing realistic results.   - It uses physically accurate shading models, such as the Standard Surface shader.2. **Ray Tracing:**   - Arnold uses ray tracing to calculate light paths, reflections, refractions, and global illumination (GI) for accurate lighting.3. **Scalability:**   - It efficiently handles large and complex scenes, making it suitable for production environments.4. **Interactive Rendering (IPR):**   - Arnold provides an interactive rendering mode that allows artists to see changes in real-time as they adjust lighting, materials, or camera settings.5. **AOVs (Arbitrary Output Variables):**   - Arnold supports AOVs, enabling artists to render separate layers (e.g., diffuse, specular, shadows) for compositing.6. **Integration with Maya:**   - Arnold is deeply integrated into Maya, allowing seamless workflow with Maya's tools and features.7. **Support for Volumetrics:**   - Arnold can render volumetric effects like fog, smoke, and clouds using its volumetric shaders.8. **GPU Rendering:**   - Arnold supports GPU rendering, which can significantly speed up rendering times for compatible hardware.---### **Basic Workflow with Arnold in Maya**1. **Set Up Your Scene:**   - Model your objects, create materials, and set up your scene in Maya.2. **Assign Arnold Materials:**   - Use Arnold's **Standard Surface Shader** (aiStandardSurface) for materials. This shader is versatile and can simulate a wide range of surfaces, from metals to glass.3. **Add Lighting:**   - Use Arnold lights (e.g., aiAreaLight, aiSkyDomeLight) to illuminate your scene. Arnold supports physically accurate lighting setups.4. **Adjust Render Settings:**   - Open the **Render Settings** window and set Arnold as the renderer.   - Configure settings like sampling, ray depth, and global illumination to optimize quality and performance.5. **Render the Scene:**   - Use the Arnold RenderView to preview and render your scene. The IPR mode allows for real-time feedback.6. **Post-Processing:**   - Use AOVs to render separate passes and composite them in software like Adobe After Effects or Nuke.---### **Common Arnold Nodes in Maya**- **aiStandardSurface:** The primary shader for creating materials.- **aiSkyDomeLight:** Used for environment lighting, such as HDRI maps.- **aiAreaLight:** A versatile light source for simulating soft lighting.- **aiVolume:** For rendering volumetric effects like fog or smoke.- **aiStandIn:** Allows you to reference external Arnold-asset files (.ass) for efficient scene management.---### **Tips for Using Arnold in Maya**- **Optimize Sampling:** Adjust the Camera (AA) and Diffuse/Glossy samples to balance render quality and speed.- **Use Denoising:** Enable Arnold's denoiser to reduce noise in renders without increasing sample counts.- **Leverage GPU Rendering:** If you have a compatible GPU, switch to GPU mode for faster renders.- **Experiment with Lighting:** Arnold's lighting tools are powerful—try combining area lights with HDRI environments for realistic results.---Arnold is a robust and versatile renderer that can elevate the quality of your Maya projects. With its integration into Maya, it provides a streamlined workflow for creating stunning visuals. Whether you're working on still images or animations, Arnold's capabilities make it a go-to choice for professionals in the industry.

Mon, 24 Feb 2025

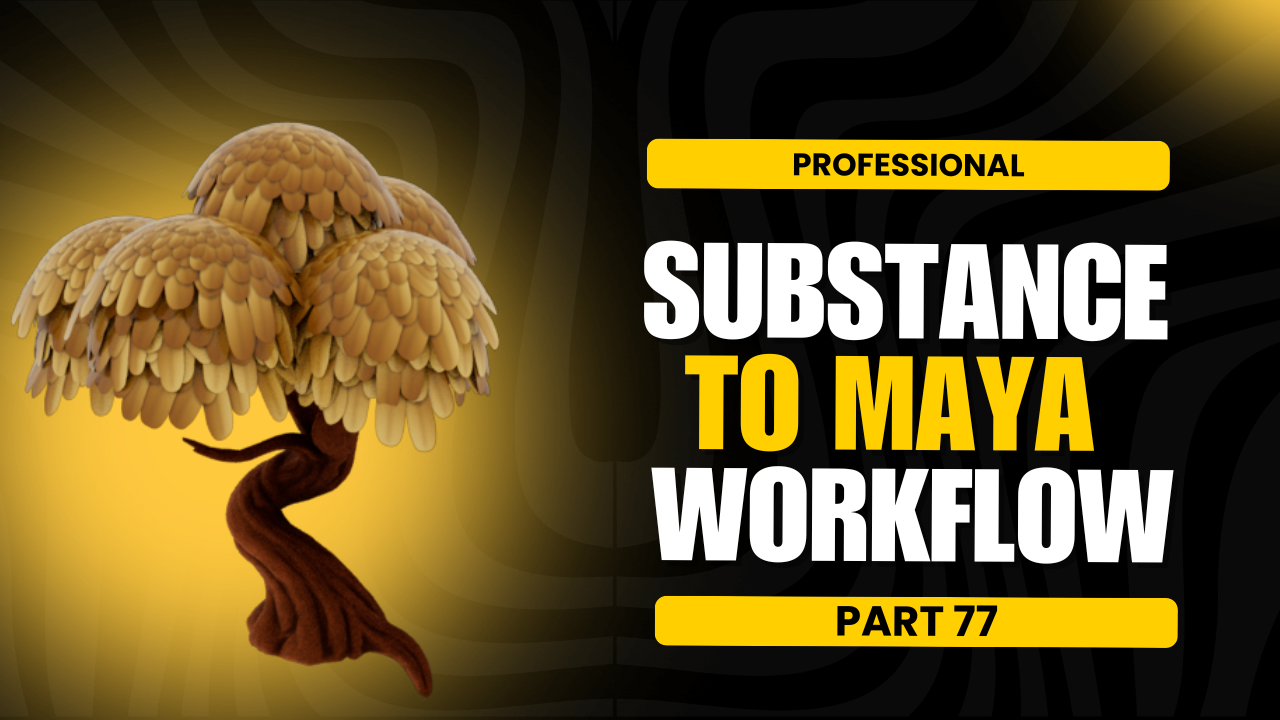
Substance to Maya Workflow
substance to maya workflowIntegrating Substance Painter with Autodesk Maya is a common workflow for creating high-quality textures and materials for 3D models. Below is a step-by-step guide to help you seamlessly transfer textures and materials from Substance Painter to Maya: --- ### **1. Prepare Your Model in Maya** - **Model and UVs**: Ensure your 3D model is properly UV unwrapped in Maya. Clean UVs are essential for texture painting in Substance Painter. - **Export the Model**: Export your model in a format compatible with Substance Painter (e.g., `.fbx`, `.obj`). --- ### **2. Texture Painting in Substance Painter** - **Import the Model**: Open Substance Painter and import your model. - **Create a New Project**: Set the texture resolution (e.g., 2K, 4K) and choose the appropriate template. - **Paint and Texture**: Use Substance Painter's tools to paint textures, create materials, and add details like roughness, metallic, normal maps, etc. - **Bake Maps**: Bake necessary maps (e.g., normal, ambient occlusion, curvature) for accurate texture application. --- ### **3. Export Textures from Substance Painter** - **Configure Export Settings**: - Go to `File > Export Textures`. - Choose a configuration preset (e.g., `Maya (Arnold)` or `Maya (Standard)` depending on your renderer). - Select the maps you want to export (e.g., Base Color, Normal, Roughness, Metallic, etc.). - Choose the file format (e.g., `.png`, `.tif`, `.exr`). - **Export**: Save the textures to a folder accessible to your Maya project. --- ### **4. Import Textures into Maya** - **Apply Textures in Maya**: - Open your Maya scene and select the model. - Assign a new material to the model (e.g., `aiStandardSurface` for Arnold or `Standard Surface` for other renderers). - Connect the exported textures to the appropriate material channels: - **Base Color**: Connect to the `Base Color` or `Color` input. - **Normal Map**: Connect to the `Normal Map` input (ensure you enable `Tangent Space Normals` if needed). - **Roughness**: Connect to the `Roughness` input. - **Metallic**: Connect to the `Metallic` input. - **Ambient Occlusion**: Connect to the `Ambient Occlusion` input (optional, depending on your workflow). --- ### **5. Adjust and Render** - **Tweak Material Settings**: Adjust material properties in Maya to match your desired look. - **Lighting and Rendering**: Set up lighting and render settings in Maya to visualize the final result. --- ### **6. Optional: Live Link Between Substance Painter and Maya** - Use the **Substance Plugin for Maya** to establish a live link between Substance Painter and Maya. This allows you to see texture updates in real-time without manually exporting and importing textures. - Install the Substance Plugin from the Adobe website or Autodesk App Store. - Follow the plugin's instructions to sync your Substance Painter project with Maya. --- ### **Tips for a Smooth Workflow** - **Consistent Naming**: Use consistent naming conventions for textures and materials to avoid confusion. - **Texture Resolution**: Ensure texture resolutions match your project requirements. - **Test Renders**: Perform test renders in Maya to verify the textures look correct under different lighting conditions. By following this workflow, you can efficiently create and apply high-quality textures to your 3D models in Maya using Substance Painter.

Sat, 22 Feb 2025

ZBrush User Interface Overview
### ZBrush User Interface OverviewZBrush has a unique and highly customizable user interface (UI) designed to streamline the digital sculpting process. While it may seem overwhelming at first, understanding the layout and key components will help you navigate and use ZBrush efficiently. Below is a breakdown of the ZBrush user interface:---### **Main Components of the ZBrush Interface**#### **1. Canvas**- The central area where you sculpt and interact with your 3D models.- You can rotate, pan, and zoom the canvas using:  - **Rotate:** Click and drag with the mouse.  - **Pan:** Hold **Alt** + click and drag.  - **Zoom:** Hold **Alt** + click and release (without dragging).#### **2. Top Menu Bar**- Contains global menus like **File**, **Edit**, **Light**, **Render**, and **Preferences**.- Key options:  - **File:** Open, save, and import/export projects.  - **Preferences:** Customize ZBrush settings, including UI, hotkeys, and performance.#### **3. Left and Right Shelves**- **Left Shelf:** Contains commonly used tools like brushes, strokes, and alphas.- **Right Shelf:** Includes navigation tools, viewport options, and display settings.#### **4. Tool Palette**- Located on the right side of the screen.- Contains all the tools (e.g., brushes, meshes, and primitives) you can use in ZBrush.- Key tools:  - **Brush:** Select different sculpting brushes.  - **Stroke:** Define how the brush interacts with the model.  - **Alpha:** Apply textures or patterns to your brush strokes.  - **Material:** Choose surface materials for your model.#### **5. SubTool Palette**- Located under the **Tool** menu.- Allows you to manage multiple parts of your model (e.g., body, clothing, accessories).- Use **Append** to add new Subtools to your project.#### **6. Transforms Palette**- Located at the top of the screen.- Contains tools for moving, scaling, and rotating your model.- Key options:  - **Move (W), Scale (E), Rotate (R):** Standard transform tools.  - **Activate Symmetry (X):** Enable symmetry for sculpting.#### **7. Brush Palette**- Contains all the sculpting brushes.- Popular brushes:  - **Standard:** Basic sculpting brush.  - **Move:** Adjust the shape of your model.  - **ClayBuildup:** Add volume to your model.  - **DamStandard:** Create sharp details like cracks or wrinkles.#### **8. Layers Palette**- Allows you to work non-destructively by adding details on separate layers.- Useful for experimenting with different sculpting ideas.#### **9. Geometry Palette**- Contains tools for managing your model's topology.- Key options:  - **Divide:** Increase the polygon count for finer details.  - **Dynamesh:** Recalculate topology dynamically.  - **ZRemesher:** Automatically generate clean topology.#### **10. Light and Render Palettes**- **Light Palette:** Adjust lighting for your scene.- **Render Palette:** Control rendering settings for creating final images.#### **11. Quick Access Buttons**- Located at the top of the canvas for easy access to common actions:  - **Draw (Q):** Enter sculpting mode.  - **Edit (T):** Enter edit mode to manipulate the model.  - **Undo (Ctrl+Z):** Undo the last action.---### **Customizing the Interface**ZBrush allows you to customize the UI to suit your workflow:1. **Move Palettes:**   - Drag and drop palettes to rearrange them.2. **Save Custom UI:**   - Go to **Preferences > Config > Store Config** to save your custom layout.3. **Hotkeys:**   - Assign custom hotkeys under **Preferences > Hotkeys**.---### **Key Tips for Navigating the UI**- **Hide/Show UI:** Press **Ctrl+Shift** to hide the UI and focus on your model. Press it again to restore the UI.- **Pop-Up Menus:** Right-click on the canvas to access quick menus for brushes, alphas, and materials.- **Custom Menus:** Create custom menus for frequently used tools under **Preferences > Customize UI**.---### **Learning the Interface**- **Practice:** Spend time exploring each palette and tool to understand their functions.- **Tutorials:** Watch beginner tutorials to see the UI in action.- **Documentation:** Refer to the official ZBrush documentation for detailed explanations.---By familiarizing yourself with the ZBrush user interface, you’ll be able to work more efficiently and unlock the full potential of this powerful sculpting tool.

Fri, 21 Feb 2025

All blogs