
Created by - Shavikant Chauhan
Elevate your 3D skills with Maya, Unreal, Substance Painter, and ZBrush! ????
"???? Ready to take your 3D game to the next level? Dive into the world of creativity with **Maya**, **Unreal Engine**, **Substance Painter**, and **ZBrush**! ✨ Whether you’re crafting stunning animations, immersive environments, or intricate textures, these tools have you covered. Start your journey today and bring your wildest ideas to life! ???????? #3DArt #Maya #UnrealEngine #SubstancePainter #ZBrush #GameDev"Contact no 7804861096
More detailsPublished - Mon, 21 Oct 2024
Created by - Shavikant Chauhan
"Top Tools for 3D Modeling, Texturing, and Sculpting in 2024"
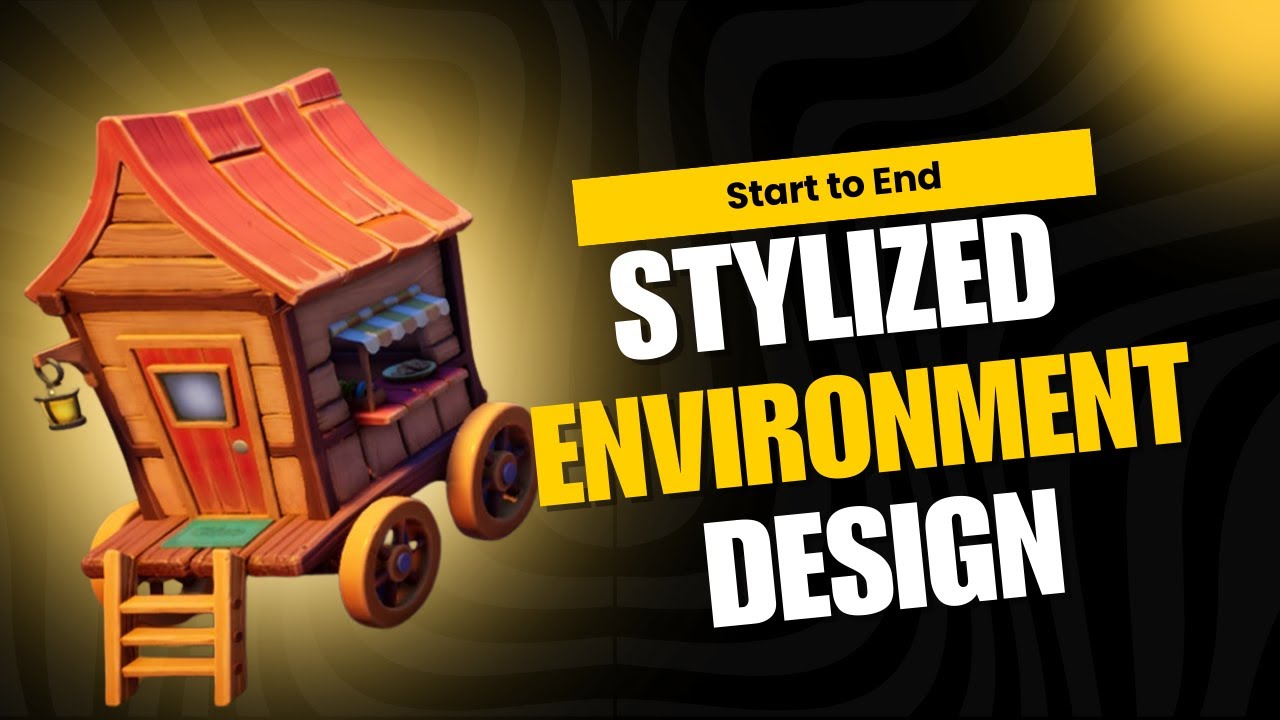
"Learn 3D Modeling Techniques"Stylized 3D Environment CreationOverview Dive into my latest 3D stylized environment project, where artistic creativity meets technical precision. This visually captivating environment was crafted using industry-leading software: Autodesk Maya, Substance Painter, ZBrush, and Unreal Engine.Software and Workflow Modeling in Maya: Every asset in the environment was meticulously modeled in Maya to achieve a unique and stylized aesthetic. Focused on clean topology and optimized geometry for seamless integration into game engines. Detailing in ZBrush: Used ZBrush to sculpt intricate details, adding depth and personality to organic and hard-surface elements. High-poly models were baked down to create detailed normal maps. Texturing in Substance Painter: Applied vibrant, hand-painted textures using Substance Painter. Focused on creating a cohesive color palette to enhance the stylized look while maintaining realism. Utilized PBR techniques to ensure the materials react beautifully to lighting in Unreal Engine. Integration in Unreal Engine: Assembled and lit the environment in Unreal Engine, leveraging its real-time rendering capabilities. Added dynamic lighting, atmospheric effects, and post-processing to enhance mood and storytelling. Optimized assets for performance without compromising visual quality, making it suitable for real-time applications.https://www.youtube.com/watch?v=PHE2X64mM-0&list=PLIi3DnFfUZQFdg-MTdgpZi_FC1PiUP6uOHighlights Stylized Aesthetic: The project emphasizes bold shapes, exaggerated proportions, and a vibrant color scheme. Game-Ready: All assets are optimized for game engine compatibility, ensuring smooth performance. Storytelling: Each element within the environment contributes to the narrative, creating a visually engaging scene. Features and Techniques Used Modular asset creation for efficient level design. Advanced sculpting for intricate surface details. Hand-painted textures that blend realism with artistic flair. Dynamic lighting and volumetric fog for atmospheric effects. Applications This environment is ideal for: Stylized video games. Animated films or series. Interactive VR/AR experiences. Portfolio showcases and concept presentations. Gallery/Portfolio Include renders, wireframes, and breakdowns for each stage of the process (modeling, sculpting, texturing, and final rendering). Include turntables or videos of the environment to give visitors an immersive view.Conclusion This project exemplifies my expertise in creating stylized 3D environments using a comprehensive pipeline. It showcases my ability to combine artistic vision with technical skills to produce high-quality, game-ready assets.For more details or inquiries about similar projects, feel free to contact me or explore my portfolio further!Here’s a detailed workflow description focusing on Maya, ZBrush, and Substance Painter for your stylized 3D environment:Stylized 3D Environment Creation WorkflowStep 1: Modeling in Maya Blockout Phase: Started with a rough blockout in Maya to define the overall layout and proportions of the environment. Ensured the composition adheres to visual storytelling principles and maintains a stylized aesthetic. Base Modeling: Created modular assets for efficiency, focusing on clean topology and edge flow. Used Maya’s Modeling Toolkit for quick adjustments and fine-tuning shapes. UV Mapping: Optimized UV layouts for all assets to ensure high-quality texturing in Substance Painter. Used automatic UV tools and manual adjustments to eliminate stretching and overlapping. Export to ZBrush: Exported low-poly models with properly unwrapped UVs for high-detail sculpting. Step 2: Detailing in ZBrush High-Poly Sculpting: Imported low-poly models into ZBrush and sculpted intricate details like cracks, wood grain, and stylized surface textures. Focused on exaggerating proportions and adding whimsical elements to emphasize the stylized aesthetic. Detail Pass: Used custom brushes and alphas to add surface details like wear, scratches, and organic imperfections. Added secondary details such as fine cracks, dents, and folds to enhance realism. Decimation and Normal Baking: Decimated the high-poly models to reduce polygon count while preserving detail. Exported high-poly versions for baking texture maps in Substance Painter. Step 3: Texturing in Substance Painter Import and Setup: Imported low-poly models with baked normal and ambient occlusion maps into Substance Painter. Set up a PBR workflow to create realistic and stylized materials. Base Textures: Applied base colors, materials, and smart masks to establish the foundational look of the assets. Focused on achieving a hand-painted effect while retaining material-specific properties. Detail Texturing: Added layers of dirt, scratches, and edge wear using procedural techniques and custom brushes. Enhanced stylized elements by emphasizing bold color gradients and simplified shading. Export Textures: Exported textures in Unreal Engine-compatible formats (e.g., Base Color, Roughness, Normal, and Metallic maps). Key Features of the Workflow Seamless Integration: Ensured smooth transitions between Maya, ZBrush, and Substance Painter for a cohesive asset pipeline. Optimized Performance: All assets were created with performance in mind, balancing visual quality and efficiency. Stylized Aesthetic: Combined exaggerated forms and vibrant textures for a distinct visual style. Game-Ready Assets: Delivered assets optimized for real-time rendering in Unreal Engine. Visual PresentationFor your website, consider including: Progression Images: Show each stage of the pipeline (e.g., blockout, sculpting, and texturing). Breakdowns: Share close-up renders of key assets with explanations of techniques used. Interactive Viewer: Use a tool like Sketchfab to embed interactive 3D models. Would you like additional details for a specific stage, or help formatting this for your website? Let me know if you'd like help refining this text or adding specific elements!Here’s a comprehensive workflow for adding all assets into Unreal Engine after working in Maya, ZBrush, and Substance Painter, with proper detailing for your website:Step 4: Integrating Assets into Unreal Engine1. Preparing Assets for Unreal Export from Maya: Exported final low-poly models from Maya as FBX files, ensuring proper naming conventions for easy organization. Verified the models' scale to match Unreal Engine’s default unit system (1 unit = 1 cm). Texture Files from Substance Painter: Exported textures in Unreal-compatible formats (e.g., Base Color, Roughness, Metallic, Normal, Ambient Occlusion). Organized texture maps into folders for seamless import. Collisions and LODs: Added basic collision meshes in Maya (if needed) or used Unreal’s auto-collision generation. Created Level of Detail (LOD) models for optimization, with higher detail for close-ups and reduced polygons for distant views. 2. Importing into Unreal Engine Asset Import: Imported all models into the Unreal Engine Content Browser, maintaining organized folders (e.g., Models, Textures, Materials, Scenes). Checked for proper UV channel assignments to ensure compatibility with lightmaps. Material Setup: Created PBR materials using Unreal Engine’s Material Editor. Connected texture maps (Base Color, Roughness, Metallic, Normal, and AO) to their respective nodes. Fine-tuned material properties for stylized looks, like tweaking emissive colors or adjusting roughness for exaggerated highlights. Lighting Adjustments: Enabled two-sided materials for thin assets like leaves and curtains. Used Material Instances for easier adjustments to shared materials. 3. Building the Scene Asset Placement: Positioned assets in the level using modular workflows to ensure a consistent and reusable layout. Grouped related assets for faster management and editing. Lighting and Shadows: Set up dynamic and static lighting to enhance the stylized aesthetic. Used Directional Light for sunlight and Sky Light for ambient illumination. Enabled Volumetric Fog and Post-Processing Effects for atmospheric depth. Landscape Creation: Used Unreal’s Landscape Tool to sculpt the terrain and blend custom materials for a stylized ground surface. Added grass, rocks, and foliage using Foliage Tool with optimized settings for performance. Blueprints and Interactivity: Added simple Blueprints to introduce dynamic elements, such as flickering lights, moving water, or rotating objects. Optimized interactivity without compromising performance. 4. Optimization for Real-Time Performance Asset Optimization: Ensured assets used appropriate LODs and reduced unnecessary polygons. Cleaned up unused textures and materials to minimize memory overhead. Lightmap Optimization: Adjusted UV lightmaps to prevent artifacts and ensure clean shadow baking. Used Lightmass for static lighting and baked shadows for optimal rendering. Rendering Settings: Optimized rendering settings for real-time performance, including culling, occlusion, and anti-aliasing. PresentationTo showcase this workflow on your website, include: Visual Breakdown of Workflow: Diagrams or charts showing how assets move from Maya to ZBrush, Substance Painter, and Unreal Engine. Step-by-step images of the process in each software. Final Renders and Videos: Include high-quality screenshots of the final environment in Unreal Engine. Add cinematic flythrough videos to highlight the lighting, materials, and overall atmosphere. Interactive 3D Viewer: Use tools like Sketchfab or embed interactive 3D models to let visitors explore individual assets. Detailed Breakdown: Feature comparison shots of each stage (e.g., low-poly model, high-poly sculpt, textured asset, and final Unreal integration). Behind-the-Scenes Commentary: Include a blog-style section where you explain the creative decisions, challenges, and solutions during the project. Example Description for Website: "This stylized 3D environment was crafted using a comprehensive pipeline involving Maya, ZBrush, Substance Painter, and Unreal Engine. The project focuses on delivering vibrant visuals with optimized, game-ready assets. Each stage of the workflow, from modeling and sculpting to texturing and real-time rendering, is meticulously executed to showcase the synergy between artistic creativity and technical expertise. Explore the final environment through cinematic videos and interactive galleries below." Let me know if you need help adding visuals or interactive elements to your website!
More detailsPublished - Fri, 20 Dec 2024
Search
Popular categories
Adobe After Effects 2025
30Unreal Engine
15zbrush
10Light
10Maya Animation
8zbrush tutorial jewelry
7Latest blogs
Introduction to Arnold in Maya
Mon, 24 Feb 2025
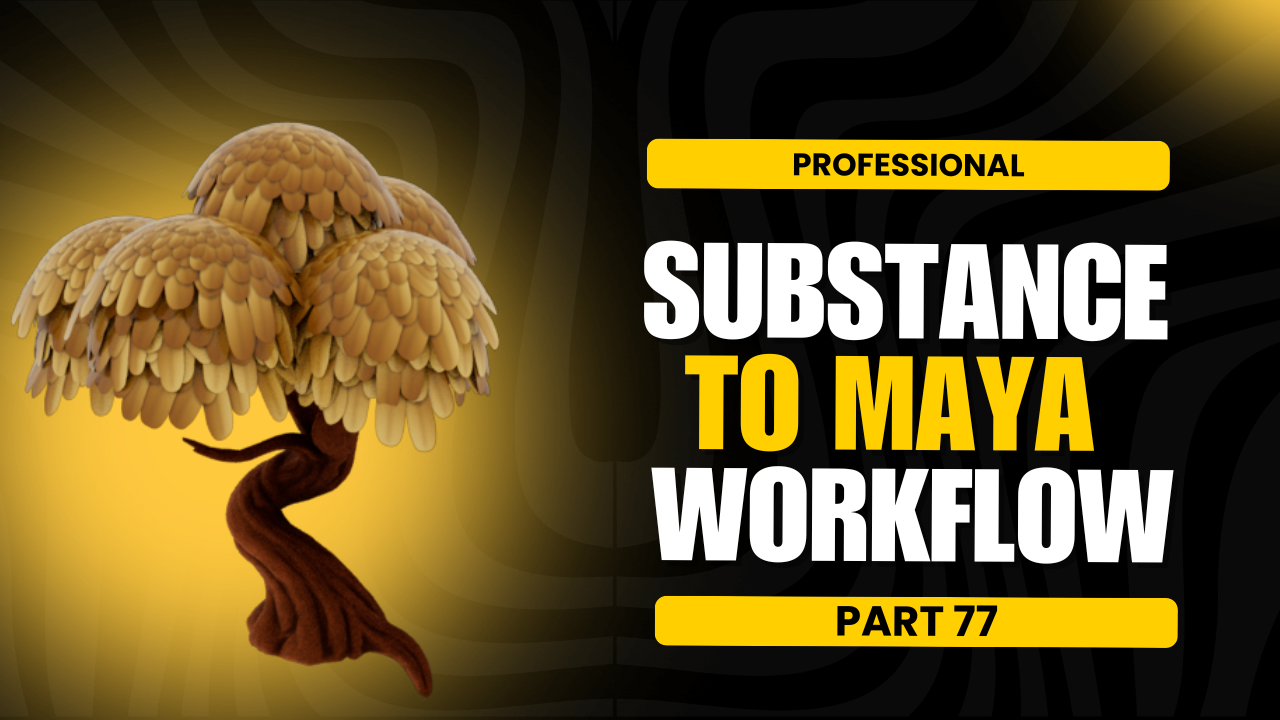
Substance to Maya Workflow
Sat, 22 Feb 2025
ZBrush User Interface Overview
Fri, 21 Feb 2025
Write a public review