Created by - Anil Chauhan
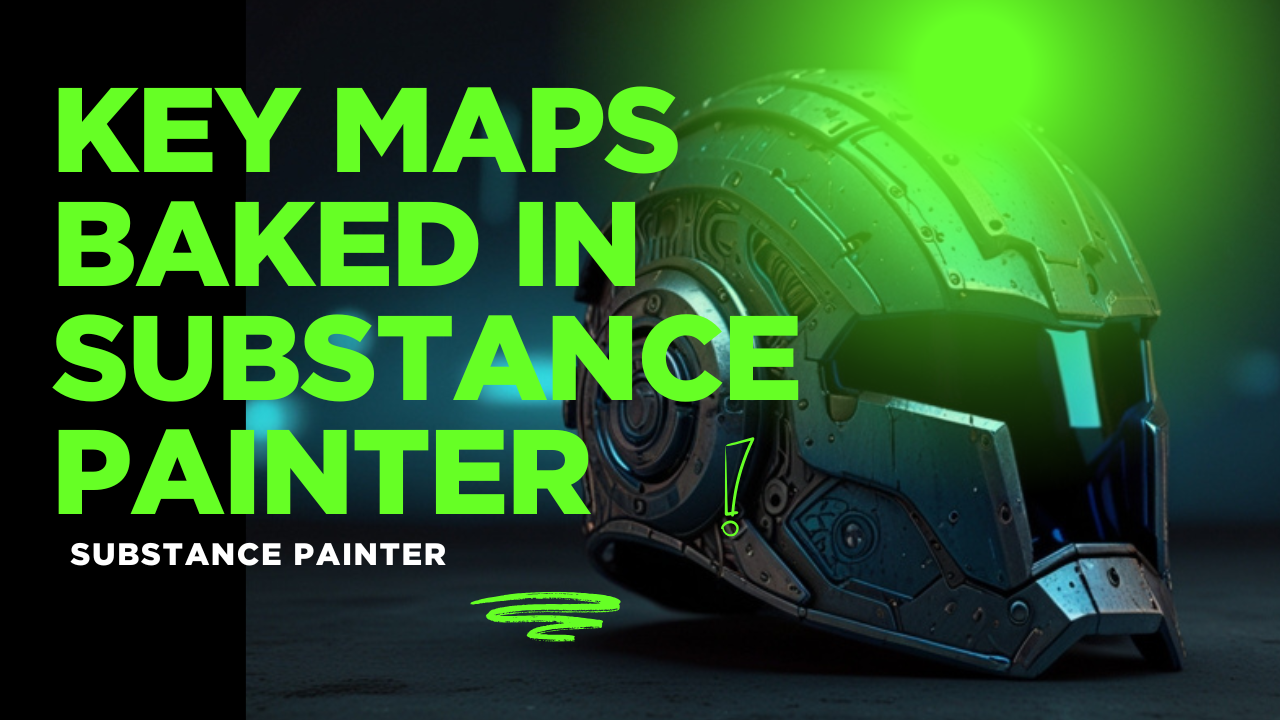
Key Maps Baked in Substance Painter
In Substance Painter, "map baking" refers to the process of transferring information from a high-resolution 3D model (high poly) to a lower-resolution 3D model (low poly) in the form of texture maps. This technique is crucial for creating highly detailed textures and visual fidelity while keeping the model's geometry efficient for performance.Key Maps Baked in Substance Painter Normal Map: Represents surface details such as bumps, grooves, and scratches from the high poly to the low poly model without adding geometry. Essential for creating the illusion of complexity and depth. Ambient Occlusion (AO) Map: Captures shadows in crevices or areas where light is occluded. Adds realism by emphasizing depth and grounding the model in its environment. Curvature Map: Highlights edges and concave/convex areas. Useful for procedural texturing, such as adding wear and tear effects. Position Map: Encodes the object's position in 3D space. Facilitates gradient-based effects and advanced procedural workflows. Thickness Map: Shows the thickness of the model at each point. Used for subsurface scattering or translucency effects. World Space Normal Map: Captures the orientation of the model's surface in 3D space. Often used for directional effects, like dirt accumulation or weathering. ID Map: Encodes different parts of the model with unique colors based on material assignments or polygroups. Speeds up the texturing process by enabling quick mask creation for specific regions. Height Map: Stores height information, often derived from the high poly model. Useful for displacement or as part of creating a detailed normal map. 9.Opacity Map:Purpose: Controls the transparency of a material.How It Works: Grayscale values determine transparency:White: Fully opaque.Black: Fully transparent.Applications:Used for transparent or semi-transparent materials like glass, cloth, or decals.Essential for effects like frosted glass, lace patterns, or ghosted elements. 10.Bent Normals mapPurpose: A specialized map that encodes the average direction of light occlusion for each surface point.How It Works:Derived from the Ambient Occlusion map during baking.Bent normals point toward the areas most exposed to ambient light, differing from standard normals, which point perpendicularly to the surface.Applications:Improves lighting realism in global illumination and ambient light simulations.Used in advanced texturing workflows, especially for environment assets.Enhances effects like subtle dirt or light diffusion based on surface exposure.Example Use Case: Adding subtle light variations on a surface in shadow-heavy environments, such as underneath a roof or within dense foliage.How to Bake and Use Bent Normals in Substance PainterBake Bent Normals:Open Texture Set Settings and select Bake Mesh Maps.Enable Bent Normals in the baking options.Adjust the rays and sampling settings for high-quality results.Use Bent Normals:Apply the Bent Normals Map as a mask or generator input.Combine with AO or Curvature maps for advanced procedural texturing.Useful for subtle effects like soft dirt or lighting gradients. The Map Baking Process in Substance Painter Preparation: Ensure both the high poly and low poly models are properly aligned. Export the high poly model with sufficient detail and the low poly model optimized for performance. Setup in Substance Painter: Import the low poly model into Substance Painter. Assign the high poly model as the source for baking. Baking Process: Open the Baking Panel (Texture Set Settings > Bake Mesh Maps). Adjust parameters like output resolution, anti-aliasing, and cage distance to refine the bake. Bake each desired map (or all maps at once) and review the results. Post-Bake Refinements: Fix artifacts or errors by adjusting bake settings or tweaking the geometry. Combine baked maps into your texturing process, using them for base materials, masks, or procedural effects. Benefits of Map Baking Allows high detail without impacting performance. Enables realistic texturing by capturing subtle surface details. Provides essential inputs for procedural texturing workflows. Would you like more details on troubleshooting, best practices, or specific settings for baking in Substance Painter?
More detailsPublished - Fri, 10 Jan 2025
Created by - Anil Chauhan
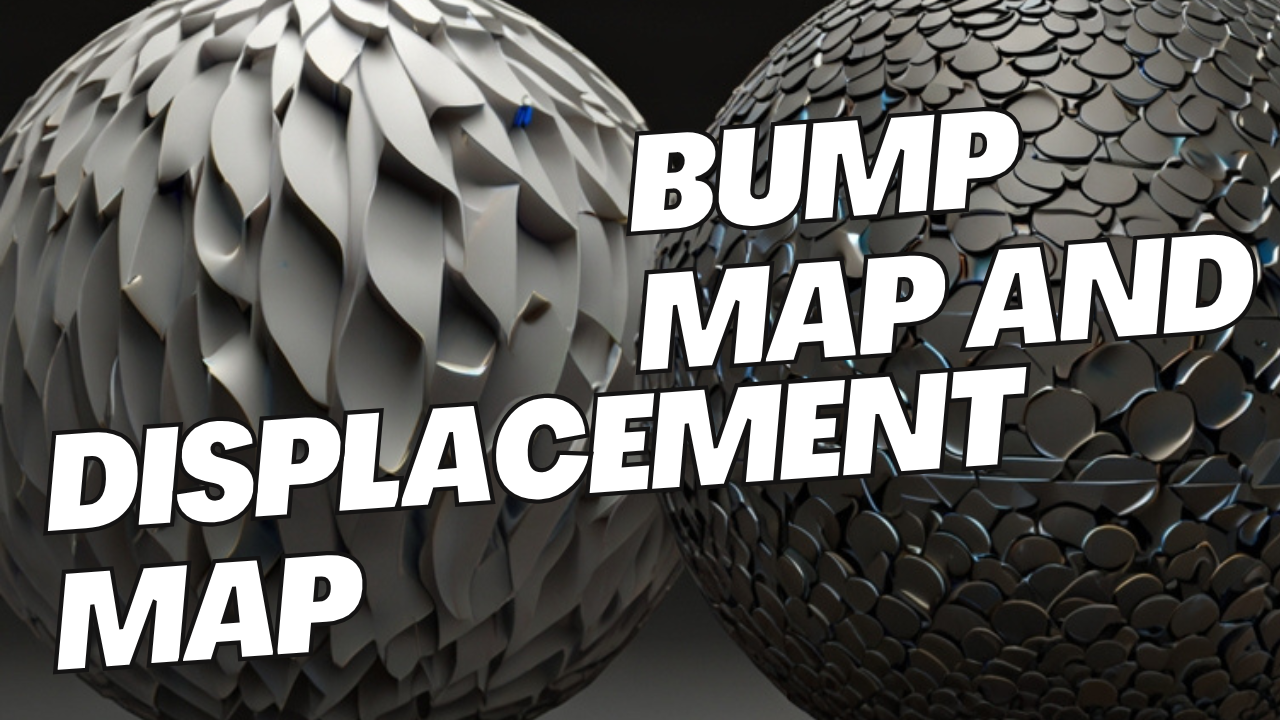
Bump map and displacement map
Bump maps and displacement maps are both techniques used in 3D rendering to add detail to a surface, but they work in fundamentally different ways and have distinct visual and computational implications. Here's a comparison:Bump Map Definition: A bump map uses grayscale values to simulate surface detail (like bumps or grooves) without actually modifying the geometry. How It Works: The grayscale values represent height information: White = high areas Black = low areas Effect: Alters how light interacts with the surface to create the illusion of depth. The geometry remains unchanged. Use Case: Best for adding fine surface detail when the geometry doesn't need to physically change (e.g., wood grain, small wrinkles). Performance: Low computational cost because it doesn’t modify the mesh. Limitations: No actual changes to the silhouette of the object. Details appear flat if viewed from sharp angles or in profile.https://www.youtube.com/watch?v=JwahGfOzxV0https://www.youtube.com/watch?v=obNSow8jXXkhttps://www.youtube.com/watch?v=DAb60QIpysAhttps://www.youtube.com/watch?v=Wp0-OevjCso&list=PLIi3DnFfUZQE488Dffjw70eCpGMTs9x8m Displacement Map Definition: A displacement map physically alters the geometry of a surface based on grayscale height information. How It Works: The grayscale values modify the actual position of vertices or tessellated subdivisions: White = pushed outward Black = pulled inward Effect: Creates real 3D detail, changing the shape and silhouette of the object. Use Case: Ideal for high-detail renders where the geometry's silhouette or structure needs to reflect the details (e.g., rocks, terrain, large-scale wrinkles). Performance: Higher computational cost because it requires extra geometry or tessellation to add detail. Limitations: Requires a dense mesh or tessellation to achieve smooth results. More demanding on memory and processing power. Key Differences Aspect Bump Map Displacement Map Geometry Changes No (illusion of depth only) Yes (modifies actual geometry) Silhouette Effect None Visible Performance Low impact Higher computational cost Ideal Usage Fine details with no silhouette impact High-quality close-ups requiring real 3D details In summary, use bump maps for subtle, high-performance effects and displacement maps when you need realistic geometry changes and are willing to invest in computational resources.
More detailsPublished - Mon, 20 Jan 2025
Created by - Anil Chauhan
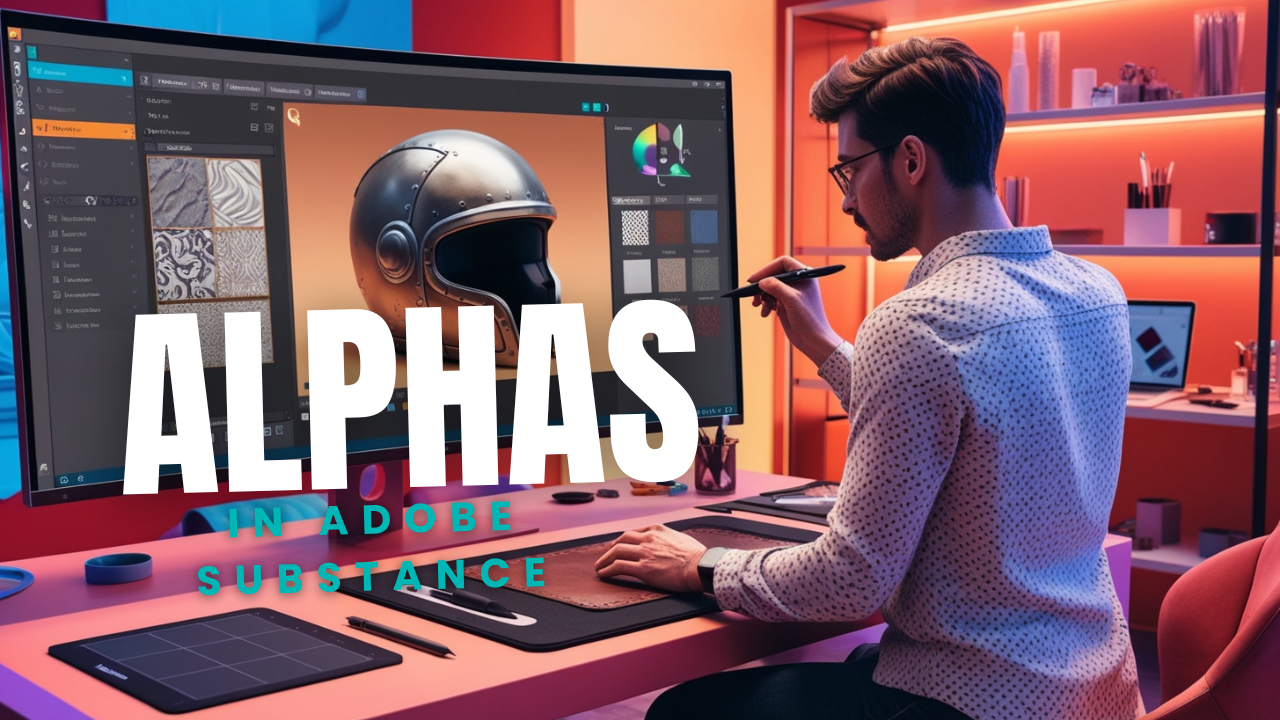
alphas in Adobe Substance
Using alphas in Adobe Substance tools (like Substance Painter) is a powerful way to create intricate details, textures, and effects. Here’s a step-by-step guide on how to use alphas effectively:What Are Alphas?Alphas are black-and-white textures or images used as masks or stamps. The white areas represent the highest intensity (or opacity), and the black areas represent zero intensity (or transparency).Using Alphas in Substance Painter1. Add an Alpha to a Brush Choose a Tool: Select a painting tool (e.g., Paint, Eraser, or Projection). Open the Alphas Panel: In the Properties panel, locate the Alpha slot. Select an Alpha: Drag an alpha from the Assets panel or import your own (drag and drop or use File > Import Resources). Adjust Brush Settings: Customize the brush size, flow, or hardness in the Brush Properties to match the desired effect. 2. Stamping Details After selecting the alpha, click or drag on the 3D model to stamp the alpha pattern directly onto the surface. Use the projection tool for more precise placement if necessary.https://www.youtube.com/watch?v=7dFP1wQz-Cw&list=PLIi3DnFfUZQGK6XqOxyiKJt74TBAjepN3 3. Using Alphas with Height Maps Add a Layer: Create a new layer and set its material properties to include height. Apply the Alpha: Use an alpha to define the shape of the height details. Adjust Depth: Modify the height slider to control the intensity of the effect.https://www.youtube.com/watch?v=SjVV12Z6XmU 4. Masks with Alphas Add a mask to a layer by right-clicking it and selecting Add Black/White Mask. Select an alpha and paint on the mask to reveal or hide specific areas. 5. Fine-Tuning the Alpha Rotate or Scale: Use the alpha-specific sliders in the brush settings to change the rotation, scale, or tiling. Blending Modes: Experiment with blending modes in the layer stack to combine alpha effects with other materials.https://www.youtube.com/watch?v=ARH2U_Al5ZI Using Custom Alphas Create or Download: Make an alpha in Photoshop or download it from online resources. Import Alphas: Go to File > Import Resources. Select Alpha as the resource type and add it to the project or library. Apply: Use the imported alpha like any other in Substance Painter.https://www.youtube.com/watch?v=7dFP1wQz-Cw&list=PLIi3DnFfUZQGK6XqOxyiKJt74TBAjepN3 Tips for Best Results Resolution: Use high-resolution alphas for sharp details. Combine Effects: Mix alphas with other tools like normal maps or roughness for more complex materials. Experiment: Try layering multiple alphas on different layers to create unique patterns. Brush Dynamics: Enable pressure sensitivity for more natural results (if using a tablet). Let me know if you need more details or help with a specific alpha-related workflow!
More detailsPublished - Tue, 21 Jan 2025
Search
Popular categories
Adobe After Effects 2025
28Unreal Engine
14zbrush
10Maya Animation
8zbrush tutorial jewelry
7Maya 2025
5Latest blogs

Advanced Editing Techniques
37 Minutes Ago

Introduction to Level Design Through Blocking in Unreal Engine
1 Day Ago
Nuke, animating parameters
1 Day Ago
Write a public review