Created by - Shavikant Chauhan
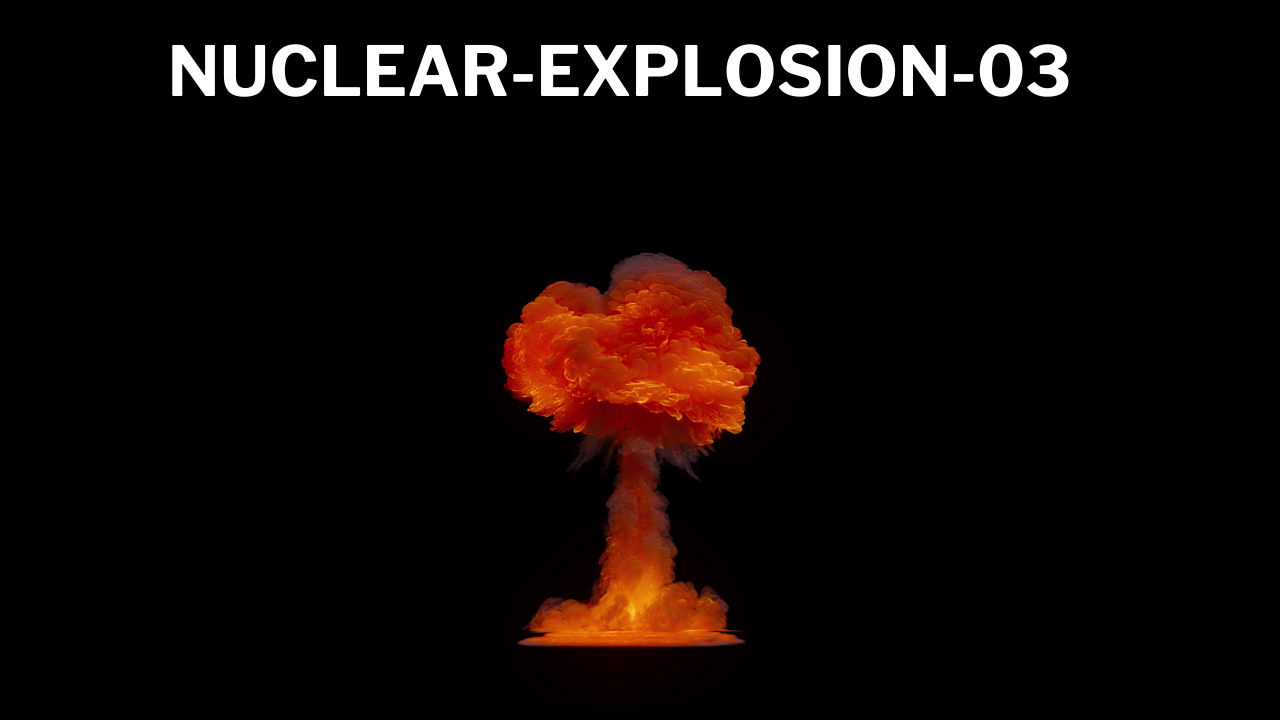
Explosion| Nuclear Explosion| Dust
Features:10 High-Quality Nuclear Explosion Clips: Each video showcases a different stage of a nuclear explosion, from the initial blast to the expanding shockwave..MOV Format: Easy to use for VFX work, compatible with most editing and compositing software (Adobe Premiere, After Effects, DaVinci Resolve, etc.).High Resolution: These explosion clips are rendered in [Insert Resolution] resolution for clear, detailed imagery.Versatile for Multiple Projects: Perfect for cinematic films, video games, animations, trailers, advertisements, or any project requiring explosive action.Seamless Integration: With no background or green screen, these VFX elements are designed for easy compositing and integration into your scenes.Cinematic Realism: Created with advanced particle simulations and realistic physics, capturing the destructive power of a nuclear explosion in full detail.https://www.artstation.com/marketplace/p/pYmXG/explosion-nuclear-explosion-dust?utm_source=artstation&utm_medium=referral&utm_campaign=homepage&utm_term=marketplace
More detailsPublished - Mon, 23 Dec 2024
Created by - Shavikant Chauhan
Setup and Installation of After Effect
Adobe After Effects 2025 requires your system to meet specific hardware and software specifications to ensure optimal performance. Below are the minimum and recommended system requirements for both Windows and macOS platforms:Windows:**Operating System:**Minimum: Windows 10 (64-bit) version 22H2 or later.Recommended: Windows 10 (64-bit) version 22H2 or later, or Windows 11.**Processor:**Minimum: Intel® 6th Generation or newer CPU, or AMD Ryzen™ 1000 Series or newer CPU with Advanced Vector Extensions 2 (AVX2) support.Recommended: Intel® 11th Gen or newer CPU with Quick Sync, or AMD Ryzen™ 3000 Series / Threadripper 3000 series or newer CPU.**Memory (RAM):**Minimum: 16 GB.Recommended: 16 GB for HD media; 32 GB or more for 4K and higher resolutions.**Graphics Card (GPU):**Minimum:NVIDIA GPU: Maxwell generation or newer with at least 4 GB of VRAM.Intel or AMD GPU: Discrete GPU with at least 4 GB VRAM and support for OpenCL.Recommended: 8 GB of GPU memory.**Storage:**Minimum: 8 GB of available hard-disk space for installation; additional free space required during installation (installation on removable flash storage is not supported).Recommended: Fast internal SSD for application installation and cache; additional high-speed drive(s) for media.**Display Resolution:**Minimum: 1440x900.Recommended: 1920x1080 or greater; DisplayHDR 1000 for HDR workflows.**Sound Card:**ASIO compatible or Microsoft Windows Driver Model.**Network Storage Connection:**Minimum: 1 Gigabit Ethernet (suitable for HD only).Recommended: 10 Gigabit Ethernet for 4K shared network workflows.https://www.youtube.com/watch?v=n6dwX-B4rWomacOS:**Operating System:**Minimum and Recommended: macOS Monterey (version 12) or later.**Processor:**Minimum: Intel® 6th Generation or newer CPU with Advanced Vector Extensions 2 (AVX2) support.Recommended: Apple silicon M1 Pro, M1 Max, M1 Ultra, or newer.**Memory (RAM):**Minimum: 16 GB.Recommended: 16 GB of unified memory for Apple silicon.**Graphics Card (GPU):**Minimum:Apple silicon: 16 GB of unified memory.Intel Macs with a discrete AMD GPU: 4 GB of VRAM.Recommended: 16 GB of unified memory for Apple silicon.**Storage:**Minimum: 8 GB of available hard-disk space for installation; additional free space required during installation (installation on removable flash storage is not supported).Recommended: Fast internal SSD for application installation and cache; additional high-speed drive(s) for media.**Display Resolution:**Minimum: 1440x900.Recommended: 1920x1080 or greater; DisplayHDR 1000 for HDR workflows.**Network Storage Connection:**Minimum: 1 Gigabit Ethernet (suitable for HD only).Recommended: 10 Gigabit Ethernet for 4K shared network workflows.Please note that an internet connection and registration are necessary for required software activation, validation of subscriptions, and access to online services.For the most accurate and up-to-date information, refer to Adobe's official system requirements page. citeturn0search0For a visual overview of the system requirements, you may find the following video helpful:videoAdobe After Effects 2025 System Requirementsturn0search2
More detailsPublished - Wed, 25 Dec 2024
Created by - Shavikant Chauhan
Unreal The Default Interface
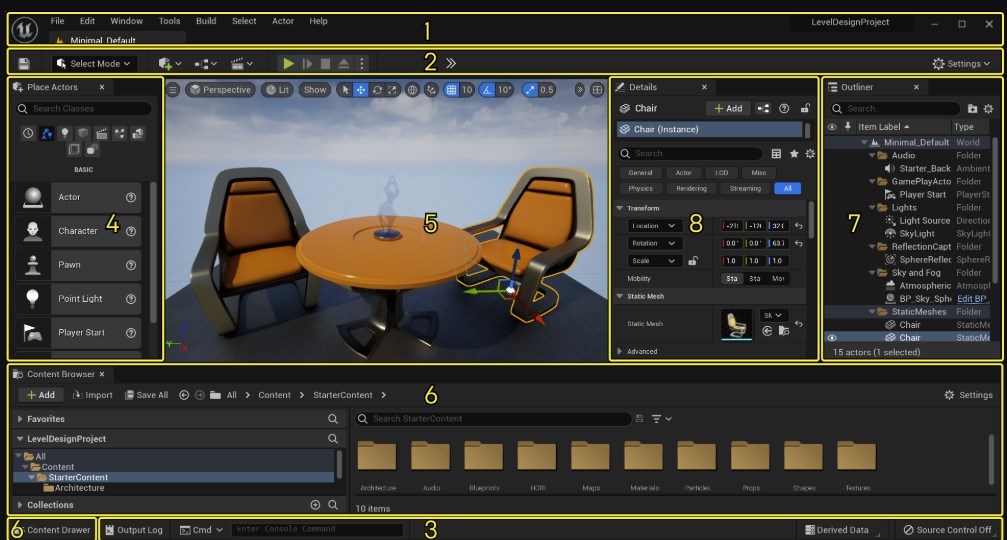
Here’s a description of the Default Interface in Unreal Engine:The Default Interface of Unreal EngineUnreal Engine's default interface is designed to provide easy access to essential tools and features for creating games, animations, and real-time applications. It consists of several key panels and elements: Menu Bar Located at the top of the interface, the Menu Bar provides access to project settings, asset creation tools, and various Unreal Engine functionalities. Includes options like File, Edit, Window, and Help. Toolbar Directly below the Menu Bar, the Toolbar gives quick access to frequently used actions: Play: Test your game. Build: Compile your project for rendering. Save All: Save all unsaved changes to assets. Other tools include source control, blueprints, and content browsing shortcuts. Viewport The central and largest area where you interact with the game world. Allows you to view, manipulate, and navigate the 3D scene. Camera controls and interaction tools (Translate, Rotate, Scale) are available. World Outliner Found on the right side of the interface. Lists all objects and actors present in the current level. Provides a hierarchical view for organizing and selecting elements. Details Panel Positioned below the World Outliner. Displays editable properties and settings of the selected object or actor. Used for configuring attributes like position, material, and behavior. Content Browser Usually located at the bottom. Centralized location for managing all project assets: materials, meshes, blueprints, animations, etc. Allows importing, organizing, and creating assets. Modes Panel Located on the left. Offers tools for creating and modifying the scene, such as placing actors, painting landscapes, and sculpting terrain. Output Log Found at the bottom (toggle visibility as needed). Displays runtime logs, errors, and warnings. Useful for debugging. Blueprint Editor (Optional) Opens when editing or creating blueprints. Features a node-based scripting interface for designing gameplay logic visually.https://www.youtube.com/watch?v=adBTWxycpiE&list=PLIi3DnFfUZQGZkpeLLlu7kw0rCSmOs7F6&index=2 Customizing the Interface Unreal Engine allows for extensive customization of the interface. Panels can be rearranged, docked, or floated to suit your workflow. Save your layout via the Window > Save Layout option. This default interface provides a comprehensive and organized environment to build complex projects efficiently. Let me know if you’d like to focus on a specific section or tool!
More detailsPublished - Wed, 25 Dec 2024
Created by - Shavikant Chauhan
Perspective | Types of Perspective
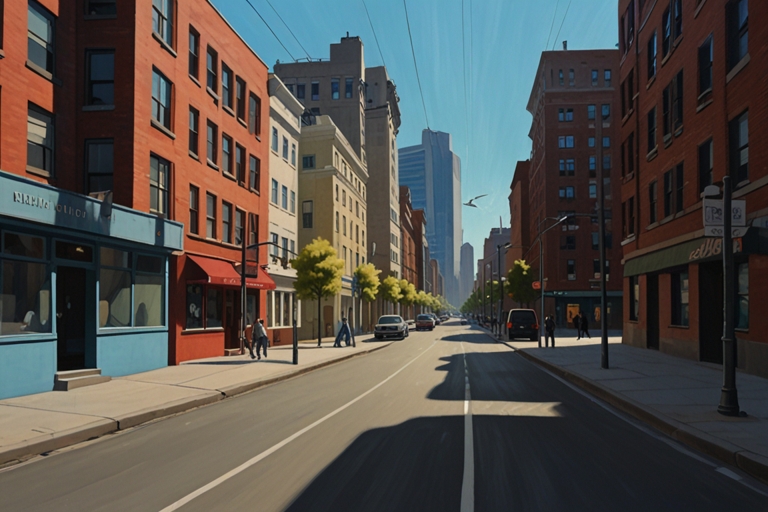
Perspective in art refers to the technique used to represent three-dimensional objects and scenes on a two-dimensional surface in a way that mimics how they appear in reality. It creates the illusion of depth and distance. There are several types of perspective, and the key ones are:Types of Perspective: Linear Perspective Linear perspective is a method of drawing objects on a flat surface to create the illusion of depth. The key principle is that parallel lines appear to converge as they recede into the distance, meeting at a single point called the vanishing point. There are three main types of linear perspective: One-Point Perspective: In this type, all parallel lines converge at a single vanishing point. This is typically used when looking straight at a flat surface, like a road or a railroad track receding into the distance. Example: Looking down a straight road, where the road and the lines of the sidewalk seem to come together at a point on the horizon. Two-Point Perspective: In two-point perspective, there are two vanishing points, typically located on the horizon line. This perspective is used for objects seen at an angle (not directly from the front or side). Example: Looking at a corner of a building, where the edges of the walls recede toward two different points on the horizon. Three-Point Perspective: This involves three vanishing points—two on the horizon line and one either above or below the object. It is often used for views that look up or down on a structure, creating an exaggerated sense of height or depth. Example: Looking up at a skyscraper from the street, where both the vertical lines of the building and the horizontal lines converge. Atmospheric Perspective (Aerial Perspective) This type of perspective is used to show the effect of the atmosphere on the appearance of objects viewed at a distance. Objects that are farther away appear lighter, bluer, and less distinct due to the particles in the air, such as dust, fog, and moisture. Example: In a landscape painting, distant mountains might appear faint and blue, while objects in the foreground are clearer and more colorful. Isometric Perspective Isometric perspective is a form of parallel projection where the dimensions of objects are kept constant without distortion. In this method, the angles between the axes are all equal (120°), and there is no convergence of lines. It's commonly used in technical drawings, architectural plans, and video games. Example: A 3D model of a building where all sides are shown at the same angle and size, without any parts seeming to recede into the distance. Curvilinear Perspective Curvilinear perspective uses curved lines instead of straight lines to create the illusion of depth. It is commonly seen in fisheye lens photography or certain kinds of digital art where the view distorts objects and lines into curves. Example: A wide-angle lens photograph where the edges of the scene appear distorted into curves, giving a sense of exaggerated depth. Tilted Perspective (Oblique Perspective) This perspective involves the use of tilted angles to show objects at a slight skew, typically used in technical or schematic drawings where a three-dimensional object is shown at an angle. It allows for showing the front and side of an object simultaneously. Example: A floor plan showing a room at a slight angle to show both the floor and the walls at once. How Perspective Works: Vanishing Point: The point at which parallel lines seem to converge as they recede into the distance. Horizon Line: The line that represents the viewer's eye level, where the sky meets the ground. In most perspectives, this is where the vanishing point(s) lie. Depth: Objects appear smaller as they get farther from the viewer, creating a sense of distance. Overlapping: Objects in the foreground overlap those in the background, which gives depth to the scene. Understanding perspective is essential for creating a realistic sense of space in both traditional and digital art. By manipulating vanishing points, horizon lines, and other visual cues, artists can guide the viewer’s eye and create dynamic, three-dimensional scenes on a flat canvas or screen.
More detailsPublished - Thu, 26 Dec 2024
Created by - Shavikant Chauhan
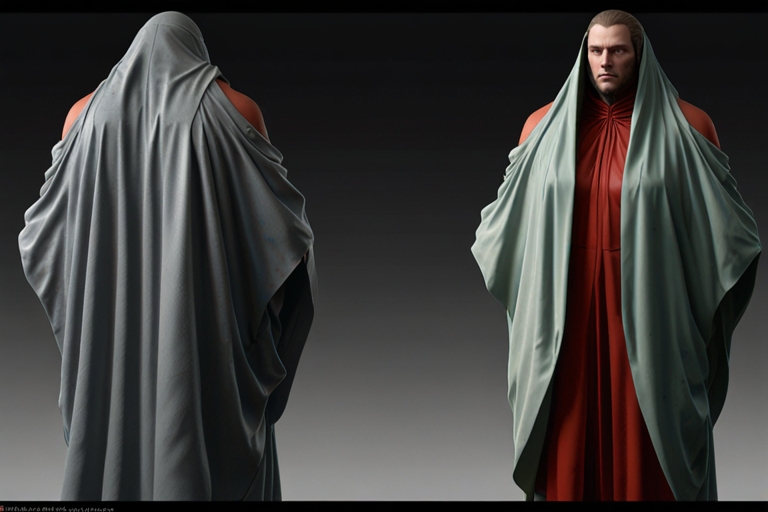
Cloth Sculpting in ZBrush
Cloth Sculpting in ZBrush: A Quick GuideZBrush offers a powerful set of tools to sculpt realistic cloth with intricate folds and draping. Here’s a concise guide to get started:https://www.youtube.com/watch?v=OCe35iMevgc1. Initial Setup Base Mesh: Start with a base mesh of your cloth or the object it's interacting with. You can use primitives or import a pre-made base. SubTools: Ensure the object that the cloth interacts with (e.g., a character or prop) is present for reference.https://www.youtube.com/watch?v=LLXMhe6-Qao 2. Dynamesh or Subdivision Levels Use Dynamesh for freeform sculpting or increase the subdivision levels on a low-poly base for detailed refinement.https://www.youtube.com/watch?v=r4kjEg1WwyI 3. Masking and Extracting Mask Cloth Area: Use masking to define the cloth shape directly on your base mesh. Extract Cloth: Use the Extract feature under the SubTool menu to generate a separate piece for the cloth.https://www.youtube.com/watch?v=5jVN9tGv2tY 4. Cloth BrushesZBrush offers specialized cloth brushes: ClothFold: Create natural folds and wrinkles. ClothPinch: Simulate pinched areas or seams. ClothMove: Move the cloth to adjust flow and dynamics. ClothTwist: Add twists or spirals for dynamic effects.https://www.youtube.com/watch?v=eL2H0nX_EP0 5. Cloth Simulation with Dynamics Activate Dynamics in the Tool > Dynamics menu. Adjust settings like Gravity Strength and Collision Volume for realistic draping. Use the Transpose Cloth tool to manipulate the cloth in real time with physics applied.https://www.youtube.com/watch?v=5jVN9tGv2tY 6. Detailing Use Standard, Dam_Standard, and Inflate brushes for fine-tuning edges, seams, and subtle folds. Add micro details with Alpha Maps to simulate fabric texture.https://www.youtube.com/watch?v=MZDaVS0scRg&list=PLIi3DnFfUZQFzzOtbriQ1PjjrngfMjd0Vhttps://www.artstation.com/cgartistallrounder/store?tab=digital_product 7. Polish and Refine Use the Smooth Brush sparingly to soften harsh transitions. Refine edges and clean up intersections with surrounding geometry. 8. Final Steps Apply NoiseMaker to simulate fabric patterns like linen or leather. Export or bake the sculpt into your workflow for further texturing or rendering.https://www.artstation.com/cgartistallrounder/store?tab=digital_product Tips for Realism: Study real fabric references for accurate fold placement. Consider tension points (like where a cloth is held or stretched). Play with light to see how folds cast shadows and create depth.https://www.youtube.com/watch?v=r4kjEg1WwyI Would you like a more specific tutorial or walkthrough on any of these steps?
More detailsPublished - Thu, 26 Dec 2024
Created by - Shavikant Chauhan
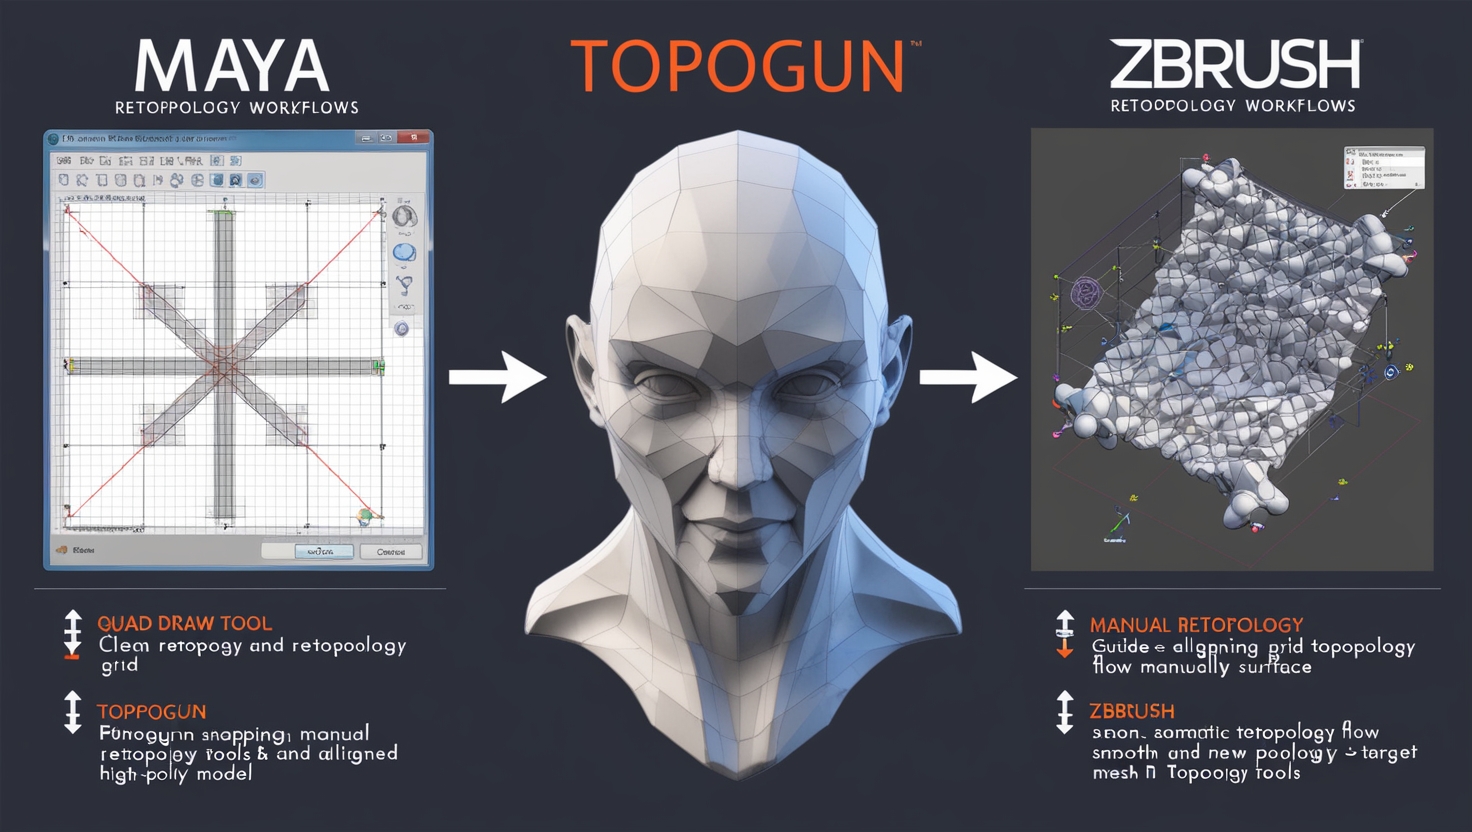
Retopology
Retopology is an essential process in 3D modeling, often used to create a clean, optimized, and animation-friendly mesh from high-resolution or scanned models. Here’s an overview of how to perform retopology in Maya, Topogun, and ZBrush:Retopology in MayaMaya offers robust retopology tools, especially with its Quad Draw feature in the Modeling Toolkit. Preparation: Import your high-poly model into Maya. Make it "Live" by selecting it and enabling the "Make Live" option in the Modeling Toolkit. This allows snapping directly onto the surface. Using Quad Draw: Open the Modeling Toolkit (accessible via the Tools shelf or the main menu). Activate Quad Draw. Place points on the live surface to define the vertices of your new topology. Hold Shift to preview quads and click to create them. Use tools like Relax and Target Weld for refinement. Auto-Retopology: Maya has an Auto-Retopology tool under the Mesh menu, which can create a base mesh automatically. However, manual cleanup is often needed. Finalize: Unmake the high-poly model live. Adjust and refine the new topology as needed.https://www.youtube.com/watch?v=M-RgWYJSgUwhttps://www.youtube.com/watch?v=r95mDSde0S0https://www.youtube.com/watch?v=uItW3dbh4Skhttps://www.youtube.com/watch?v=W8LPj2-OANchttps://www.youtube.com/watch?v=HvONtyuOfsIhttps://www.youtube.com/watch?v=mZI4yOJpGTAhttps://www.youtube.com/watch?v=vAFiu_Gxyq0Retopology in TopoGunTopoGun is a specialized software focused entirely on retopology.https://www.youtube.com/watch?v=po1bIfDpux0 Setup: Import your high-poly mesh into TopoGun as a reference. Adjust the viewport and visibility settings for clarity. Creating Topology: Use tools like Draw to manually create new quads by placing points. Extrude allows you to extend edges and create strips of quads. Relax smooths out irregularities in the topology. Snapping and Symmetry: Enable snapping to keep the new mesh tightly adhering to the high-poly surface. Use symmetry options to work on symmetrical models efficiently. Export: Once the retopology is complete, export the new mesh for further refinement or UV mapping.https://www.youtube.com/watch?v=qKTnRgxu7xw Retopology in ZBrushZBrush offers both manual and automatic retopology tools. Automatic Retopology with ZRemesher: Use ZRemesher under the Geometry menu to quickly create a lower-resolution topology. Adjust settings like Target Polygon Count and Adaptive Size to control the output. Add Guides using curves to direct the topology flow. Manual Retopology with ZSphere: Create a ZSphere and set it as the retopology tool under Rigging > Select Mesh. Enable Topology in the ZSphere menu and begin placing points manually. Connect points to form quads over the high-poly mesh. Projection: Use the Project All feature under the SubTool menu to transfer details from the high-poly model to the new topology. Export: Export the new low-poly mesh for further processing or UV unwrapping.https://www.youtube.com/watch?v=DYItcbzvQFU&t=626shttps://www.youtube.com/watch?v=XWwcG886PsoIn ZBrush, Decimation Master is a powerful plugin used to reduce the polygon count of a 3D model while maintaining its visual details and shape. This tool is particularly useful when you need to create lower-poly versions of models for purposes such as: Exporting models to game engines (which often require models with lower polygon counts). Creating assets for 3D printing. Reducing the complexity of models for more efficient handling in ZBrush or other programs. Here are key features and how Decimation Master works:1. Preserves Detail: Decimation Master intelligently analyzes your model and preserves the high-detail areas, such as intricate surface details (like wrinkles, pores, and fine textures). The tool works by simplifying the geometry, reducing polygons without significant loss of detail, unlike traditional methods like retopology, which involve manually creating new topology. 2. Decimation Process: The process starts with analyzing the model to determine areas of higher and lower detail. It then reduces the polygon count by simplifying the model’s geometry in the low-detail areas, while preserving high-detail regions. This ensures that your model retains its visual fidelity after decimation. 3. Adaptive Decimation: One of the key features is the adaptive decimation, which means the tool reduces polygons in less important areas of the model (like flat surfaces or parts that won't be seen as closely) while retaining more polygons in areas that require detail (like facial features, hands, or complex textures). The result is a significantly reduced polygon count while maintaining the visual quality of the original high-poly model. 4. Customizable Settings: Target Polygon Count: You can specify a target polygon count, and Decimation Master will adjust the reduction accordingly. Preserve Details: You can control how much detail should be preserved, based on the model's characteristics. 5. Fast and Efficient: The plugin is optimized for speed, making it suitable even for large and complex models. It can be applied to entire models, or specific parts of models, allowing for granular control over which areas get decimated and which stay intact. 6. Use Cases: Game Assets: When creating 3D models for video games, reducing polygon count is essential for performance. Decimation Master helps artists keep high detail in critical areas while ensuring the overall model is lightweight. 3D Printing: For 3D printing, high-poly models often need to be simplified to reduce file size or ensure the model fits within certain print volume constraints. Decimation Master helps by reducing the polygon count without losing the intended appearance. Asset Optimization: It's also used in VFX and animation, where having optimized models can streamline rendering or make animation more efficient. How to Use Decimation Master: Enable the Plugin: Make sure Decimation Master is enabled in your ZBrush installation (it typically comes bundled with ZBrush). Select Your Model: Open your high-poly model in ZBrush. Use the Decimation Master Panel: Navigate to the Zplugin menu, and then to Decimation Master. Pre-process the model: Click the Pre-process Current button. This analyzes the model to determine how best to reduce the polygon count. Set Desired Poly Count: Use the Decimate button after adjusting the settings to specify how much reduction you want (in percentage or polygon count). Export: After decimation, you can export the model for use in other programs or engines. Conclusion: Decimation Master is a crucial tool for artists and developers working with complex, high-poly models in ZBrush. It allows them to quickly and effectively reduce polygon counts while maintaining critical visual details, making the model more suitable for real-time applications, 3D printing, or further processing.https://www.youtube.com/watch?v=YvWhou09BEw Tips for Effective Retopology: Edge Flow: Ensure good edge flow around deforming areas like joints for animation. Density: Keep polygon density uniform, except for areas needing extra detail. References: Use symmetry and snapping tools to adhere to the high-poly surface. Testing: Import the retopologized mesh into animation or rigging software to test its usability. Each software has unique strengths, and your choice depends on your workflow needs and project requirements.
More detailsPublished - Fri, 27 Dec 2024
Created by - Shavikant Chauhan
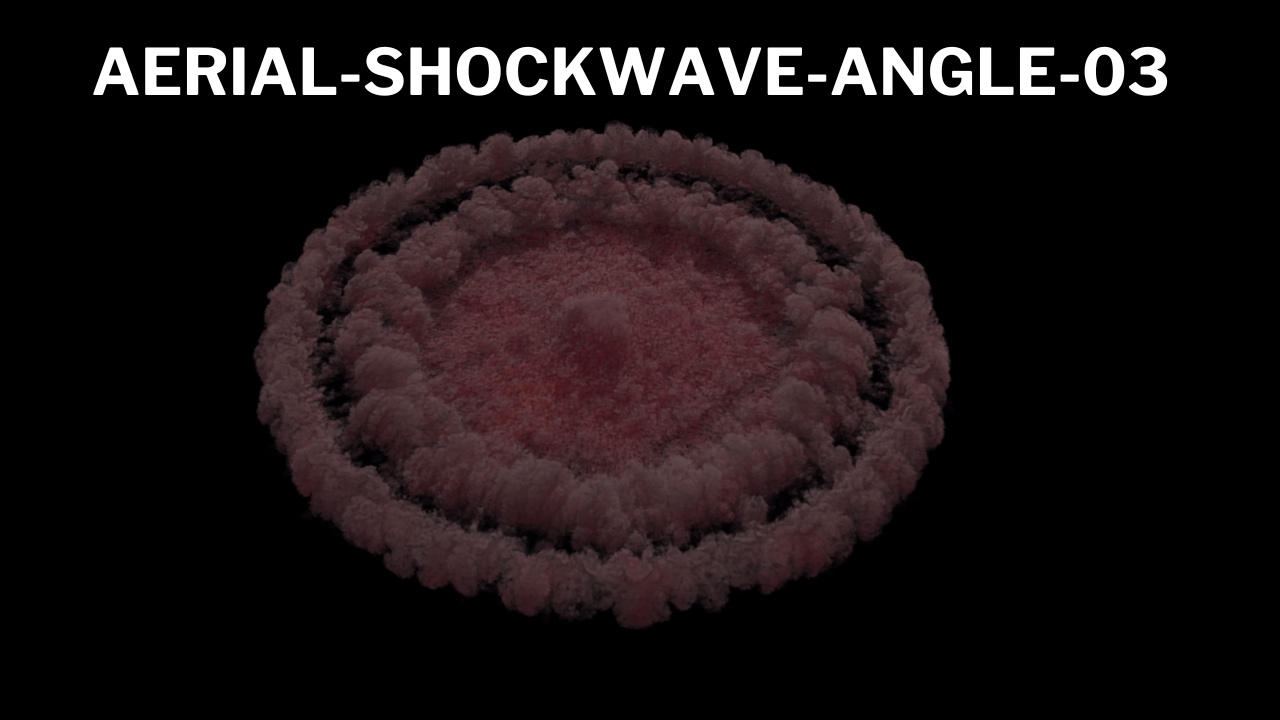
Shockwave
Here's a description you can use for your ArtStation listing:27 Aerial Shockwave 4K VFX Footage PackElevate your projects with this high-quality collection of 27 Aerial Shockwave VFX in stunning 4K resolution. These dynamic, cinematic shockwaves are perfect for action sequences, explosions, energy blasts, and more, offering an impactful visual effect that will enhance your film, game, or motion graphics production.Key Features: 27 Unique Aerial Shockwave Clips High-resolution 4K (3840x2160) footage for cinematic quality Perfect for VFX artists, filmmakers, game developers, and motion graphic designers Versatile for a wide range of applications, including explosions, combat scenes, energy effects, natural disasters, and more Seamlessly integrates with Compositing Software (After Effects, Nuke, etc.) Quick Drag-and-Drop integration into your existing projects Take your visual effects to the next level with these ready-to-use shockwave assets, designed to bring dramatic, explosive energy to your creative work.https://www.artstation.com/marketplace/p/5gWdN/shockwave-4k-vfx-footage-pack?utm_source=artstation&utm_medium=referral&utm_campaign=homepage&utm_term=marketplaceInstantly Download and Start Creating!
More detailsPublished - Fri, 27 Dec 2024
Created by - Shavikant Chauhan
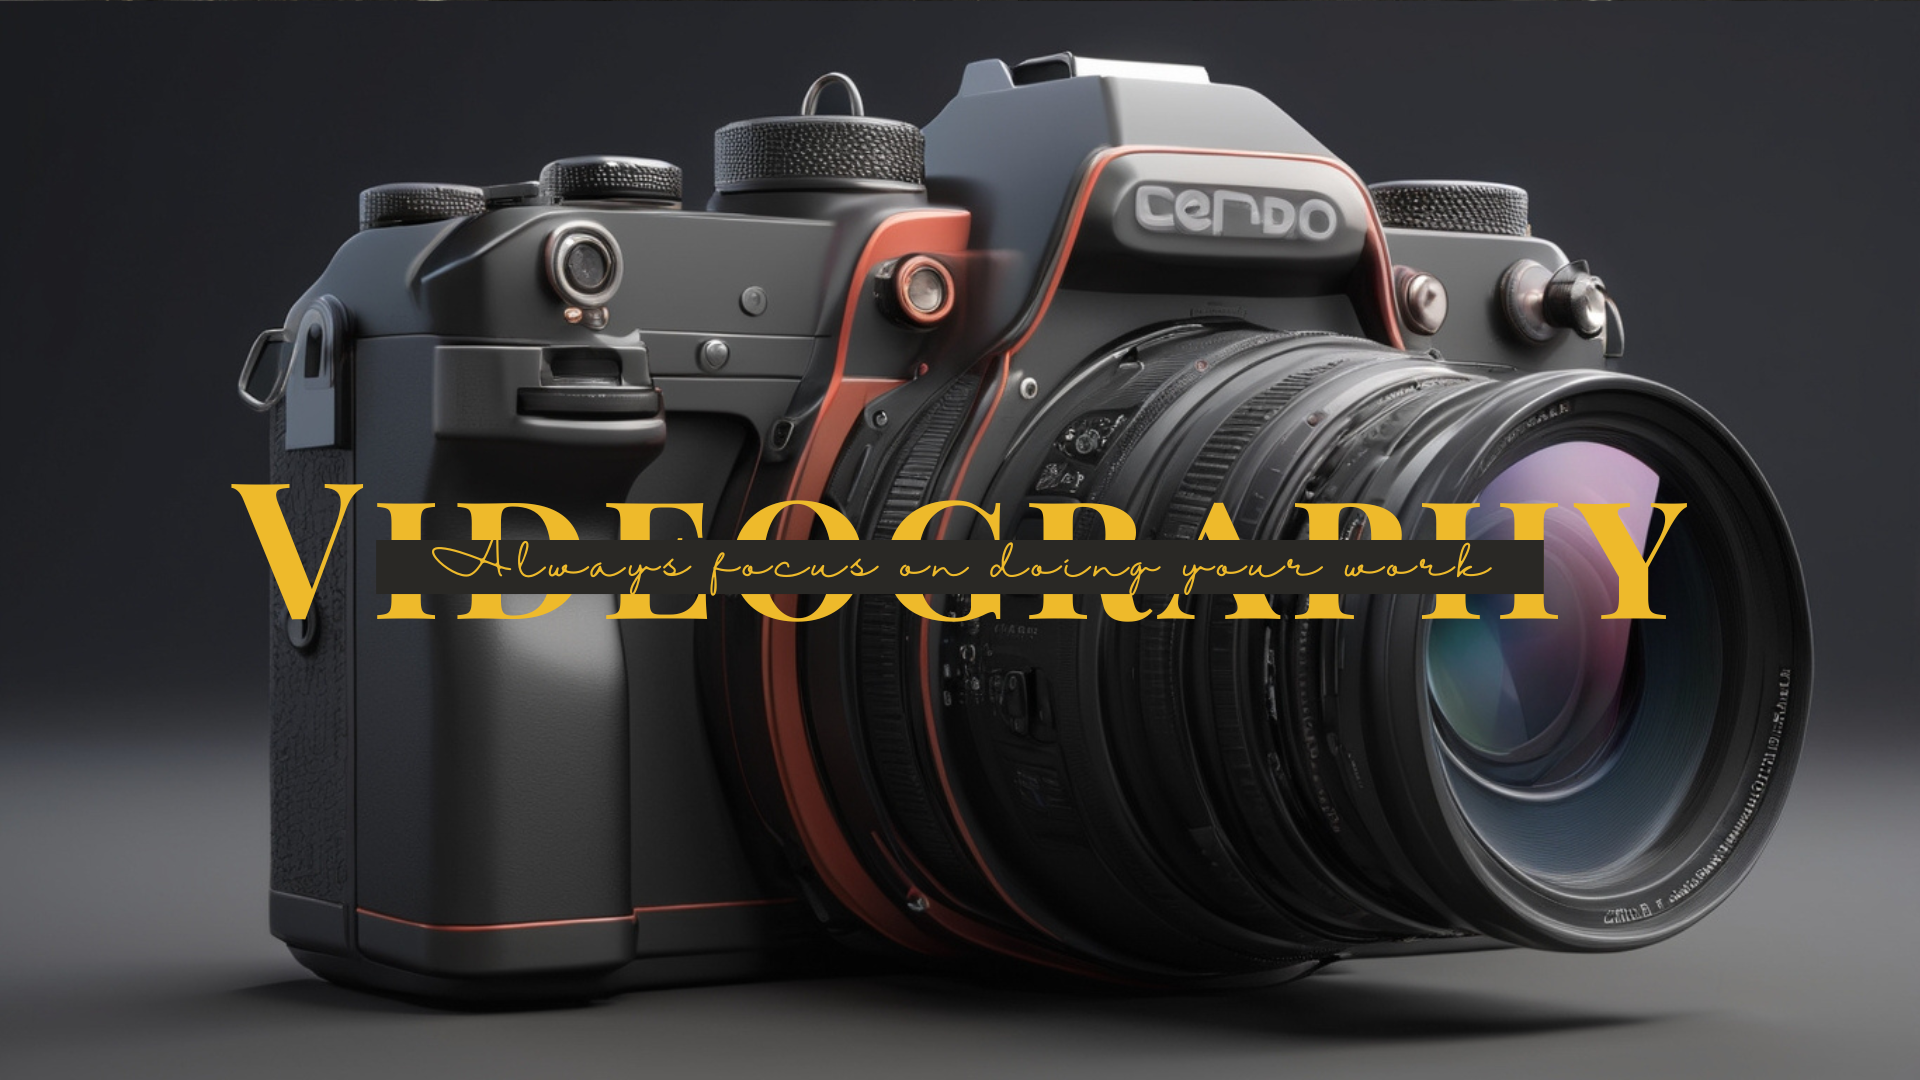
Videography
Videography is the art of capturing moving images, often in the context of events, productions, or artistic projects. It requires both technical skills and creative vision to ensure that the final product communicates the intended message effectively. Here’s a summary of what to do and what to avoid when working in videography:Do's in Videography: Plan Ahead: Pre-production is key. Plan your shots, locations, angles, and lighting before filming. Write a shot list or a storyboard to guide your process. Use the Right Equipment: Choose a camera with appropriate resolution (HD, 4K, etc.) based on the project needs. Ensure you have good quality audio equipment, like microphones, for clear sound. Use stabilization gear (gimbals, tripods) to avoid shaky footage. Lighting: Make sure subjects are well-lit using natural or artificial lighting to enhance the visual quality. Avoid harsh shadows unless they're intended for a specific look or effect. Composition: Use proper framing and rule of thirds for dynamic shots. Ensure there is depth in your shots to add visual interest. Avoid distractions in the background that might detract from the subject. Focus on Audio: Good sound is as important as good visuals. Always check your audio before filming. Use external microphones for better sound quality, especially in noisy environments. Take Multiple Shots: Always capture extra footage for safety. Different angles or variations of a scene can be helpful in editing. Maintain Consistency: Ensure visual and audio elements are consistent across scenes unless there's a specific reason to change. Use similar color grading across the video for a cohesive look. Post-Production: Edit the footage to create a smooth narrative. Pay attention to sound design, adding music, sound effects, and proper transitions. Ensure the video has the right pacing to engage the audience. Don'ts in Videography: Don’t Overuse Zoom: Frequent zooming can be distracting. Use zoom sparingly and focus on smooth transitions. Don’t Ignore Sound Quality: Avoid using built-in microphones on cameras if possible. They often pick up background noise. Don't neglect to check levels before recording; too high or low audio can ruin a shot. Don’t Rely on Auto Settings: Avoid using the camera’s auto focus, auto exposure, or auto white balance unless it's a specific stylistic choice. Manually adjusting these settings can give you much more control over the final result. Don’t Overcomplicate the Story: Keep the narrative clear and focused. Avoid confusing edits or unnecessary shots. Over-editing or adding too many effects can distract from the story. Don’t Use Poor Lighting: Avoid filming in low light situations unless the look requires it. Proper lighting is crucial for clear, professional-looking footage. Avoid backlighting without compensation, as it can cause the subject to appear as a silhouette. Don’t Shoot with Unstable Equipment: Avoid handheld shots unless the effect is deliberate. Use tripods or gimbals for stable footage. Poorly stabilized shots can make your video look unprofessional. Don’t Forget About the Audience: Avoid filming for yourself. Keep the target audience in mind at every step. Consider the context of your video (social media, film festival, etc.) and tailor it for the best possible viewing experience. Don’t Skip Backup Plans: Never assume the equipment will work perfectly. Have backups for your camera, memory cards, and batteries. Always test equipment before shooting to avoid issues during filming. By following these guidelines, you’ll ensure your videography work is both technically proficient and creatively compelling.
More detailsPublished - Fri, 27 Dec 2024
Created by - Shavikant Chauhan
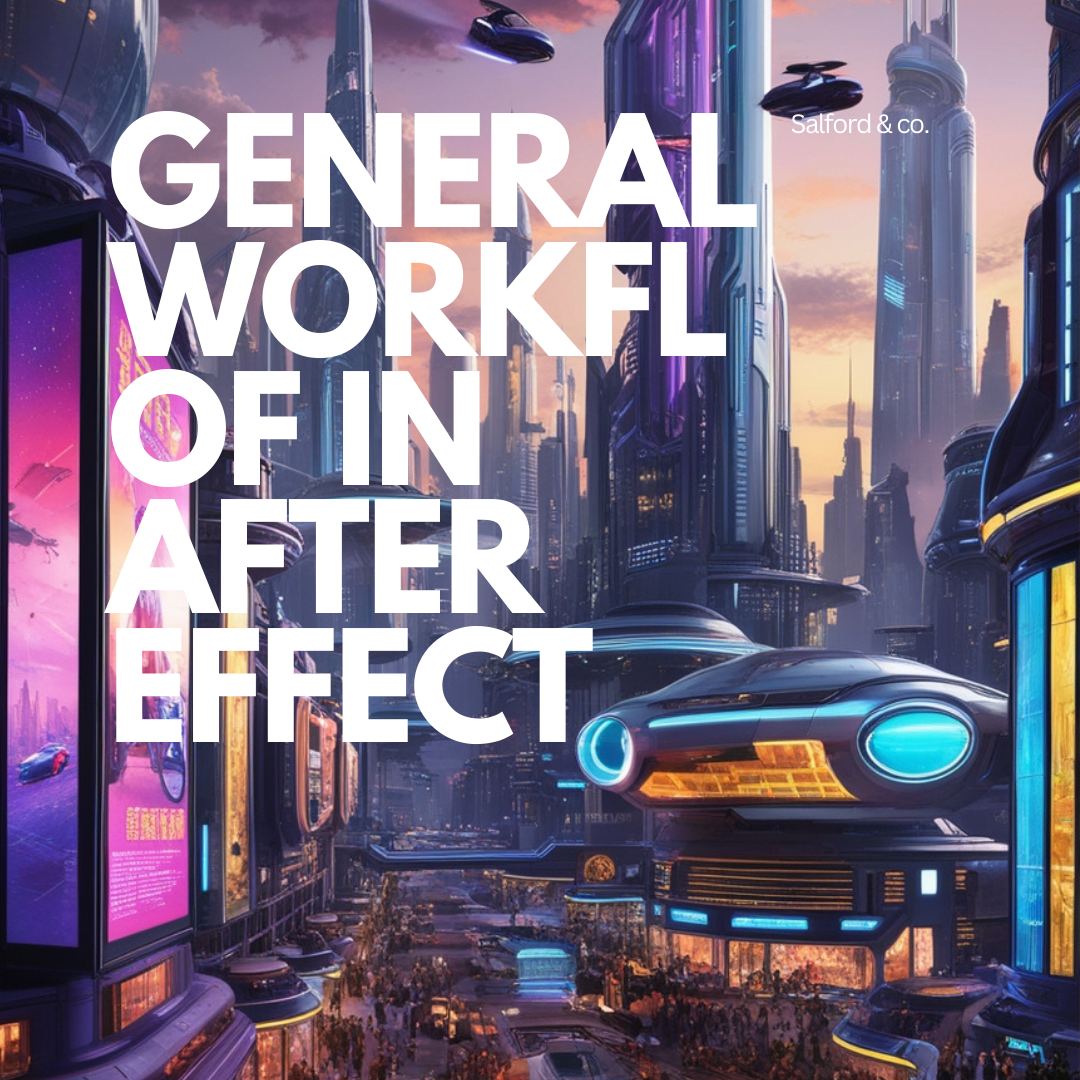
The general workflow in Adobe After Effects
The general workflow in Adobe After Effects follows a sequence of steps that involve importing assets, composing, animating, applying effects, rendering, and exporting. Below is a breakdown of this workflow:https://www.youtube.com/watch?v=fhPgIHzoMDg&list=PLIi3DnFfUZQFE1tNgTVHxsD6lrhYdq77E&index=11. Setting Up a New Project Create a New Project: Open After Effects and create a new project. This is the first step before you start any work. Set Preferences: You can adjust preferences related to memory, performance, etc., for better workflow. 2. Importing Assets Import Files: Import your video, audio, images, or other media by dragging them into the Project Panel or using File > Import. Organize Assets: It’s a good practice to organize assets into folders (e.g., Footage, Audio, Graphics) to keep things tidy. 3. Creating a Composition Create New Composition: A composition (also called a "comp") is where you place your assets. You can create a new composition by selecting Composition > New Composition or dragging footage into the timeline. Composition Settings: Define the resolution, frame rate, duration, and background color of the composition to match your project’s requirements. 4. Timeline and Layers Arrange Assets on the Timeline: Drag the imported media from the Project Panel to the Timeline. Assets are placed on different layers in the Timeline panel. Layer Types: After Effects has several types of layers (e.g., video layers, solid layers, adjustment layers, null layers, text layers). Layer Order and Stacking: Layer order in the Timeline determines which assets are in front or behind. Higher layers are stacked on top. 5. Animating Layers Set Keyframes: To animate a property (e.g., position, scale, opacity), click the stopwatch icon next to the property and set keyframes at different points in time. Adjust Timing: Move the keyframes around to change the timing and pace of the animation. You can ease keyframes for smoother motion. Motion Paths: When animating position, After Effects creates a motion path in the composition window that you can adjust directly. 6. Applying Effects and Presets Apply Effects: You can add effects to layers by selecting the layer and choosing Effect > [Effect Category] > [Effect Name] or by using the Effects & Presets panel. Effect Control Panel: This panel is where you can tweak the settings of applied effects. Presets: After Effects has built-in animation presets, such as text animations and transitions, which can be applied to layers. 7. Working with Masks and Mattes Masks: Masks are used to create specific areas in layers that are visible or hidden. You can draw them with the pen tool or use shape layers. Track Mattes: Use track mattes (alpha matte, luma matte) to control the visibility of a layer based on the transparency or luminance of another layer. 8. Motion Tracking and Stabilization Track Motion: Use the Tracker Panel to track the movement of an object in a video and apply that movement to another element (e.g., text, graphic). Stabilize Motion: If the footage is shaky, you can stabilize it using the Warp Stabilizer effect. 9. Audio Import Audio: Bring in any audio you need (music, voiceover, sound effects) and place it in the Timeline. Sync Animation to Audio: If animating to audio, you can use keyframes or time remapping to sync visual elements to sound. 10. Precomposing Precompose Layers: Precomposing allows you to group multiple layers into a single layer. This is helpful for organizing complex compositions and applying effects to multiple layers simultaneously. Adjust Precomp Settings: Precomposing can be used to change resolution, time duration, and layering. 11. Previewing and Rendering Preview Your Work: Press the spacebar or use the RAM Preview to preview your composition. Optimize Previews: Use Resolution/Down Sample Factor in the Preview panel to adjust the quality of previews for faster playback. Rendering: Once satisfied with your animation, use Composition > Add to Render Queue to set up the render settings (output format, resolution, etc.). 12. Exporting and Output Exporting via Media Encoder: After rendering in the Render Queue, use Adobe Media Encoder to choose the appropriate export format (e.g., H.264, ProRes). File Output Settings: Set the output location and configure settings for video codecs, audio, etc. Final Export: Click Render in the Render Queue to output the final video. 13. Final Touches Color Correction: You can apply color correction effects (like Lumetri Color) to adjust the look and feel of your project. Final Review: Review the exported video to ensure it meets the desired quality and timing before final delivery. This workflow can vary depending on the project, but these are the general steps you would take when working in After Effects, from starting a new project to rendering and exporting your final animation.
More detailsPublished - Mon, 30 Dec 2024
Search
Popular categories
Adobe After Effects 2025
30Unreal Engine
15zbrush
10Light
10Maya Animation
8zbrush tutorial jewelry
7Latest blogs
Introduction to Arnold in Maya
Mon, 24 Feb 2025
Substance to Maya Workflow
Sat, 22 Feb 2025
ZBrush User Interface Overview
Fri, 21 Feb 2025
Write a public review