Created by - Anil Chauhan
Color mapping in V-Ray
Color mapping in V-Ray for 3ds Max refers to the process of controlling and adjusting the way colors are displayed in your rendered images. It helps you achieve the desired tone, contrast, and overall look of your final render. Here's a basic guide on how to set up color mapping in V-Ray for 3ds Max:Open the Render Setup Window:In 3ds Max, go to the Rendering menu.Choose "Render Setup" or press the shortcut key F10.Choose V-Ray as the Renderer:In the Render Setup window, make sure the "Common" tab is selected.In the "Assign Renderer" rollout, choose "V-Ray" as the production renderer.Go to the V-Ray Tab:Switch to the "V-Ray" tab in the Render Setup window.Enable V-Ray Frame Buffer:In the "V-Ray Frame Buffer" rollout, make sure the "Enable built-in frame buffer" option is checked.Open the Color Mapping Section:In the "V-Ray" tab, find the "Global Switches" rollout.Enable "Enable Color Mapping."Choose a Color Mapping Type:There are various types of color mapping available in V-Ray. You can choose one that suits your needs. The most commonly used ones are "Exponential," "Linear Multiply," and "Reinhard."Adjust the Parameters:Depending on the selected color mapping type, you'll have different parameters to adjust. Common parameters include "Sub-Pixel Mapping," "Dark Multiplier," and "Bright Multiplier."Gamma Settings:Gamma correction is crucial for achieving accurate colors in your render. Make sure your gamma settings are correct. You may need to adjust the "Gamma" and "Affect Background" options.Adaptation and Burn Value:Some color mapping types, like Reinhard, have additional parameters such as "Adaptation" and "Burn." These control the automatic exposure adaptation and highlight compression, respectively.Test Render:Perform a test render to see how your color mapping settings affect the final output. Adjust the parameters as needed until you achieve the desired look.Remember that the optimal settings can vary depending on the scene, lighting conditions, and your artistic preferences. Experiment with different color mapping types and parameters to find the combination that works best for your specific project.
More detailsPublished - Tue, 30 Jan 2024
Created by - Anil Chauhan
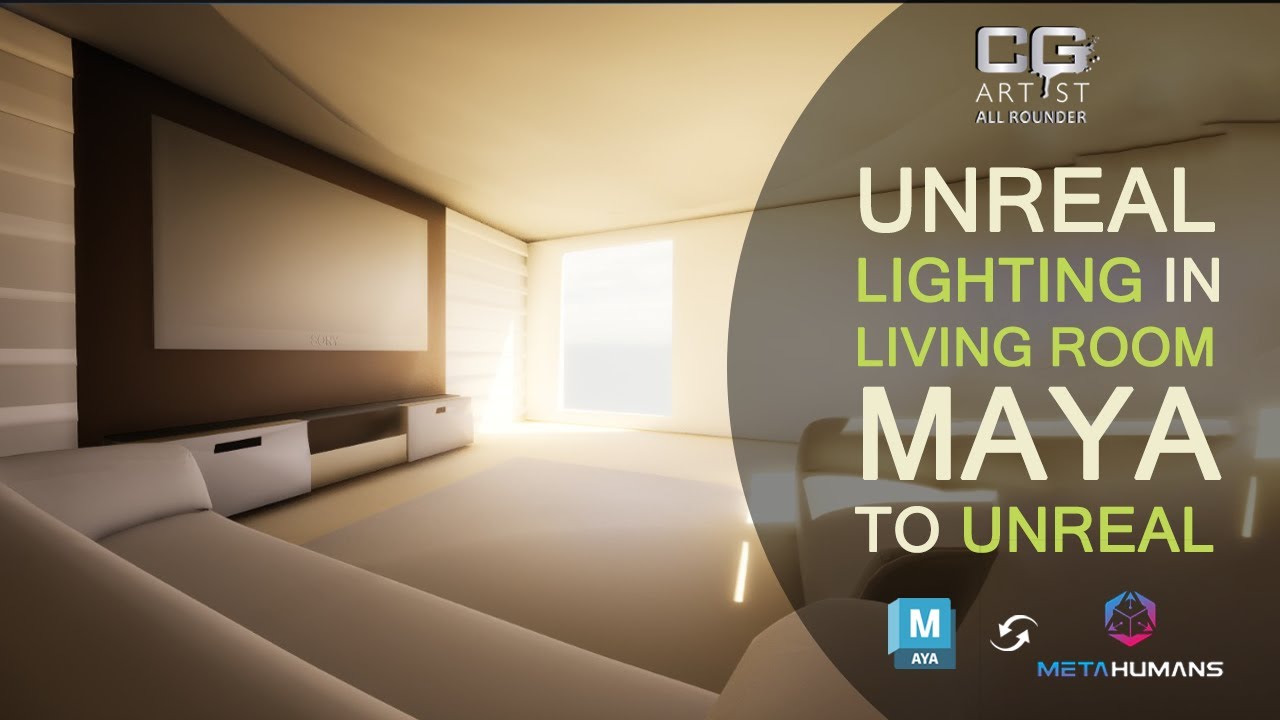
unreal : Lighting in Living room
Creating realistic lighting in a living room in Unreal Engine involves understanding various aspects of lighting, materials, and post-processing effects. Here's a general guide on how you can approach lighting in a living room setting:1. **Directional Light:** - Start with a Directional Light as your primary light source. This represents the sun or the main light source for your scene. Adjust its rotation and intensity to simulate natural sunlight.2. **Skylight:** - Add a Skylight to simulate global illumination. This helps to bounce light around the scene and fill in shadows. Adjust its intensity and color temperature based on the time of day.3. **Point Lights and Spotlights:** - Place Point Lights and Spotlights strategically to simulate artificial lights within the living room. For example, use Spotlights for ceiling lights or floor lamps, and Point Lights for smaller light sources like table lamps.4. **Light Mobility:** - Set the mobility of lights appropriately. For static objects like walls and furniture, you can use static lighting. For dynamic objects or characters, consider using stationary or movable lights.5. **Light Bounce and Reflections:** - Enable Global Illumination (GI) to simulate indirect lighting and realistic reflections. Adjust the Indirect Lighting Intensity to control the strength of bounced light.6. **Post-Processing:** - Utilize the Post-Processing Volume to add final touches. Adjust parameters like exposure, contrast, and color grading to enhance the overall look of your scene.7. **Lightmap Resolution:** - For static objects, set appropriate lightmap resolutions to ensure detailed and realistic shadows. Higher resolution provides more accurate shadows but may increase computation time.8. **Materials:** - Use physically-based materials for surfaces in the living room. Adjust material properties like roughness and metallic values to achieve realistic reflections.9. **Lighting Scenarios:** - Consider creating different lighting scenarios for day and night. Use Blueprint scripting or Level Sequences to transition between these scenarios smoothly.10. **Light Functionality:** - Utilize features like IES profiles for realistic light distribution patterns. This is especially useful for accurately representing the shape and spread of light emitted from specific fixtures.Remember that the specific details will depend on your scene, art style, and the atmosphere you want to create. Experiment with different settings, test your scene in various lighting conditions, and iterate to achieve the desired look for your living room in Unreal Engine.
More detailsPublished - Fri, 02 Feb 2024
Created by - Anil Chauhan
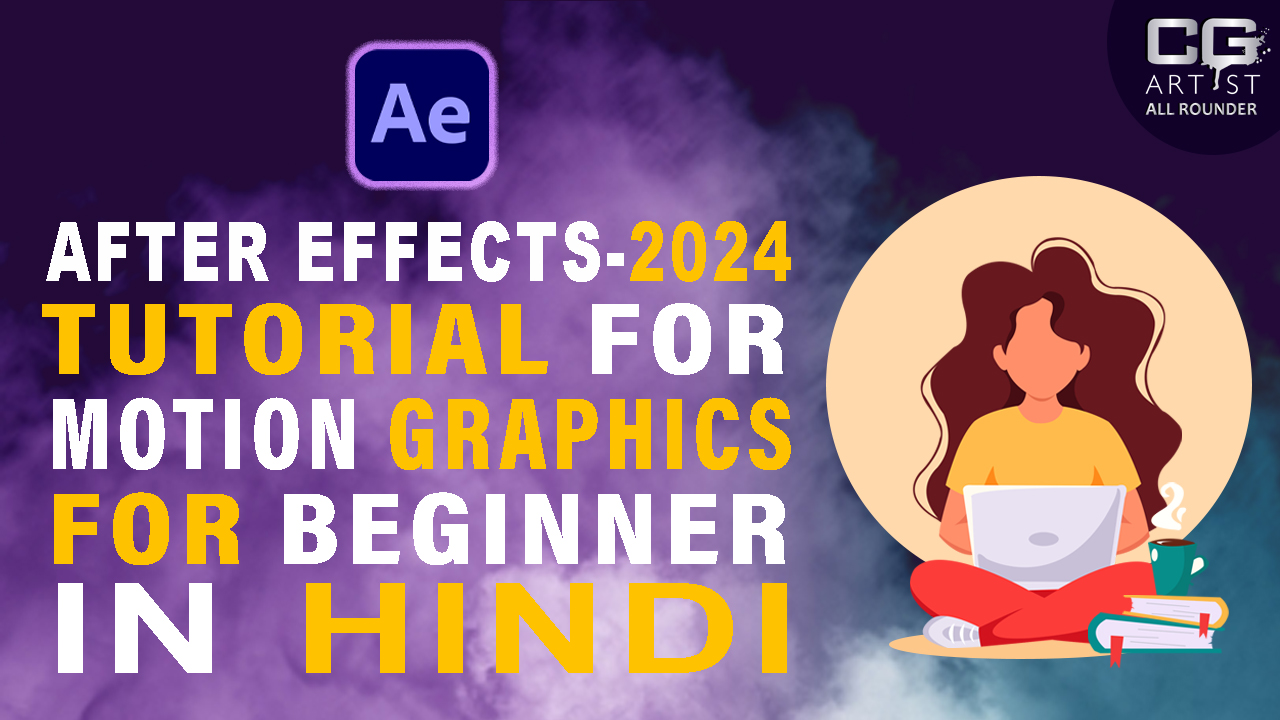
Motion Graphics
Motion graphics refer to animated graphic design elements, typically used in multimedia projects such as videos, presentations, websites, and more. These graphics can include text, shapes, images, and other visual elements that are animated to create movement and engage the audience. Motion graphics are often used to convey information, tell a story, or enhance the visual appeal of a project.Here are key components and considerations when creating motion graphics:1. **Software:** - Use software like Adobe After Effects, Cinema 4D, Blender, or other motion graphics tools to create animations.2. **Keyframes:** - Motion graphics are often created by setting keyframes, which define the start and end points of an animation. The software then interpolates the frames in between.3. **Timing and Pacing:** - Consider the timing of animations and the pacing of the motion. This is crucial for maintaining viewer engagement and conveying information effectively.4. **Transitions:** - Use smooth transitions between different elements to create a cohesive flow in your motion graphics. Transitions can include fades, wipes, slides, or other creative effects.5. **Typography:** - Incorporate animated text to emphasize key points or convey information. Play with different fonts, sizes, and styles to enhance visual interest.6. **Color and Composition:** - Pay attention to color schemes and composition to create visually appealing graphics. Consistent color choices and balanced compositions contribute to a polished look.7. **Audio Integration:** - Consider adding background music, sound effects, or voiceovers to complement the motion graphics. Syncing audio with animations enhances the overall viewer experience.8. **Storytelling:** - If applicable, use motion graphics to tell a story or convey a narrative. This can be achieved through a sequence of animated scenes that unfold over time.9. **Export Settings:** - Adjust export settings based on the platform where the motion graphics will be displayed. Consider resolution, frame rate, and file format for optimal playback.10. **Iterate and Test:** - Preview your motion graphics frequently during the creation process. Make adjustments, iterate on your designs, and gather feedback to ensure the final result meets your goals.Motion graphics are versatile and can be applied in various contexts, from logo animations to explainer videos. Whether you're a designer, animator, or content creator, understanding the principles of motion graphics can enhance your ability to communicate ideas visually.
More detailsPublished - Fri, 02 Feb 2024
Created by - Anil Chauhan
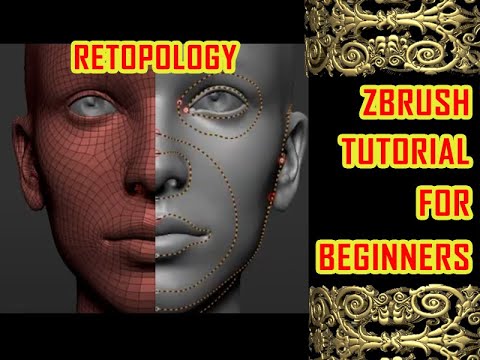
Retopology in ZBrush
Retopology in ZBrush is the process of creating a new, clean, and optimized mesh with a lower polygon count while preserving the details of a high-resolution mesh. This is often necessary for efficient modeling, animation, or game development. Here's a general guide on how to perform retopology in ZBrush:1. **Import your High-Resolution Mesh:** - Start by importing the high-resolution mesh into ZBrush.2. **Prepare ZBrush Workspace:** - Set up your workspace by adjusting the view and customizing the interface to make the retopology process more comfortable.3. **Create a New Topology:** - In the "Tool" palette, select "ZSphere" and draw it on the canvas. - Use the "Edit Topology" button to start drawing new topology directly on the high-resolution mesh.4. **Add and Connect ZSpheres:** - Continue adding ZSpheres and connecting them to form the basic structure of your new topology. - You can use the "Draw" mode to draw new ZSpheres and the "Move" and "Scale" modes to adjust their positions.5. **Adapt Topology to High-Resolution Mesh:** - Use the "Move," "Scale," and "Rotate" tools to adjust the ZSpheres to match the contours of the high-resolution mesh. - Pay attention to the natural flow of the geometry and place ZSpheres where you need more detail.6. **Convert ZSpheres to Topology:** - Once you are satisfied with the basic structure, press the "Adaptive Skin" button to convert the ZSpheres into a new topology. - Adjust the resolution and preview settings to control the density of the new mesh.7. **Refine Topology:** - After generating the adaptive skin, use the "ZRemesher" tool or other retopology tools in ZBrush to further refine and optimize the topology. - Manually adjust vertices and edges to achieve the desired edge flow.8. **Project Details:** - Use the "Project" tools in ZBrush to transfer details from the high-resolution mesh to the new topology. - This ensures that intricate details are preserved on the optimized mesh.9. **Final Adjustments:** - Make any final adjustments, fix any issues, and optimize the new mesh as needed. - Use tools like "Smooth" and "Move" to refine the overall shape.10. **Export:** - Once you are satisfied with the retopologized mesh, you can export it for use in other 3D applications.Remember that retopology is a skill that requires practice, and the exact steps may vary depending on the specific project and requirements. Experiment with different techniques and tools in ZBrush to find the workflow that works best for you.
More detailsPublished - Sat, 03 Feb 2024
Created by - Anil Chauhan
Maya FX | visual effects (FX)
Maya FX refers to the set of tools and features within Autodesk Maya, a 3D computer graphics software, specifically designed for creating visual effects (FX) in films, television, video games, and other forms of media. Maya is widely used by professionals in the animation, VFX, and gaming industries.Here's a brief overview of some key features and tools within Maya FX:1. **Particle Systems**: Maya offers a robust particle system that allows users to simulate a wide range of natural phenomena such as smoke, fire, rain, sparks, and explosions. Users can control parameters such as velocity, lifespan, size, and behavior to create realistic effects.2. **Fluid Simulation**: Maya includes powerful fluid dynamics tools for simulating liquids, gases, and other fluid effects. This can be used to create realistic water, smoke, clouds, and other fluid-based effects.3. **Dynamic Simulations**: Maya FX provides tools for simulating dynamic effects such as cloth, hair, fur, and rigid bodies. This allows animators to create realistic movement and interactions between objects in their scenes.4. **nCloth**: Maya's nCloth system allows for the simulation of various types of cloth and fabric, including realistic wrinkling, stretching, tearing, and collision with other objects.5. **Bifrost**: Bifrost is a powerful visual programming environment within Maya that allows users to create complex simulations and procedural effects. It's particularly useful for creating large-scale simulations of natural phenomena like oceans, rivers, and weather systems.6. **Shading and Rendering**: Maya includes advanced shading and rendering capabilities that allow users to create realistic materials and lighting for their FX scenes. This includes support for global illumination, ray tracing, and advanced shader networks.7. **Scripting and Customization**: Maya's FX tools can be extended and customized using Python scripting and the Maya API. This allows users to automate repetitive tasks, create custom effects, and integrate Maya into their production pipelines.Overall, Maya FX provides artists and animators with a comprehensive set of tools for creating stunning visual effects and simulations for film, television, and other forms of media.
More detailsPublished - Tue, 06 Feb 2024
Created by - Anil Chauhan
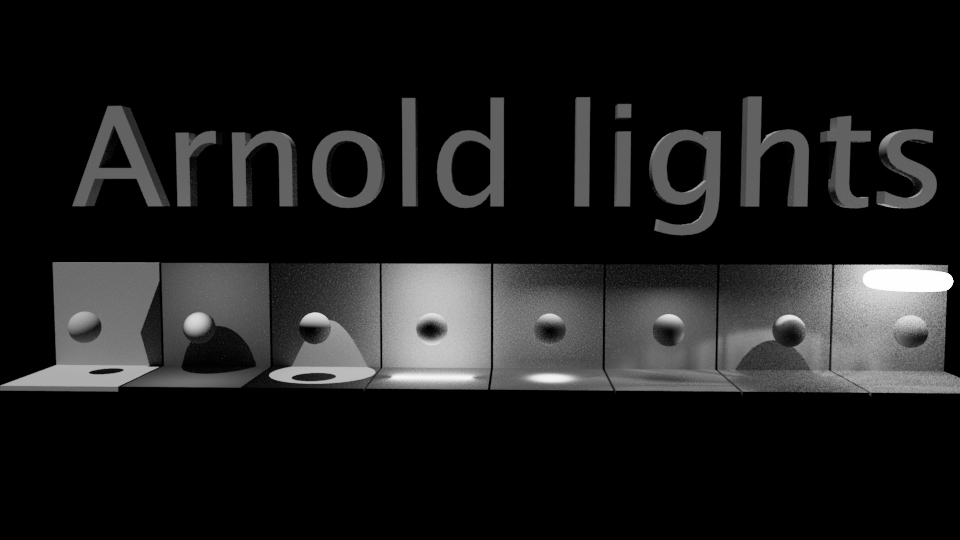
Lights - Arnold User Guide
In Arnold, lights play a crucial role in creating realistic and visually appealing renders. Here's a brief overview of the different types of lights available in Arnold along with their characteristics and usage, based on the Arnold User Guide:Skydome Light:The Skydome light simulates environmental lighting by using a high dynamic range (HDR) image mapped onto a dome surrounding the scene.It provides a quick and easy way to illuminate scenes with realistic outdoor lighting conditions.You can adjust parameters such as exposure, rotation, and color temperature to fine-tune the lighting.Quad Light:The Quad light emits light from a rectangular surface and is useful for simulating area lights such as LED panels or fluorescent lights.It offers controls for adjusting intensity, color, and falloff to achieve the desired lighting effect.Disk Light:Similar to the Quad light, the Disk light emits light from a circular surface.It's suitable for creating circular light sources such as ceiling lights or spotlights.Sphere Light:The Sphere light emits light from a spherical surface and is often used to create soft, omnidirectional lighting.It's useful for simulating light sources like overhead lamps or ambient lighting.Cylinder Light:The Cylinder light emits light from a cylindrical surface, allowing for the creation of tube-shaped light sources.It's suitable for simulating fluorescent tubes or neon lights.Mesh Light:With the Mesh light, you can turn any geometry into a light source, providing flexibility in creating custom-shaped lights.It's ideal for scenarios where you want the light source to be an actual object in the scene.Photometric Light:The Photometric light allows you to use real-world light data (IES files) to accurately simulate the behavior of specific light fixtures.It's particularly useful for architectural visualization or when replicating existing lighting setups.Each type of light in Arnold offers different parameters and controls that allow you to customize the intensity, color, falloff, and other properties to achieve the desired lighting effect in your renders. Experimenting with these lights and understanding their characteristics will help you create compelling and realistic lighting setups in your scenes. For more detailed information on using lights in Arnold, refer to the Arnold User Guide provided by Autodesk.
More detailsPublished - Wed, 29 May 2024
Created by - Anil Chauhan
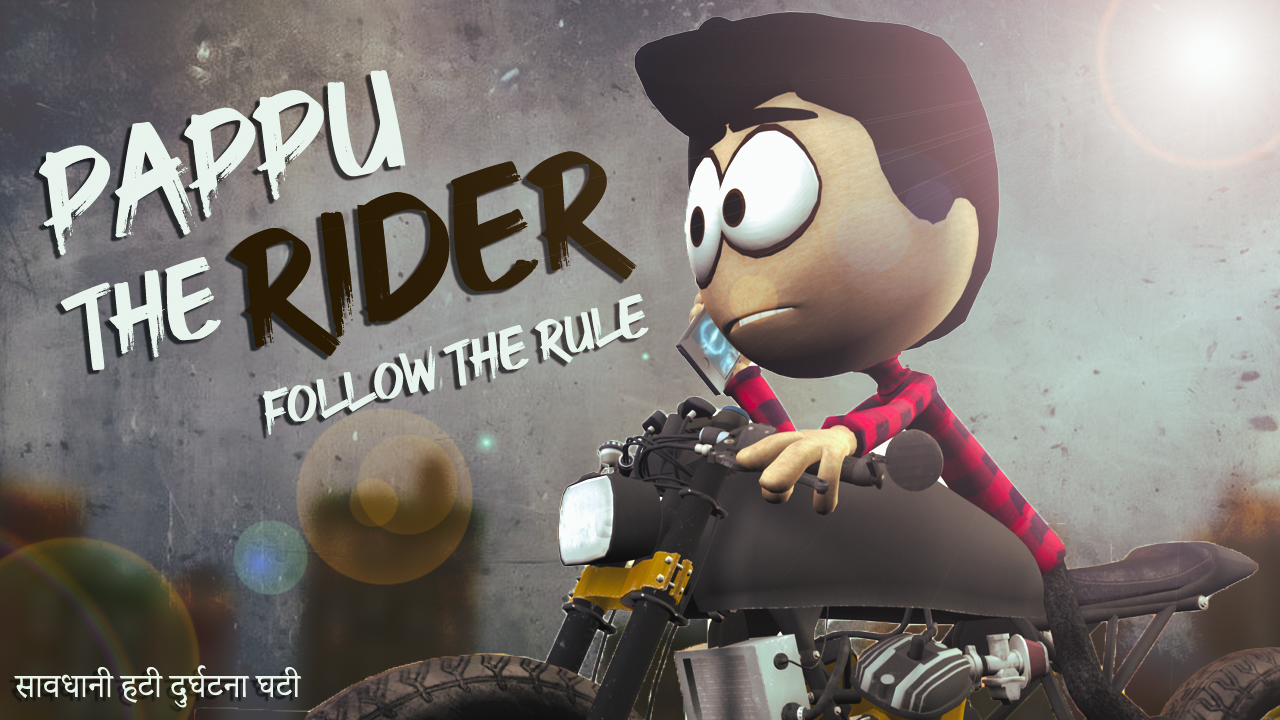
Papu the Rider | 3d comedy video | FUNNY COMEDY VIDEO CARTOON
Creating funny comedy videos or cartoons in Maya can be a lot of fun! Here's a breakdown of how you might go about it:https://www.youtube.com/watch?v=RRVjEecwfpY1. **Conceptualization**: Start by brainstorming ideas for your comedy video or cartoon. Think about funny scenarios, characters, and jokes that you want to include.2. **Character Design**: Use Maya's modeling tools to create your characters. You can go for exaggerated features and quirky designs to enhance the comedic effect.3. **Rigging**: Rigging is the process of adding bones and controls to your characters so that they can be animated. Maya has powerful rigging tools that allow you to create complex rigs for your characters.4. **Animation**: This is where the magic happens! Use Maya's animation tools to bring your characters to life. Experiment with timing, poses, and expressions to make your comedy video as funny as possible.5. **Scene Setup**: Set up the scenes for your comedy video. Use Maya's environment modeling tools to create backgrounds and props that complement the humor of your video.6. **Lighting and Rendering**: Add lights to your scene to set the mood and atmosphere. Maya's rendering engine can help you achieve high-quality renders of your comedy video or cartoon.7. **Sound Design**: Don't forget about sound! Add funny sound effects and dialogue to enhance the comedy of your video. You can use Maya's audio tools to sync up sound with your animation.8. **Editing and Post-Production**: Once you have all the elements in place, edit your comedy video together in Maya or a video editing software. Add any final touches or effects to polish your cartoon.Remember to have fun and be creative! Comedy is all about pushing boundaries and taking risks, so don't be afraid to try out new ideas and see what works best for your video.
More detailsPublished - Wed, 29 May 2024
Created by - Anil Chauhan
Camera tracking in Nuke
Camera tracking in Nuke is a powerful feature used in visual effects and compositing to integrate CGI elements into live-action footage with realistic motion and perspective. The process involves several steps:1. **Import Footage:** - Load the live-action footage into Nuke using a Read node.2. **Camera Tracker Node:** - Add a CameraTracker node to the footage. This node is responsible for analyzing the motion in the footage and generating a virtual camera that mimics the real camera's movements.3. **Track Features:** - In the CameraTracker node, you can set parameters and initiate the tracking process. The node automatically detects and tracks features across the frames. It's essential to have high-contrast and identifiable points for better tracking.4. **Solve Camera:** - After tracking, the next step is to solve the camera. This step calculates the 3D movement of the camera based on the 2D tracked points. The solve process gives you a virtual camera that mimics the movement of the real camera.5. **Refine Tracks:** - Sometimes, automatic tracking may produce inaccurate points. You can manually add or remove tracking points and refine the solve to improve accuracy.6. **Create Scene:** - Once the camera is solved, create a 3D scene in Nuke. This involves setting up a Scene node, Camera node, and linking them with the CameraTracker node.7. **Place 3D Objects:** - Add 3D objects, geometry, or elements into the scene using Geo nodes (e.g., Card, Sphere, Model). These elements will now move in sync with the tracked camera motion, making them appear as part of the original footage.8. **Render and Composite:** - Use a ScanlineRender node to render the 3D elements from the virtual camera’s perspective. Composite these elements back into the original footage using Merge nodes and other compositing techniques.### Tips for Effective Camera Tracking:- **Good Footage Quality:** Ensure the footage is stable, well-lit, and has distinct features for tracking.- **Manual Adjustments:** Be ready to manually adjust and refine tracking points if automatic tracking is insufficient.- **Lens Distortion:** Correct lens distortion before tracking if the footage is shot with a wide-angle lens to avoid inaccuracies.By following these steps, you can effectively integrate CGI elements into live-action footage, creating seamless and realistic visual effects.
More detailsPublished - Wed, 26 Jun 2024
Created by - Anil Chauhan
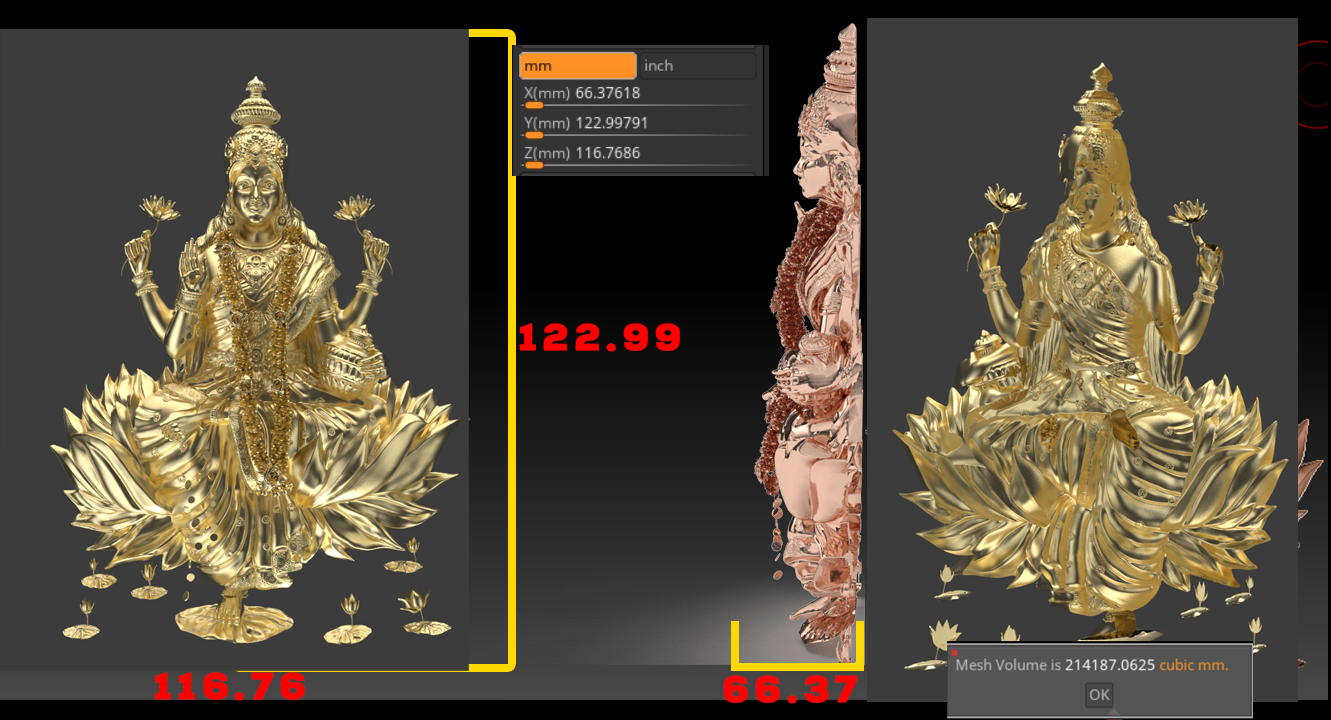
Laxmi 3d Model | Laxmi Mata | Laxmi Ma| 3d Laxmi mata model
More details
Published - Tue, 01 Oct 2024
Search
Popular categories
Adobe After Effects 2025
28Unreal Engine
14zbrush
10Maya Animation
8zbrush tutorial jewelry
7Maya 2025
6Latest blogs
Mesh |Edit Mesh|Mesh Tools
2 Hours Ago

Advanced Editing Techniques
11 Hours Ago

Introduction to Level Design Through Blocking in Unreal Engine
1 Day Ago
Write a public review